Japanese Garden Tools Vs. American: What’s the Difference?
You may have seen Japanese gardening tools popping up more in stores and online. Sure, they’re… Read More
We’ve all heard the old adage “how to make a statue of an elephant — You start with a block of marble and carve away everything that’s not an elephant.” Same rules apply for carving spoons. Carving a spoon is a fun way to pass time on the weekends or after work when you want to sit around and also feel like you’re being productive. They make great gifts for your parents and friends and can also be a pretty meditative way of expressing some creativity. In these trying times, it’s more important than ever to keep busy and there is no better way to do so than by making a spoon for your mom.
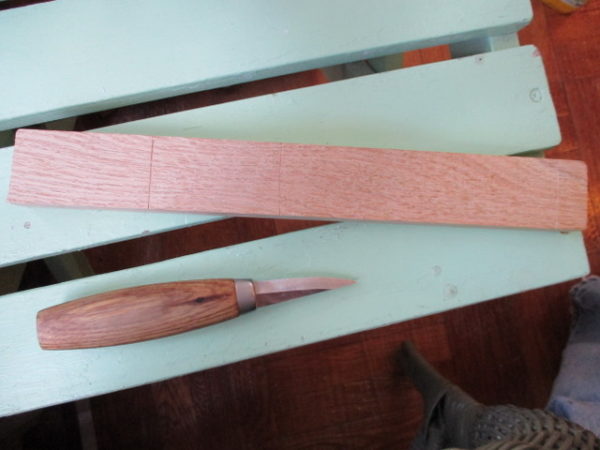
Spoon carving, often referred to as green wood spoon carving, is typically done with a fresh cut of wood that is still soft and malleable. Living in Brooklyn where it is not as easy as going into my backyard and cutting up some tree limbs, I did not have this luxury. I had a piece of Oak from Home Depot that was .75” X 1.5” that I cut into 12” segments. Spoon carving with such a hardwood takes some control because it is possible slip and cut yourself, so when doing so, please be careful! To make the wood more manageable it helps to soak your piece of wood in a bag of water overnight before your start.
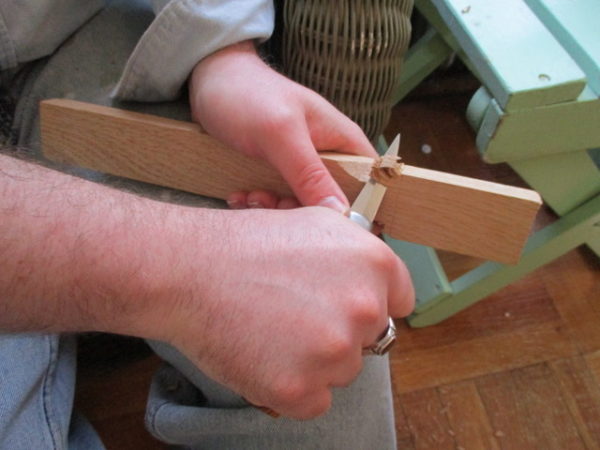
To begin, I started by scoring some guidelines into the wood where I wanted different angles and tapers to happen (Photo 1).
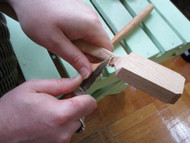
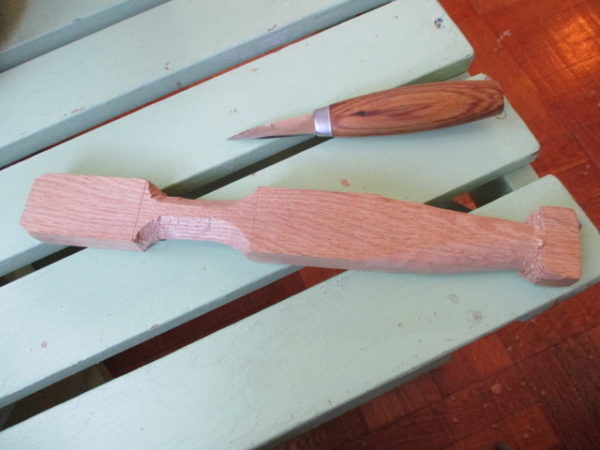
Once I establish the length of the head and where I would like to taper the handle, I begin cutting away large shavings (Photo 2).
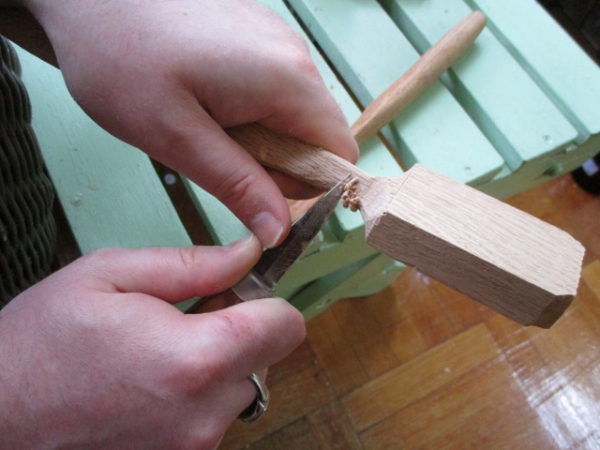
The initial shaping of the spoon is very similar to a portrait artist starting their painting with a circle; you’re not thinking about your finished spoon yet, you’re just trying to get a shape that you could eventually make a spoon out of (Photo 3).
Tip* When using our Straight Carving Knife, I hold it in my dominant hand while bracing the piece of wood to my body with my non-dominant hand, keeping my non-dominant thumb on the bolster of the carving knife to guide the direction and force of the strokes.
As your Spoon starts to take shape you should begin taking finer and finer shavings off with each stroke, making sure not to tear away at the grain or cut in too deep (Photo 4).
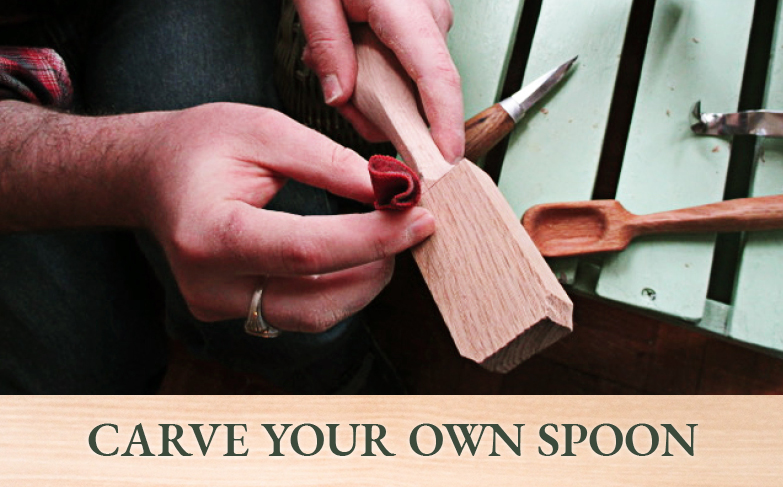
After shaping my spoon to the point where I have a reasonably defined handle shape, I like to do a last bit of fine tuning and refine my angles with a piece of 80 grit Sandpaper; although some purist prefer to carve spoons using only the carving knife and gradually making finer and finer cuts to get the same smooth finish (Photo 5).
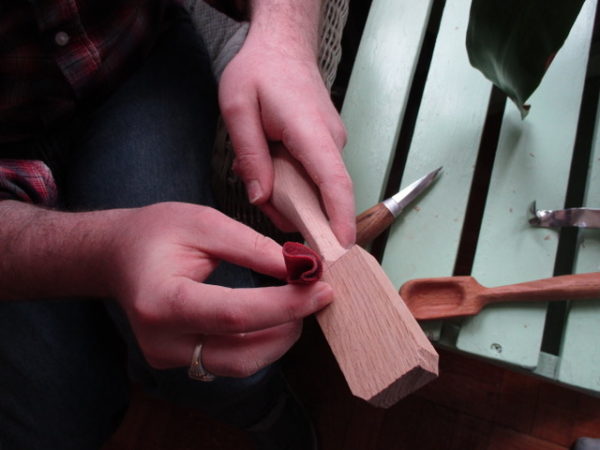
Using the sandpaper allows you to add finer shapes and definition to your curves and allows you to make a near perfectly round shape to your handle that is cleaner than if you were to try and carve away at it.
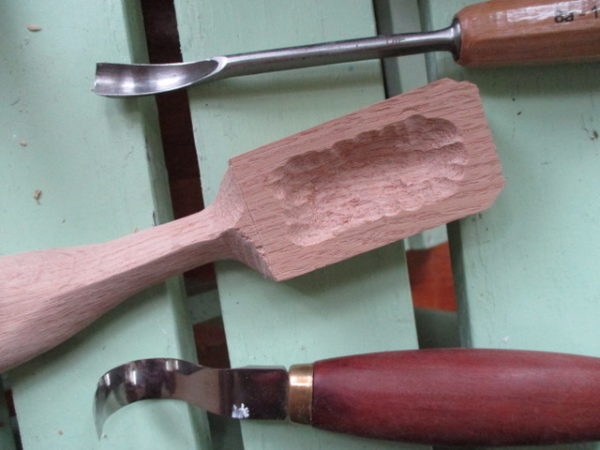
Once the handle has gotten to a shape that you like, using a small gouge or a hooked carving knife (I prefer a 10mm spoon gouge), begin to hollow out the bowl of the spoon. Starting with a long well down the center of the spoon (Photo 6), and gradually working your way toward the edge, after the bowl of the spoon gets to a reasonable depth and size go in once again with your 80 Grit sandpaper, this will help you define the curves on the inside of the bowl and remove any deep cuts the gouge might have left. After you have completed gouging out and shaping the bowl you can do your final shaping of the top of the spoon, round out all your edges with your carving knife followed by your sandpaper.
At this point, your spoon should basically be finished. Now you can go up in sandpaper grits using 120 to remove any scratches left by the 80-grit paper and working your way up the grits finishing with something between 400 and 600 (Photo 7).
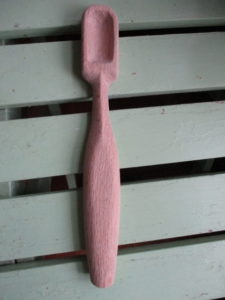
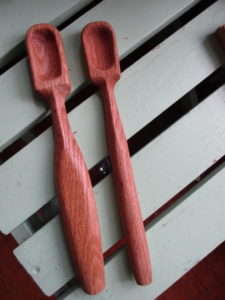
After I have completely sanded down my spoon, I wipe it down with mineral oil, which is an inexpensive and easily accessible food safe oil. Once the oil has dried, your spoon is completed (Photo 8).
