
Japanese Garden Tools Vs. American: What’s the Difference?
You may have seen Japanese gardening tools popping up more in stores and online. Sure, they’re… Read More
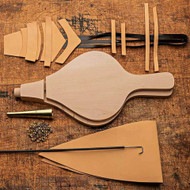
On a recent scouting trip to France, we were so inspired while watching one of our artisans make our Beech Fireplace Bellows, we decided to challenge ourselves and our customers by selling the French Bellows also as a Kit. The Kit comes with everything you need to build your own, with pre-cut leather pieces, beech boards, and enough brass tacks to hold it all together. This model is fitted with a 4-1/2″ brass nose and has a gorgeous Beech surface. 17-1/2″ total length. A doubled leather thong holds the handle closed and serves as a hanging strap.
You build this yourself, with the help of the assembly directions direction below. Also view our fireplace bellows video. (The video makes it look like a deceptively simple process, as master craftsmen often make it seem so easy).
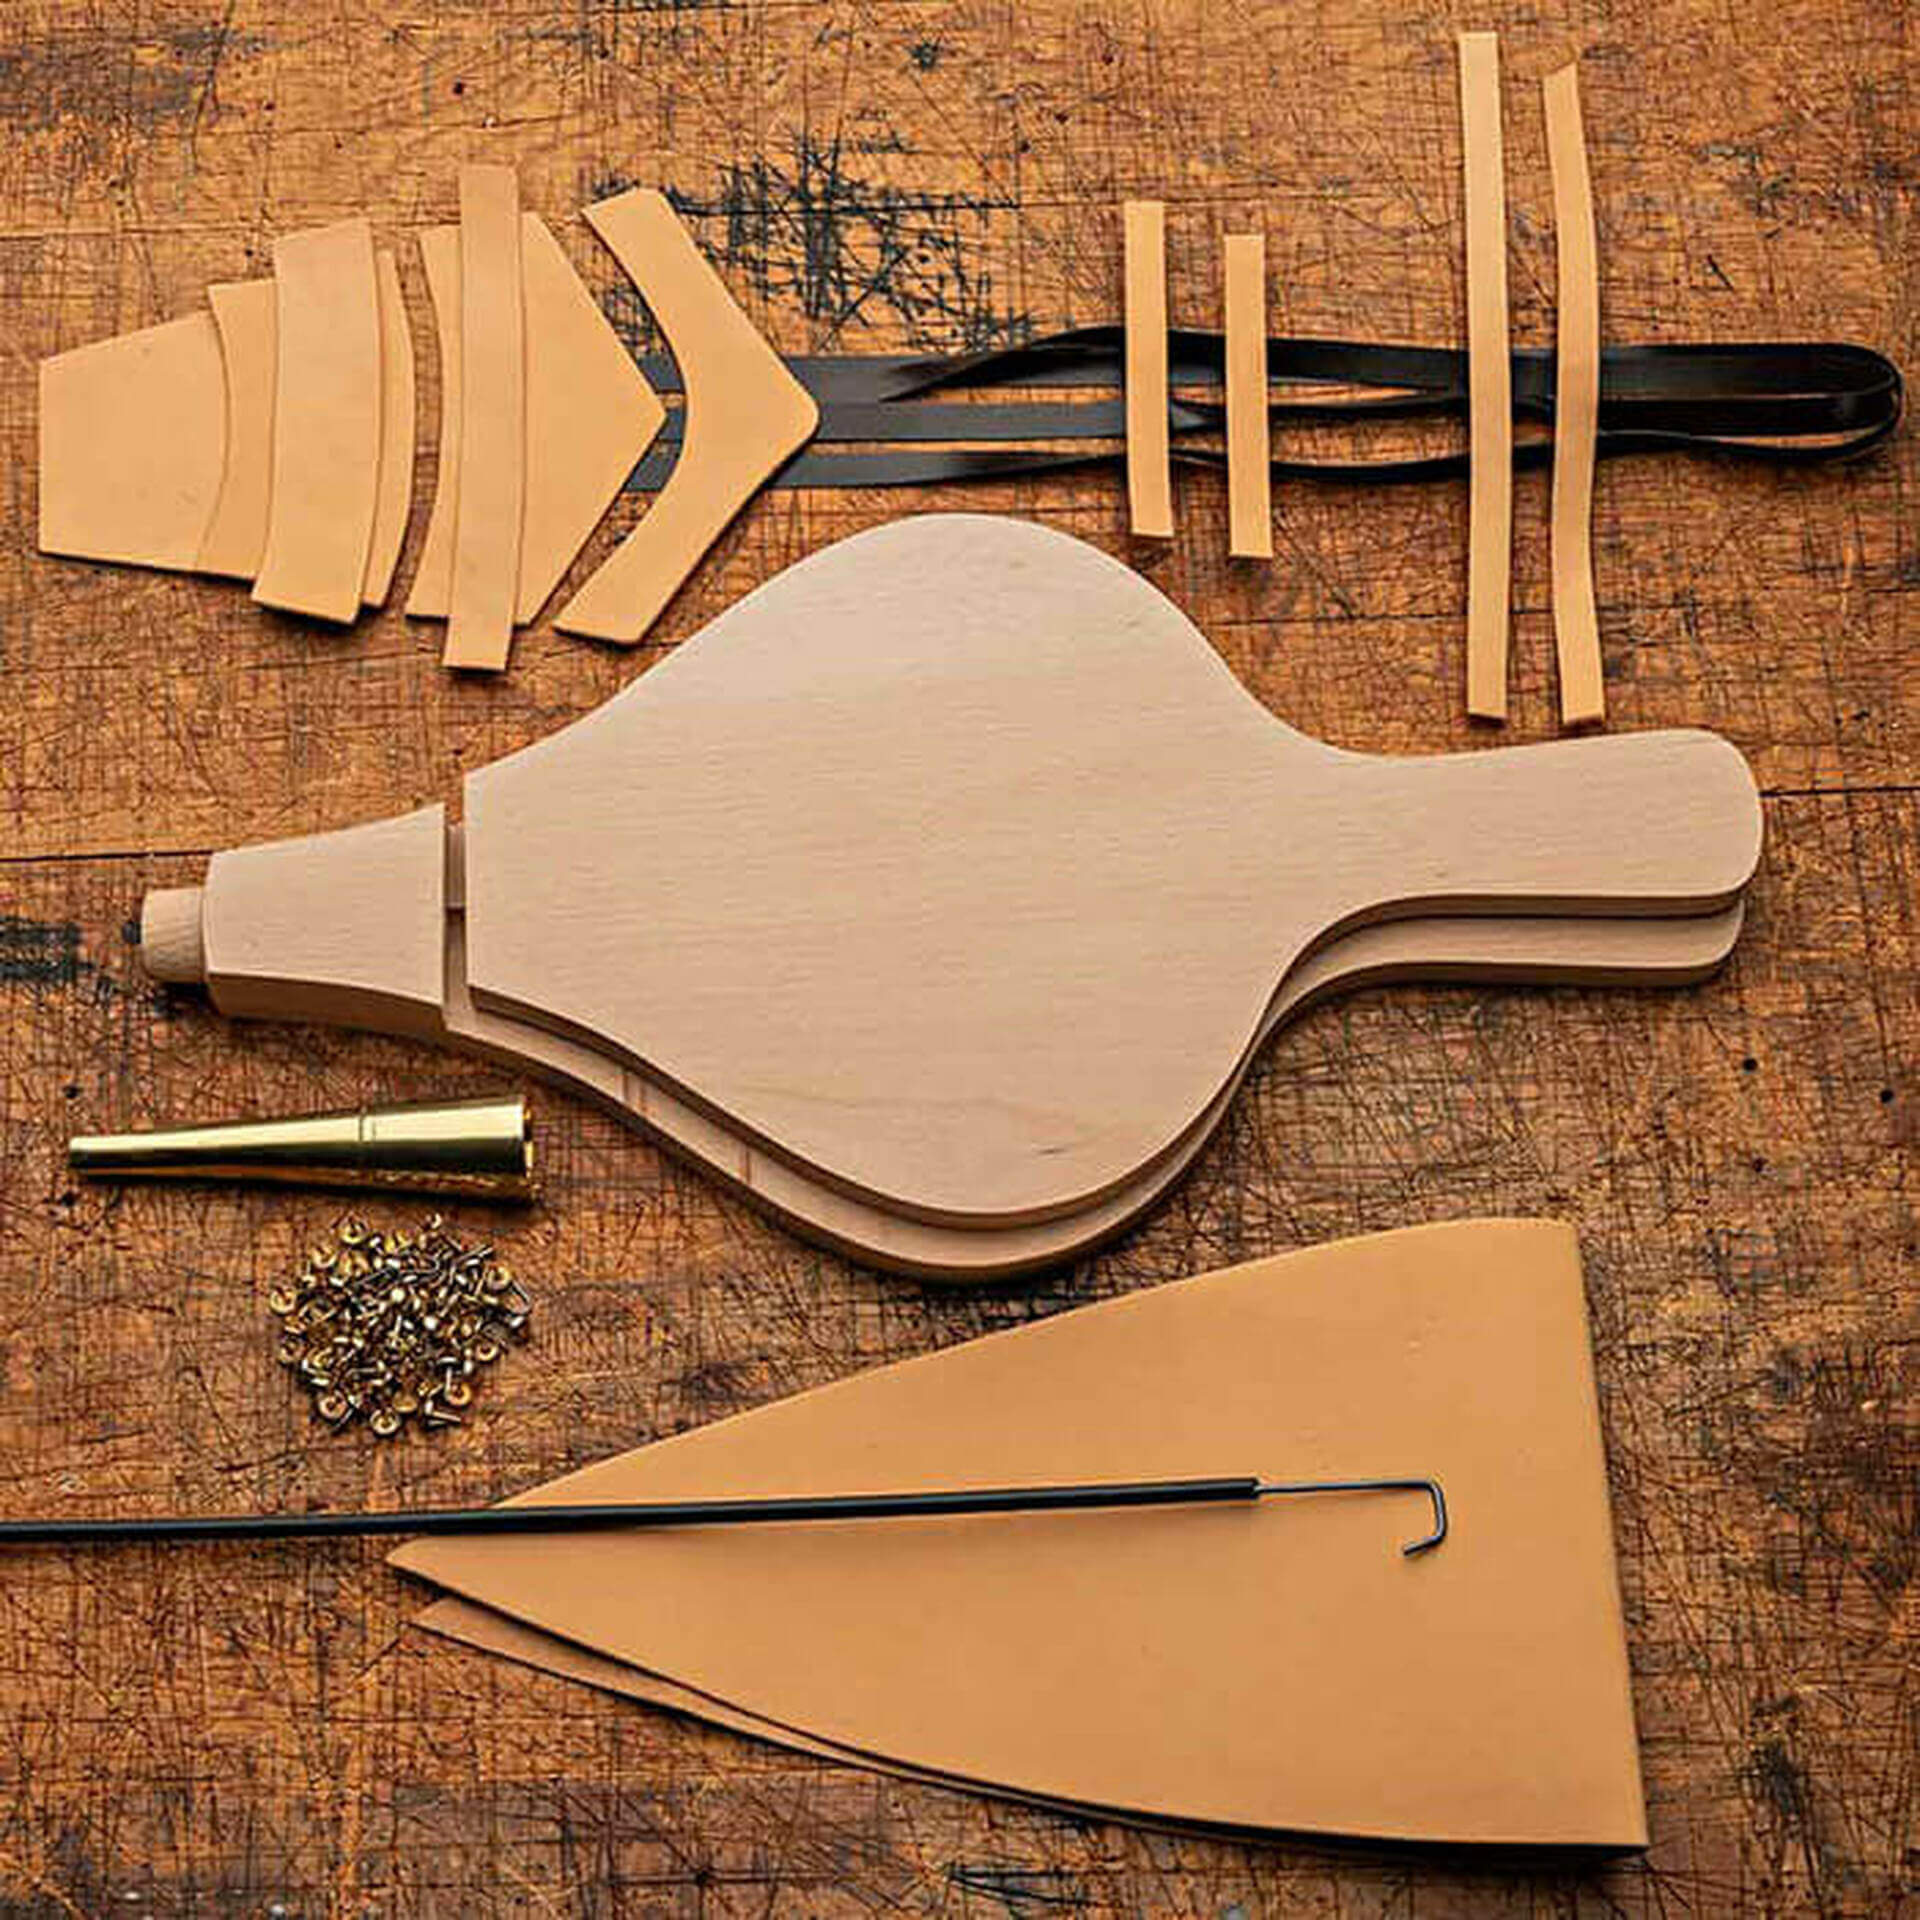
Bellows Parts List A. Main leather piece B. Nose leather C. Small leather chevron D. Large leather chevron E. Hinge leather F. Brass nozzle G. Bellows base H. Bellows top I. Leather valve J. Cardboard valve K. Valve strap L. 2 Leather collars M. 2 Leather straps N. Edge tape O. 1 wire spring P. Dome head tacks Q. Flat head tacks R. Staples
Step 1 Start with the bellows base and the 2 valve pieces
Step 2 Position the 2 valve pieces
Step 3 Staple one corner in place
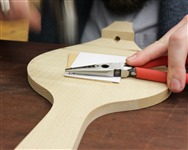
Step 4 Needle nose pliers are helpful here
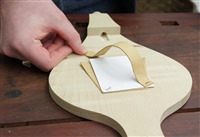
Step 5 Staple the valve strap in place
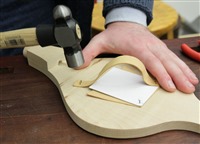
Step 6 The unstapled end of the valve should be free to lift under the strap it only needs to be able to lift about 3/8”
Step 7 Staple the wire spring in place
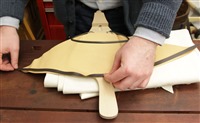
Step 8 Center the main leather and one edge tape
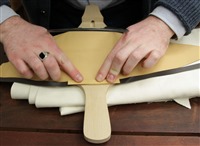
Step 9 Add one leather collar. Also centered
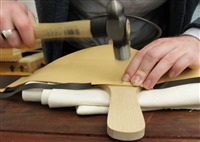
Step 10 Pin all 3 layers using flat head tacks
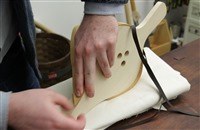
Step 11 Lay the main leather all along the edge
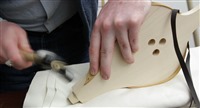
Step 12 Pin the tip using a flat head tack
Step 13 Lay the edge tape all along the edge
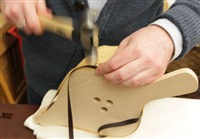
Step 14 Pin the edge tape using dome head tacks
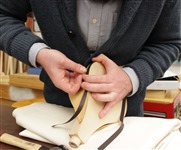
Step 15 Only pin every other tack - for now.
Step16 Use flat head tacks at the end because the nose area will have multiple layers of leathers.
Step 17 Leave the end of the edge tape free - for now
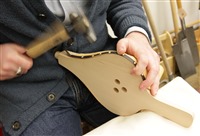
Step 18 Fill in the remaining dome head tacks
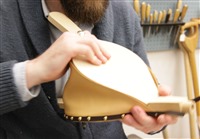
Step 19 Fit the bellows top in place
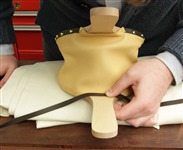
Step 20 Center the edge tape.
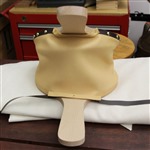
Step 21 Add the second leather collar. Also centered.
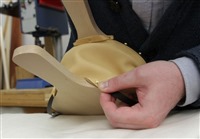
Step 22 Pin all 3 layers using flat head tacks.
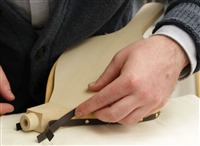
Step 23 Lay the main leather and edge tape all along the edge
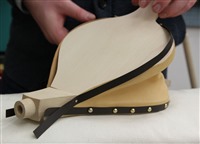
Step 24 Tack both pieces at the end using a flat head tack. Leave the end of the edge tape free - for now.
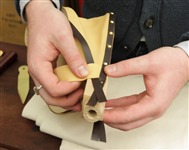
Step 25 Tuck the hinge leather under the edge tape of the bellows base. But have it go over the edge tape of the bellows top.
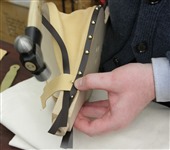
Step 26 Using flat head tacks, tack the hinge leather to the bellows base.
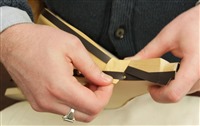
Step 27 Repeat on the other side. Keep it tight.
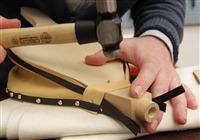
Step 28 Add 2 flat head tacks on top. One in front and one in back.
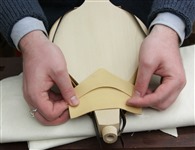
Step 29 Match up the 2 chevrons and center them over the hinge
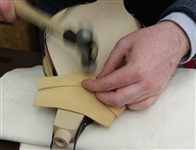
Step 30 Using dome head tacks, start tacking at the tip.
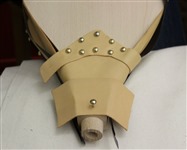
Step 31 Center the nose leather and tack it using a dome head tack
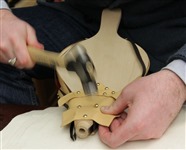
Step 32 Tack it with 3 tacks – for now.
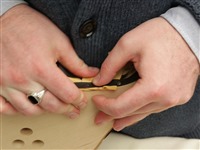
Step 33 Tuck the ends of the 2 hinge pieces under the edge tape.
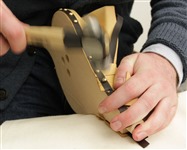
Step 34 Tack using dome head tacks.
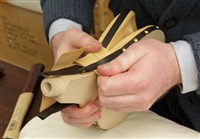
Step 35 Tack the edges on both side and keep it tight.
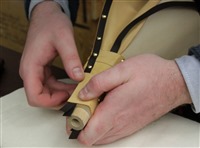
Step 36 Tack the edge of the nose leather over the edge tape – using dome head tacks.
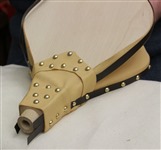
Step 37 Fill in the remaining tacks on the nose
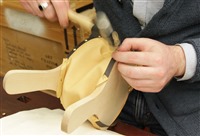
Step 38 Fill in the remaining tacks around the edge tape.
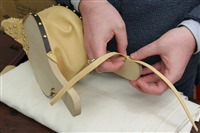
Step 39 Tack the 2 leather straps to the handle of the bellows back - using one dome head tack. Note the direction of the straps.
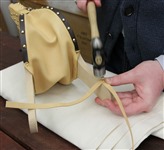
Step 40 One strap loops over the end to become a “hanging” loop. The other strap wraps around the handle to be a “closure” strap. You should be able to slip it over the top of the handle. Tack both ends together using a dome head tack.
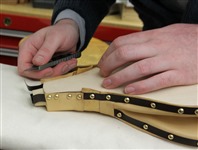
Step 41 Use a sharp blade to trim all excess leather edges.
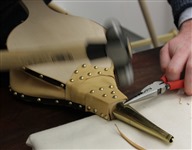
Step 42 Using flat head tacks, tack the brass nozzle to the nose. Tack it in 3 places – the top and each side.

Step 43 The completed bellows!