Whether you have a hatchet in your garage with a broken handle or have looked longingly at buckets of rusty axe heads in antique shops, knowing how to put a new handle on a tool is a crucial skill. There are few things as satisfying as restoring an old tool with a broken handle back to its former functional glory.
In this article, we’re going to show you how to make and attach a new hatchet handle for a chopping tool (hatchets, axes, adzes, mauls, etc.). Feel free to follow all the steps, or simply purchase a handle and use the later steps to learn hafting techniques.
Some Thoughts Before We Start
Don’t worry about perfection! Although that first DIY hatchet handle our now-expert made wasn’t perfect, it stayed strong and useful until it was upgraded several years later. The DIY hatchet handle in this article is an upgrade of that upgrade.
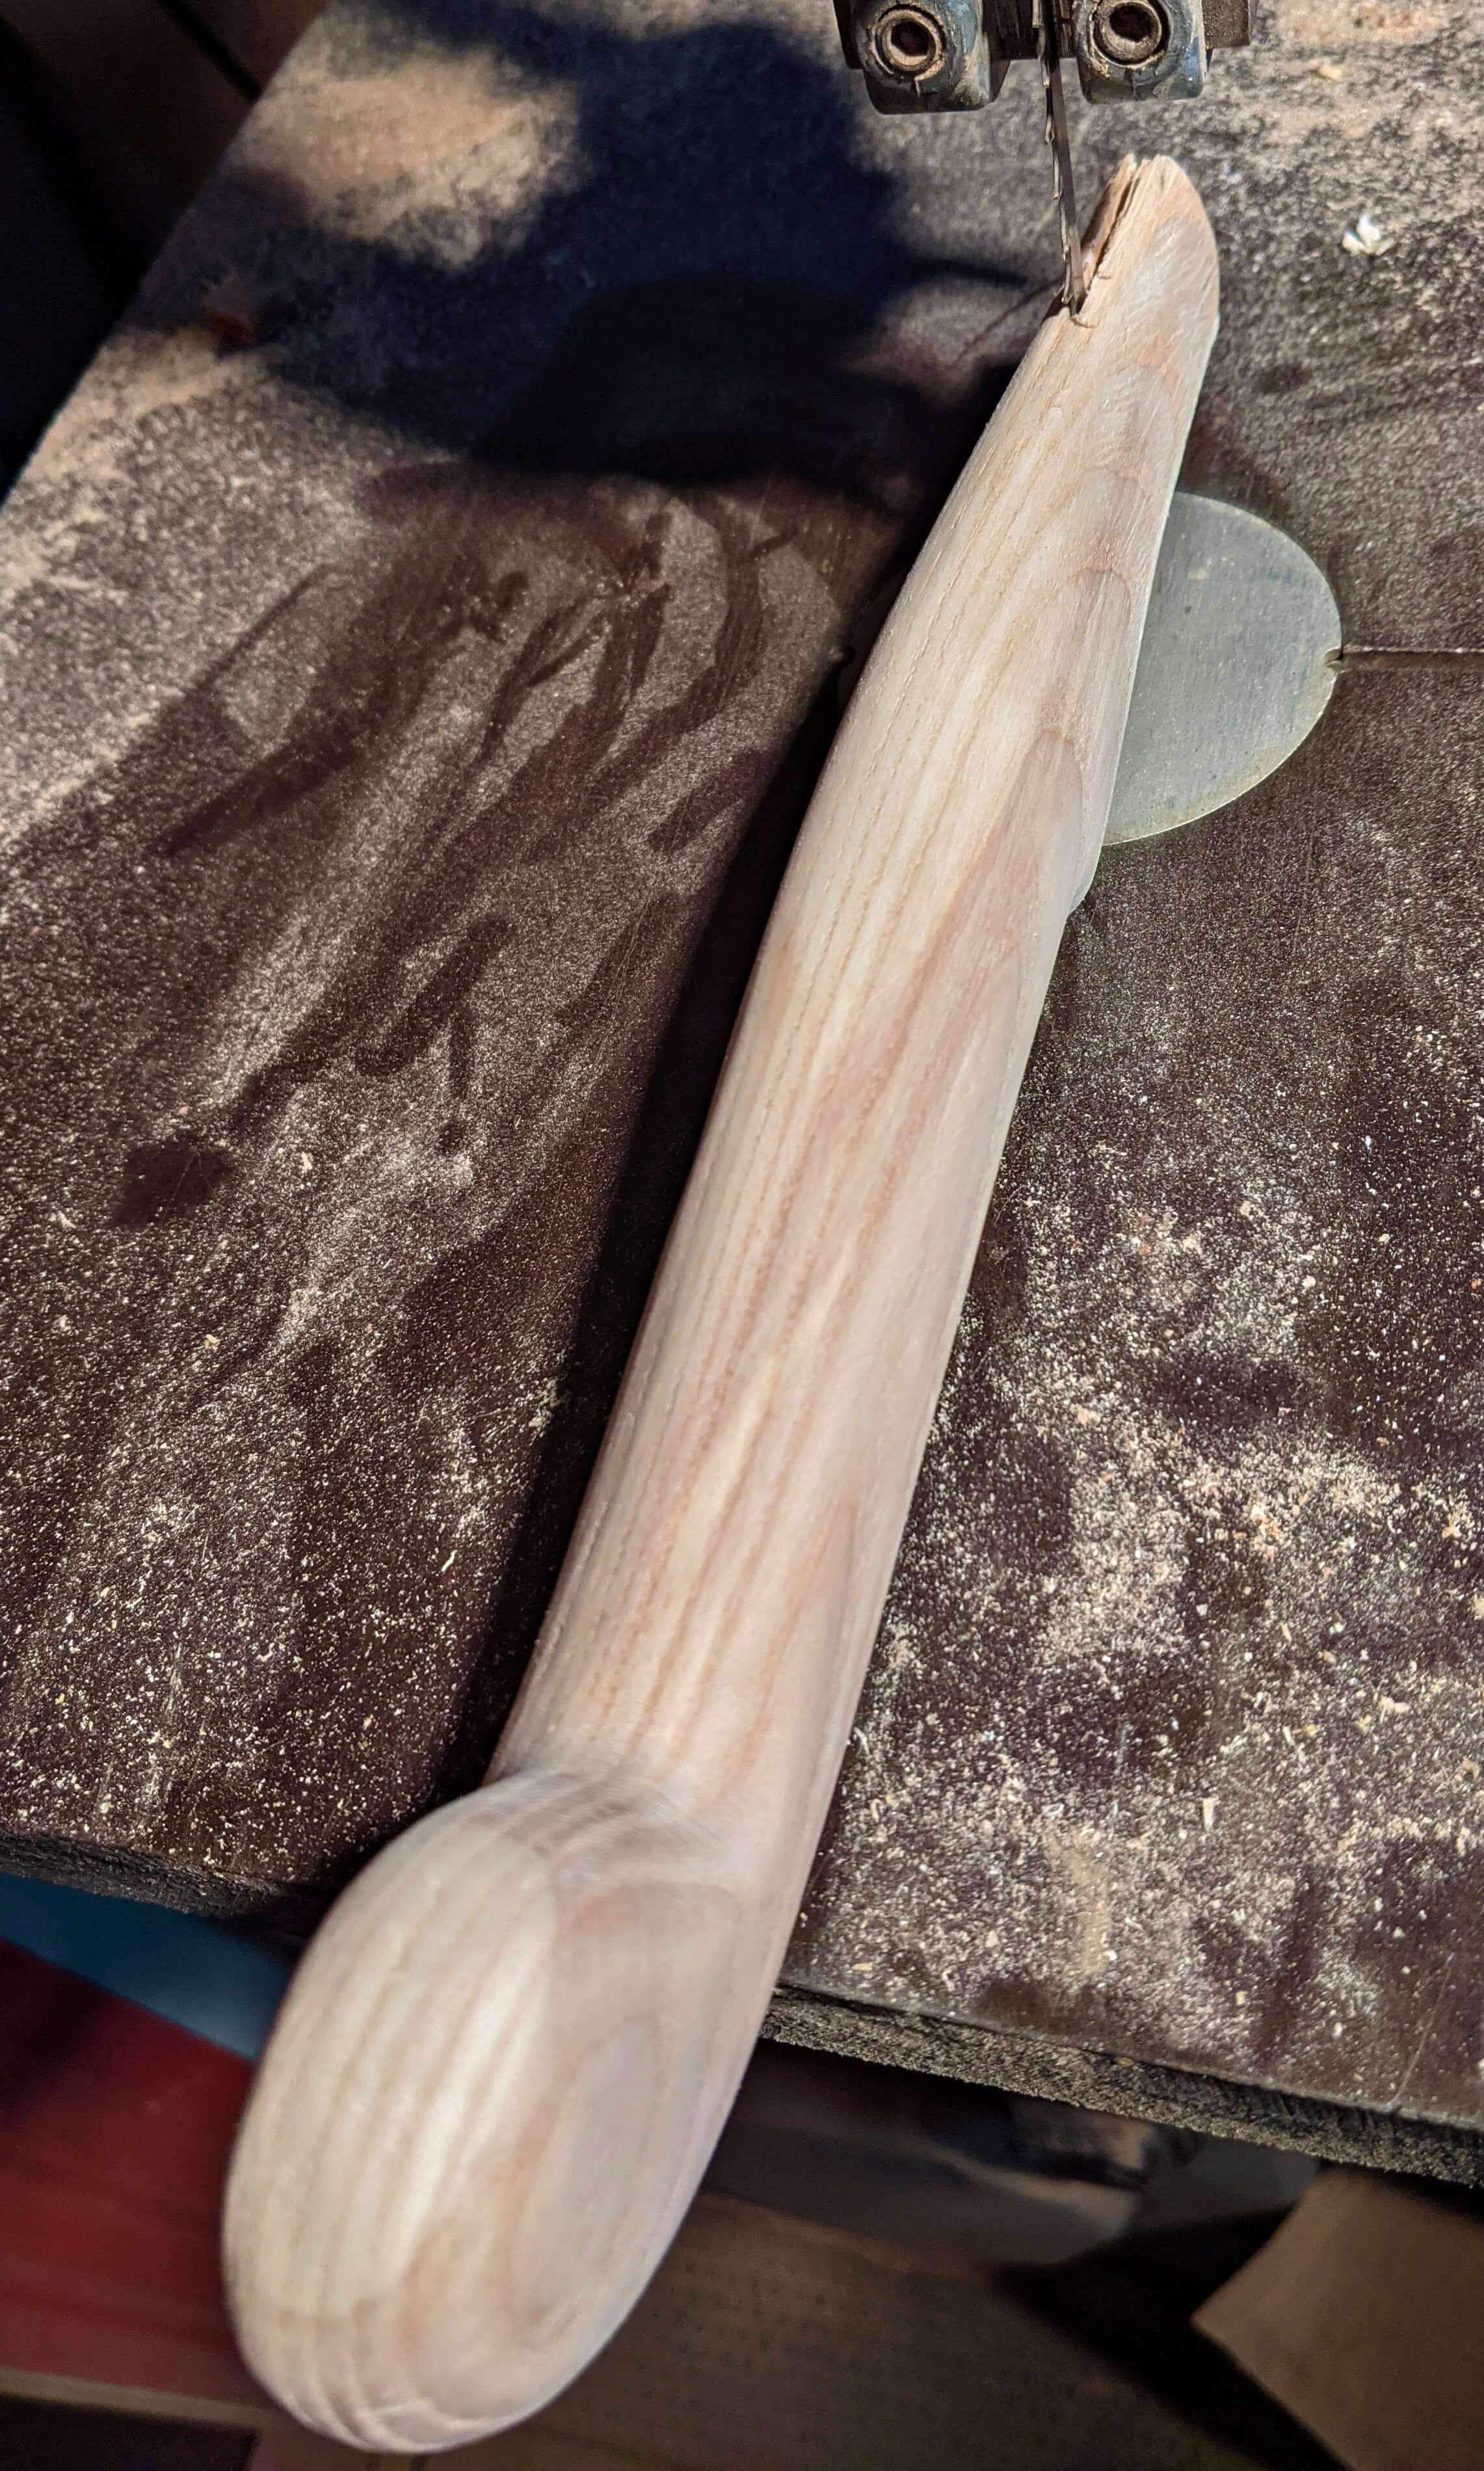
For this guide, we prefer a very short handle (about 10”) so that it doesn’t catch on the corner of the chopping block. A good handle length is anywhere from 12” to 24” for hatchets, 20” to 28” for camp axes, and 28” to 38” inches for splitting axes.
Some Useful Terms to Know
As you’re reviewing this guide for how to make a hatchet handle, we will be using some technical terminology. Review some of these terms to ensure you understand everything in our guide.
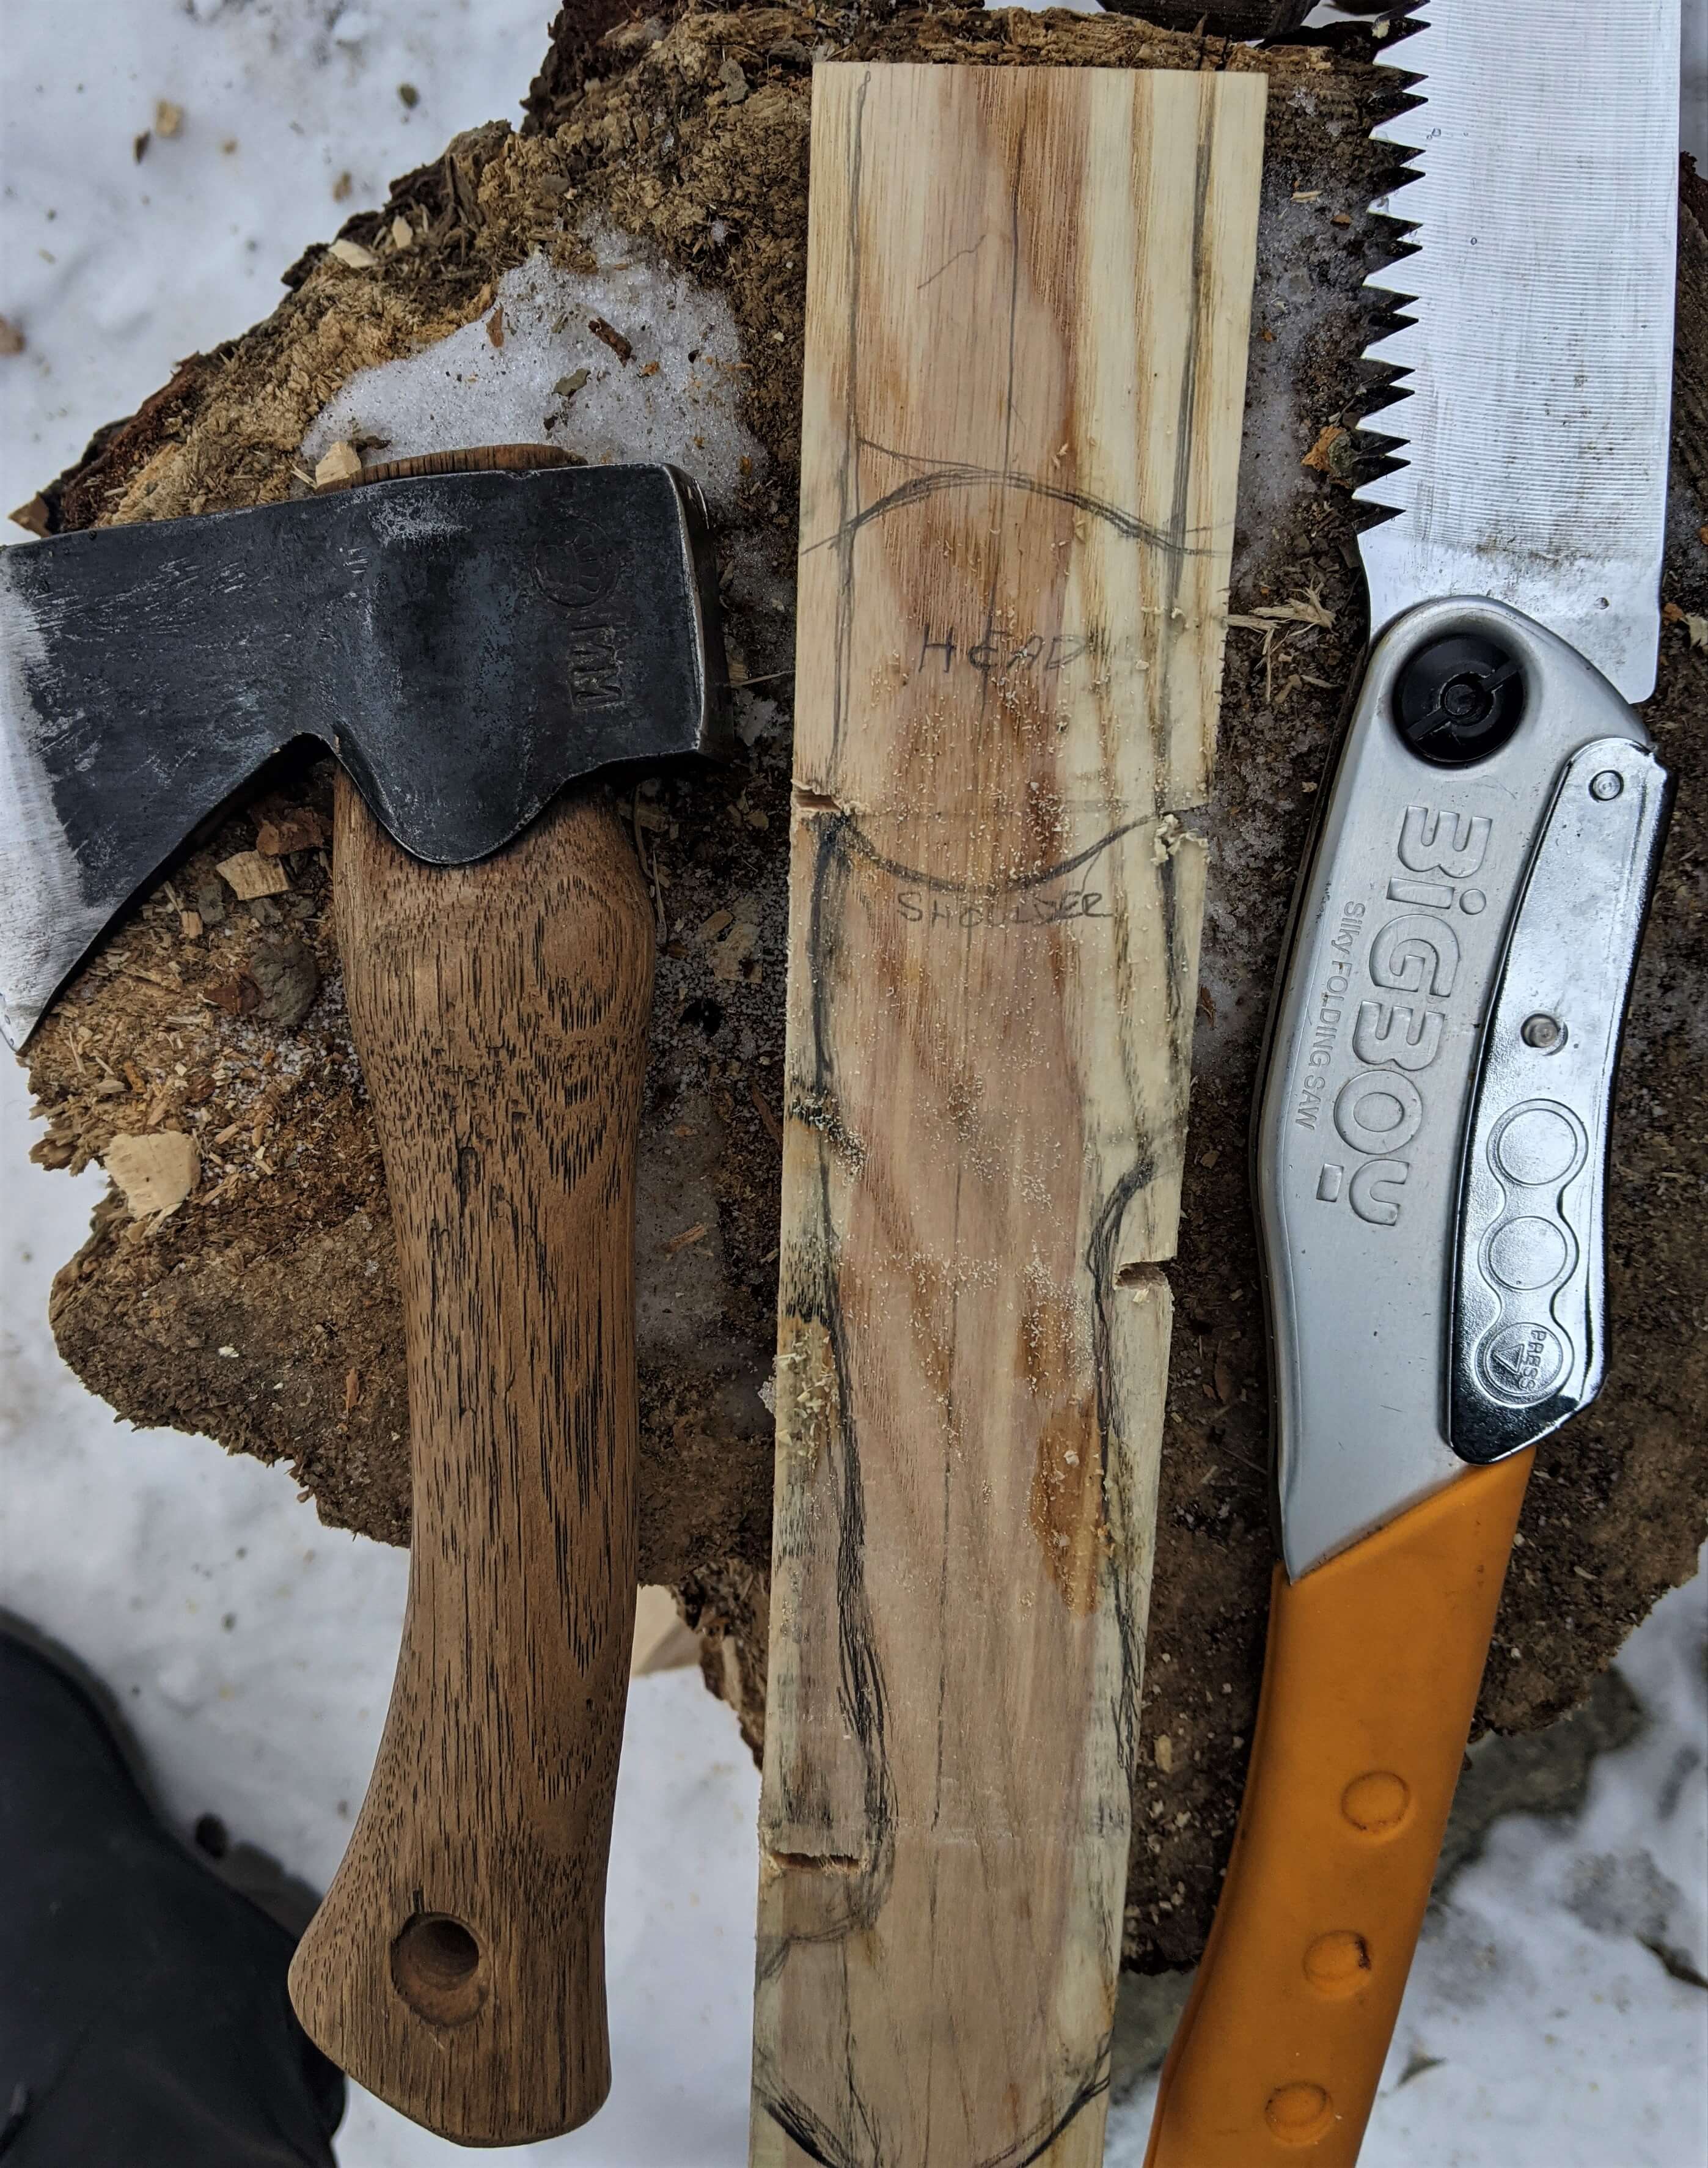
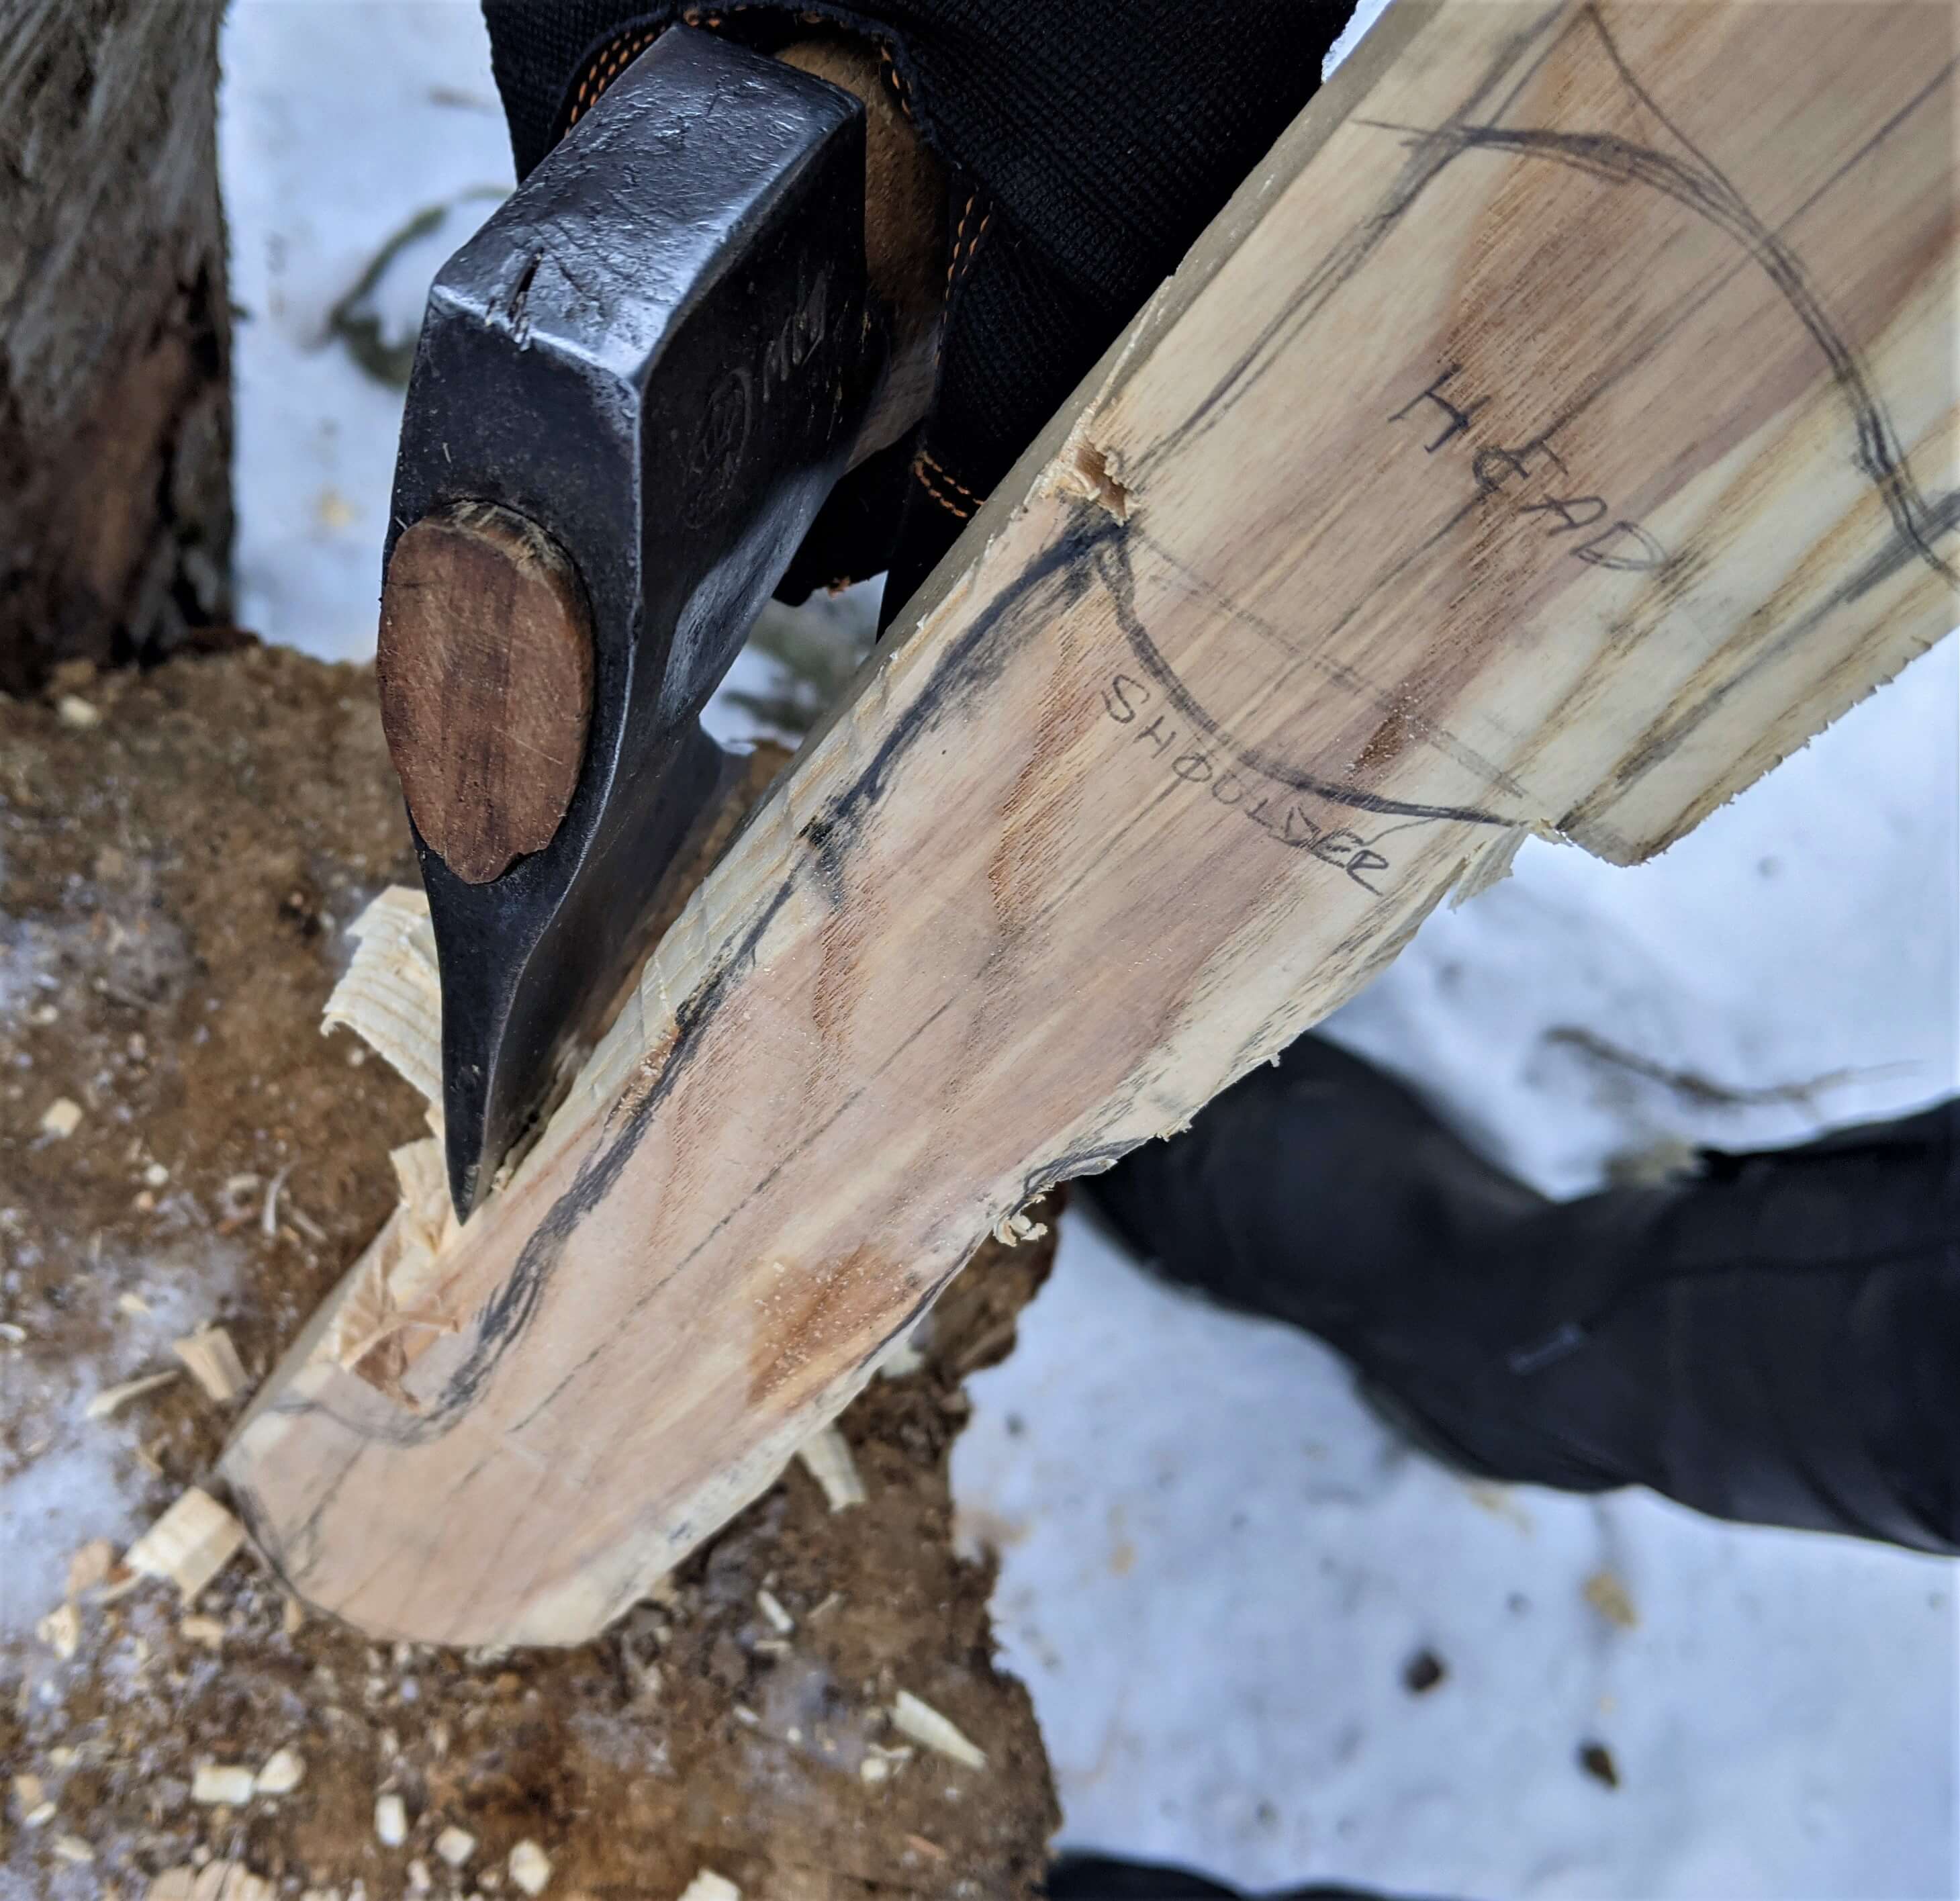
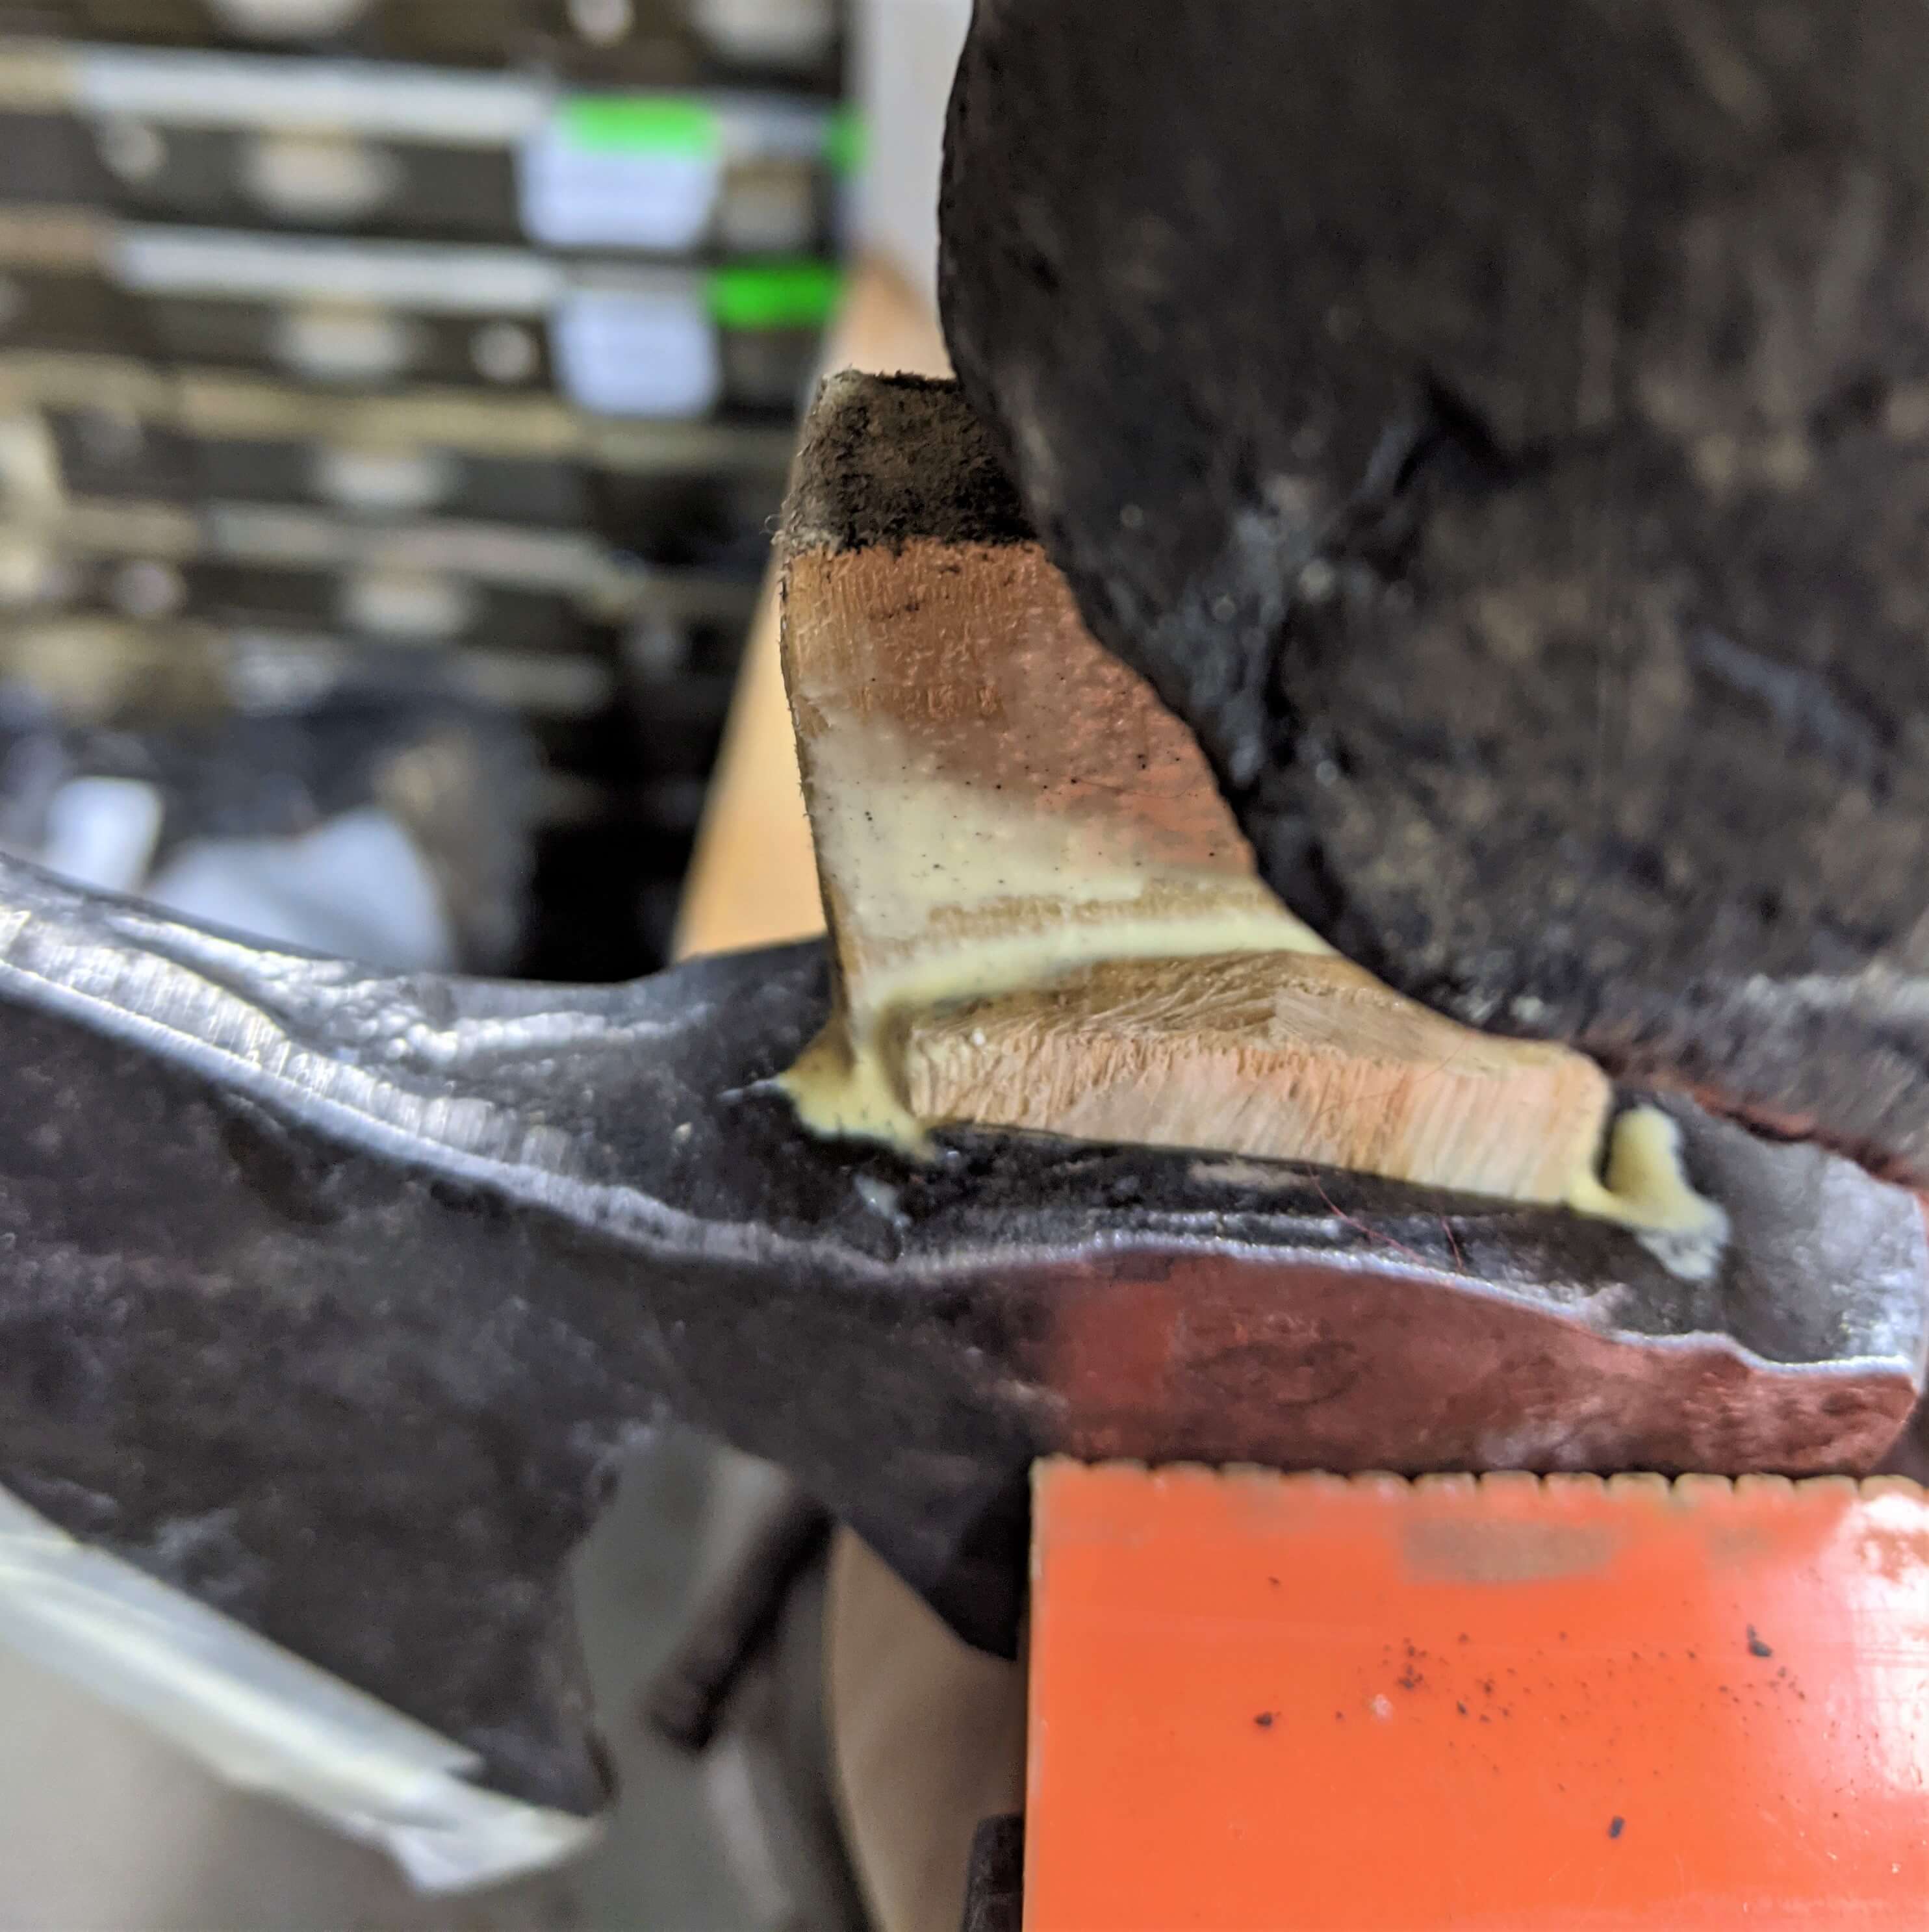
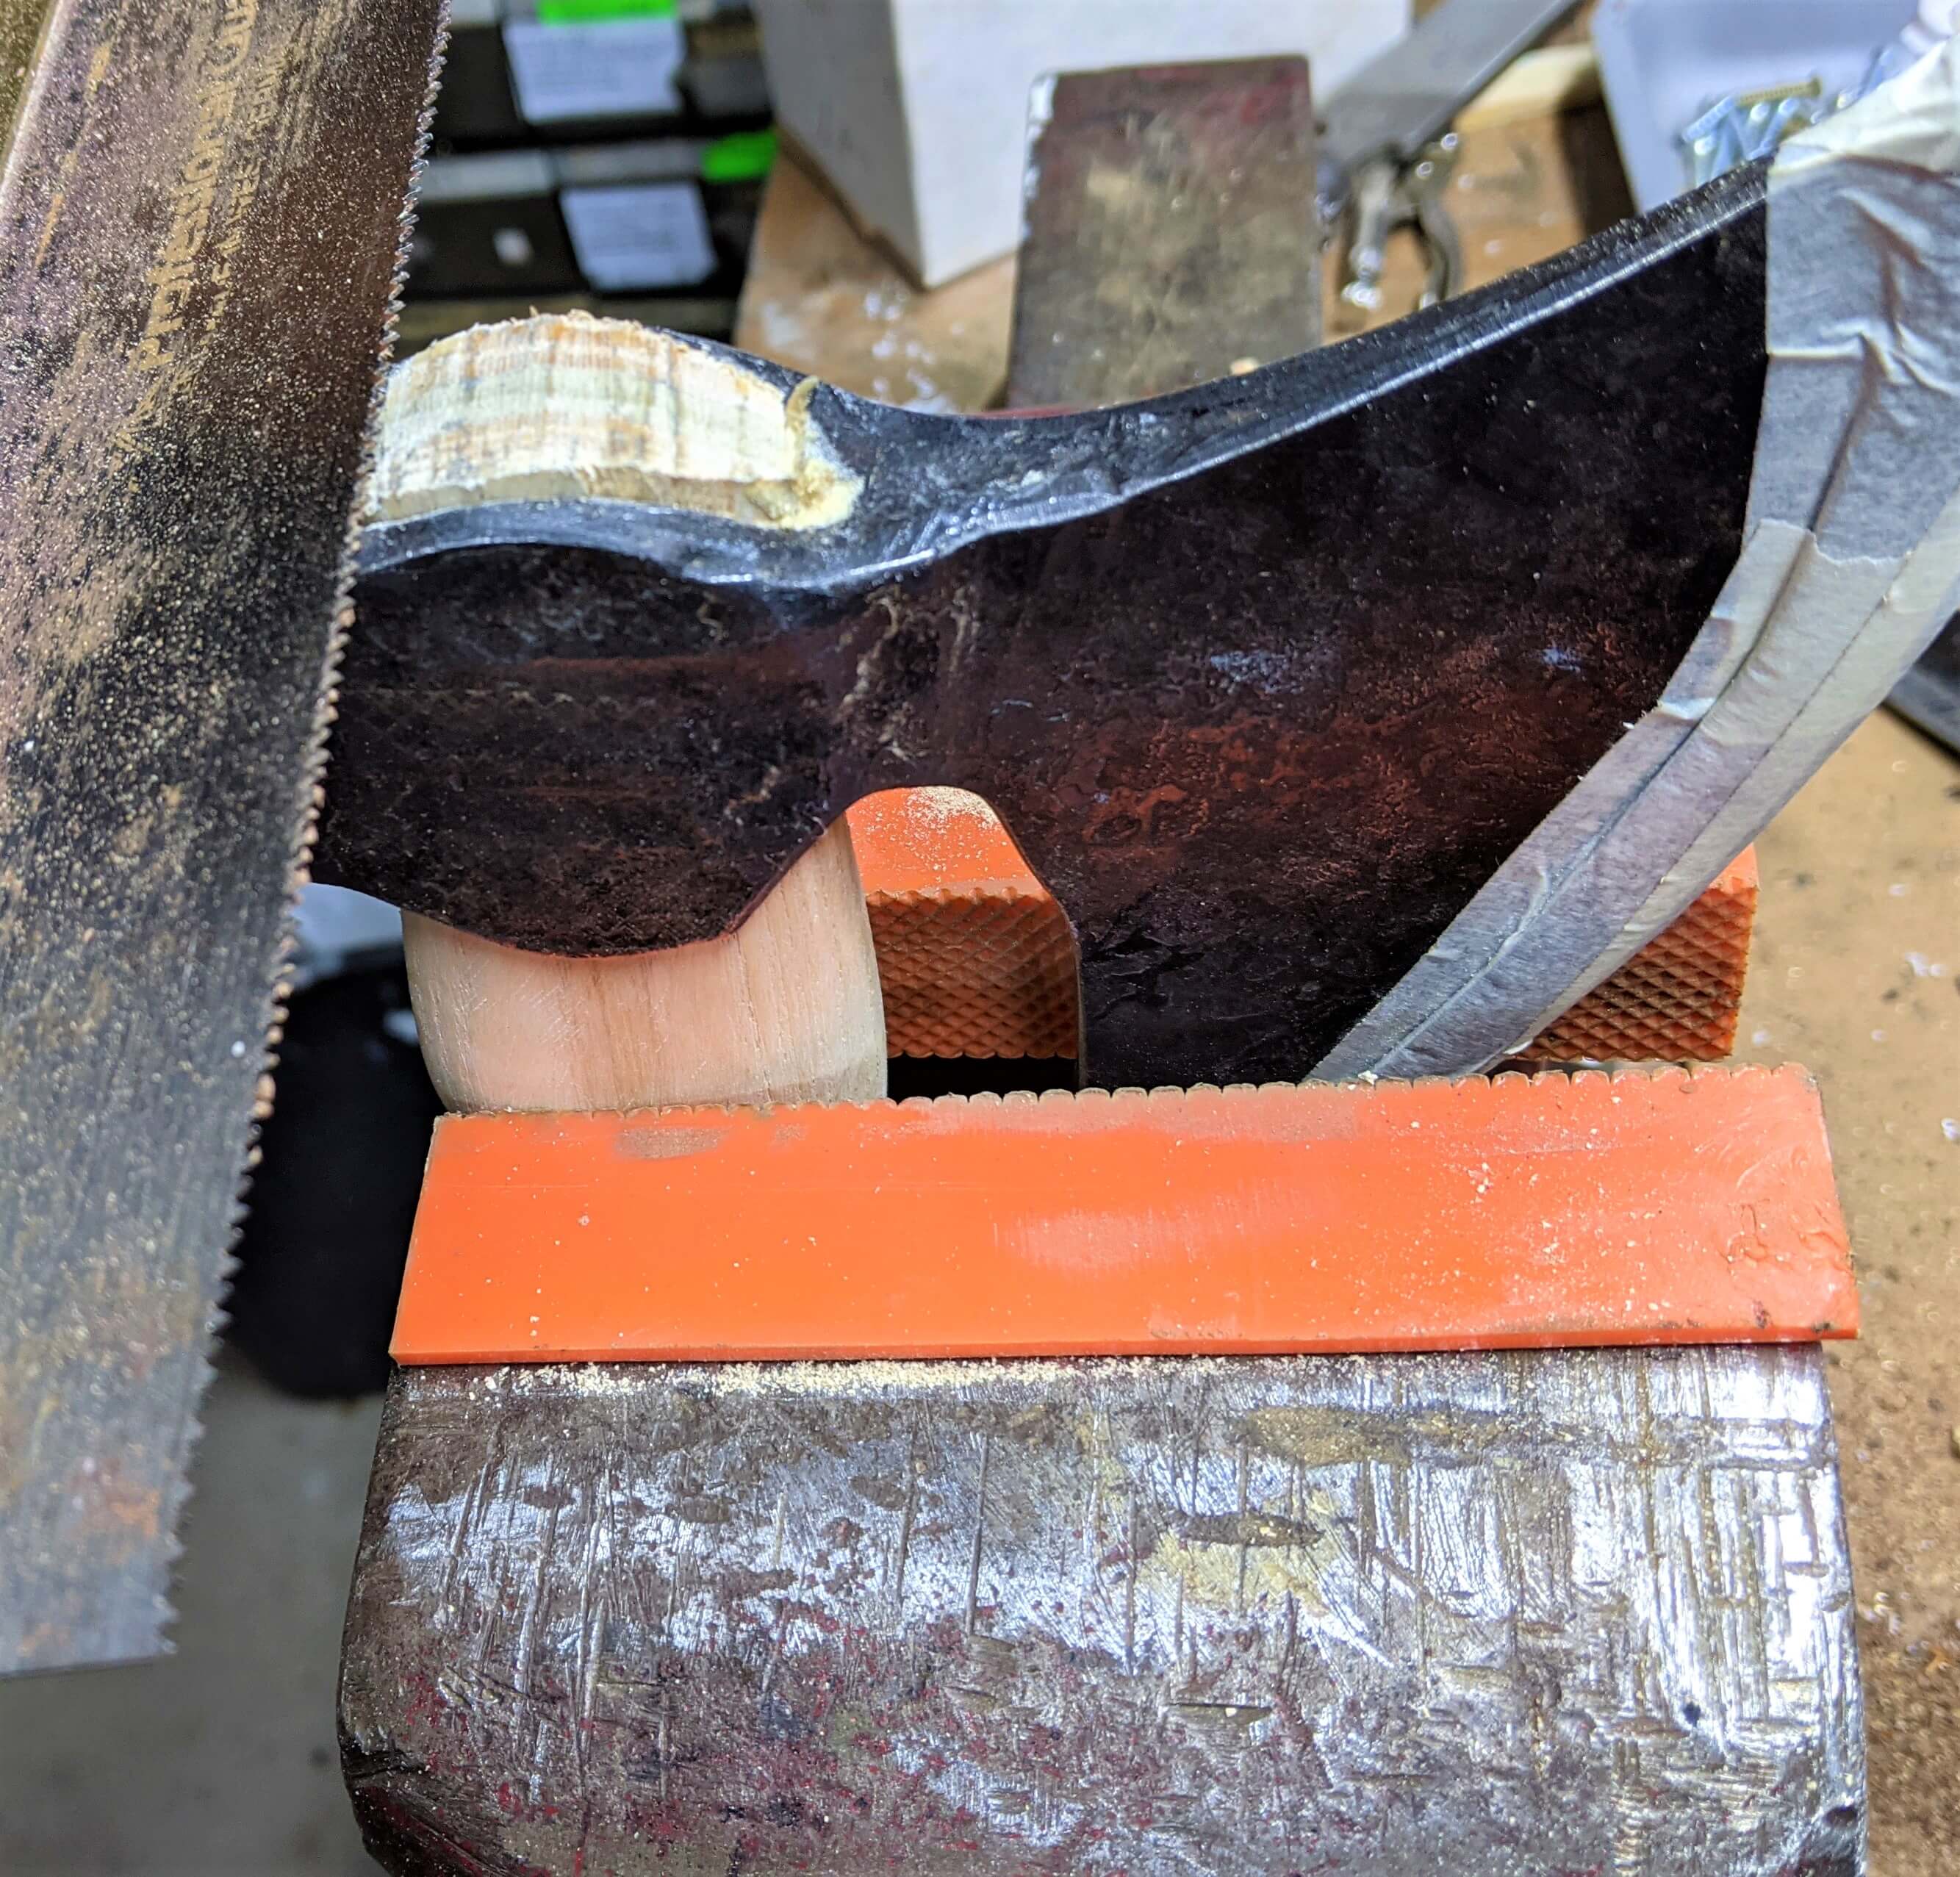
The metal top of the hatchet is called the head. It has a teardrop-shaped opening called the eye, where the handle attaches. In the eye, the wooden handle is attached with a wooden wedge that is glued and pounded into the ripped saw cut running from blade to back, known as the kerf cut. The eye of the hatchet is often wider at the top, so this wedge adds side pressure to the connection and results in a very tight fit.
The hatchet head sits on the handle at a wide point known as the shoulder. A good hatchet handle should be comfortable to hold and work with, often with a curved shape. The process of attaching a handle is called hafting.
Tools & Materials
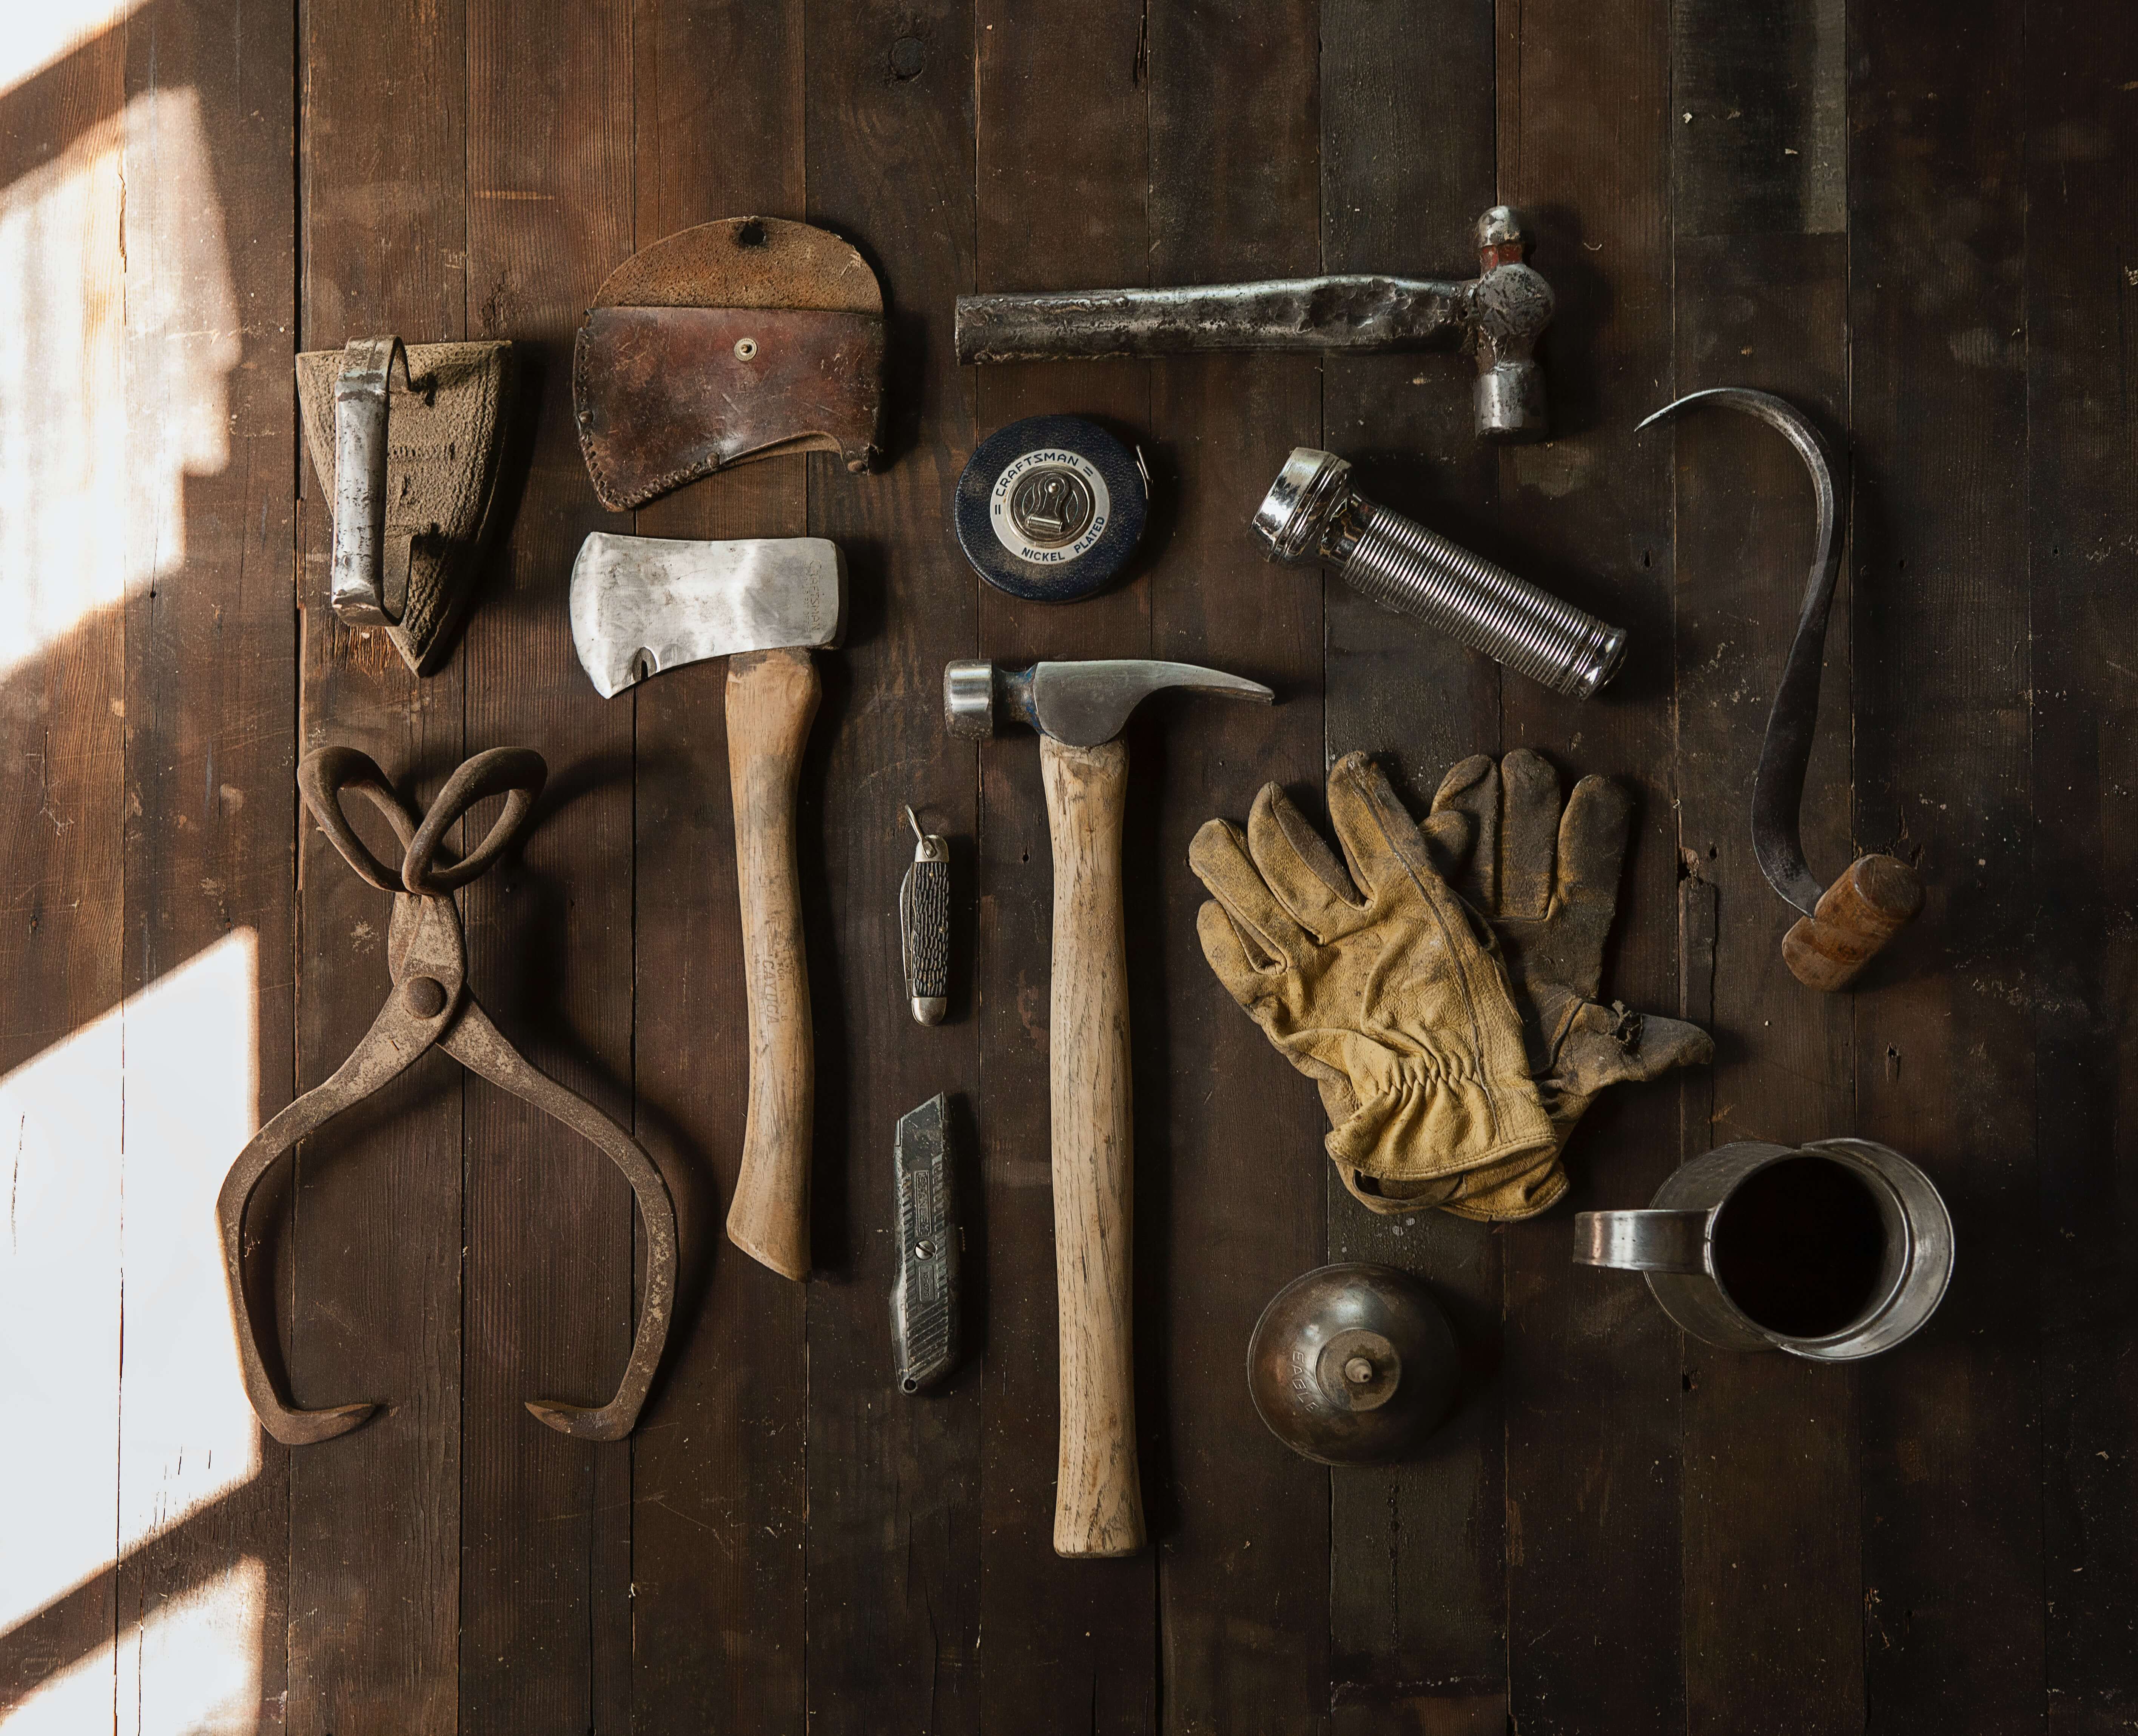
Tools
Materials
- A hardwood (ash and hickory are preferred) handle blank that is at least the width of the eye of your tool + ½”. The wider your blank, the curvier you can make your handle.
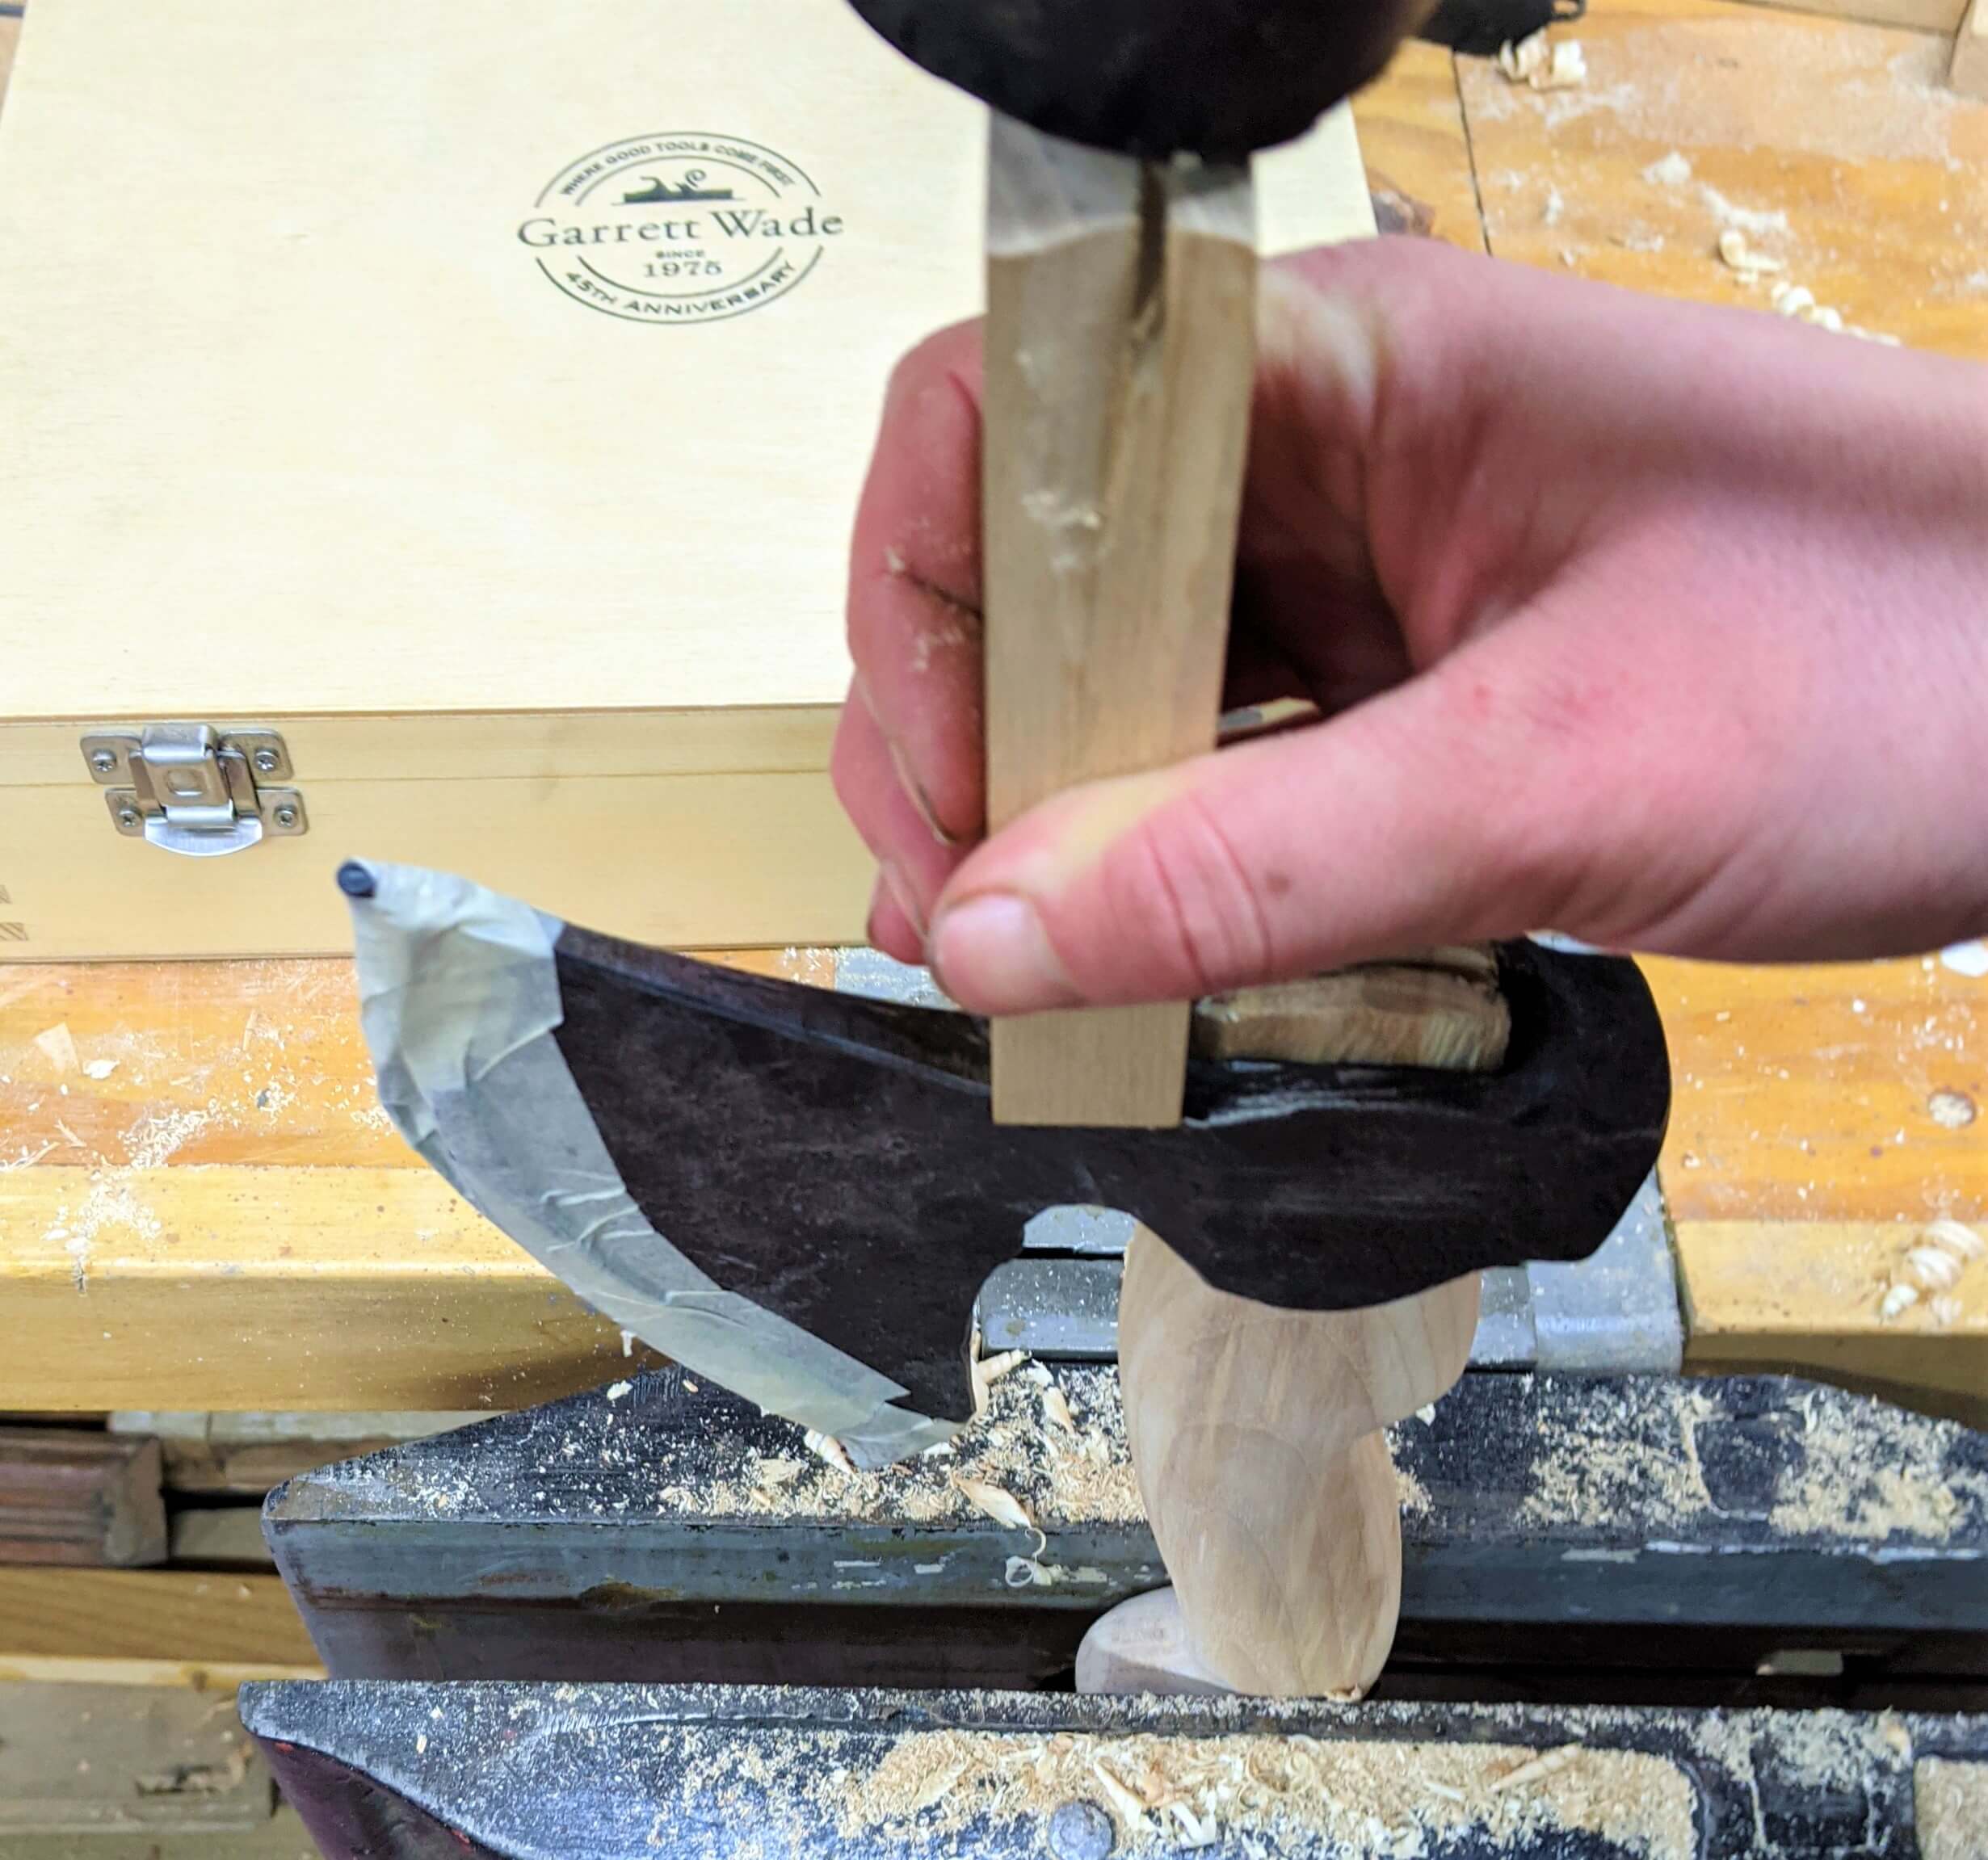
- A hatchet or axe head that is ready for a handle (rust removed, sharpened). We recommend you sheath or tape over the sharp edge with painter’s tape or masking tape to protect the blade.
- Hardwood wedge that is the width and length of the hatchet eye. It should be no thicker than 1/3 the eye width.
- Wood glue
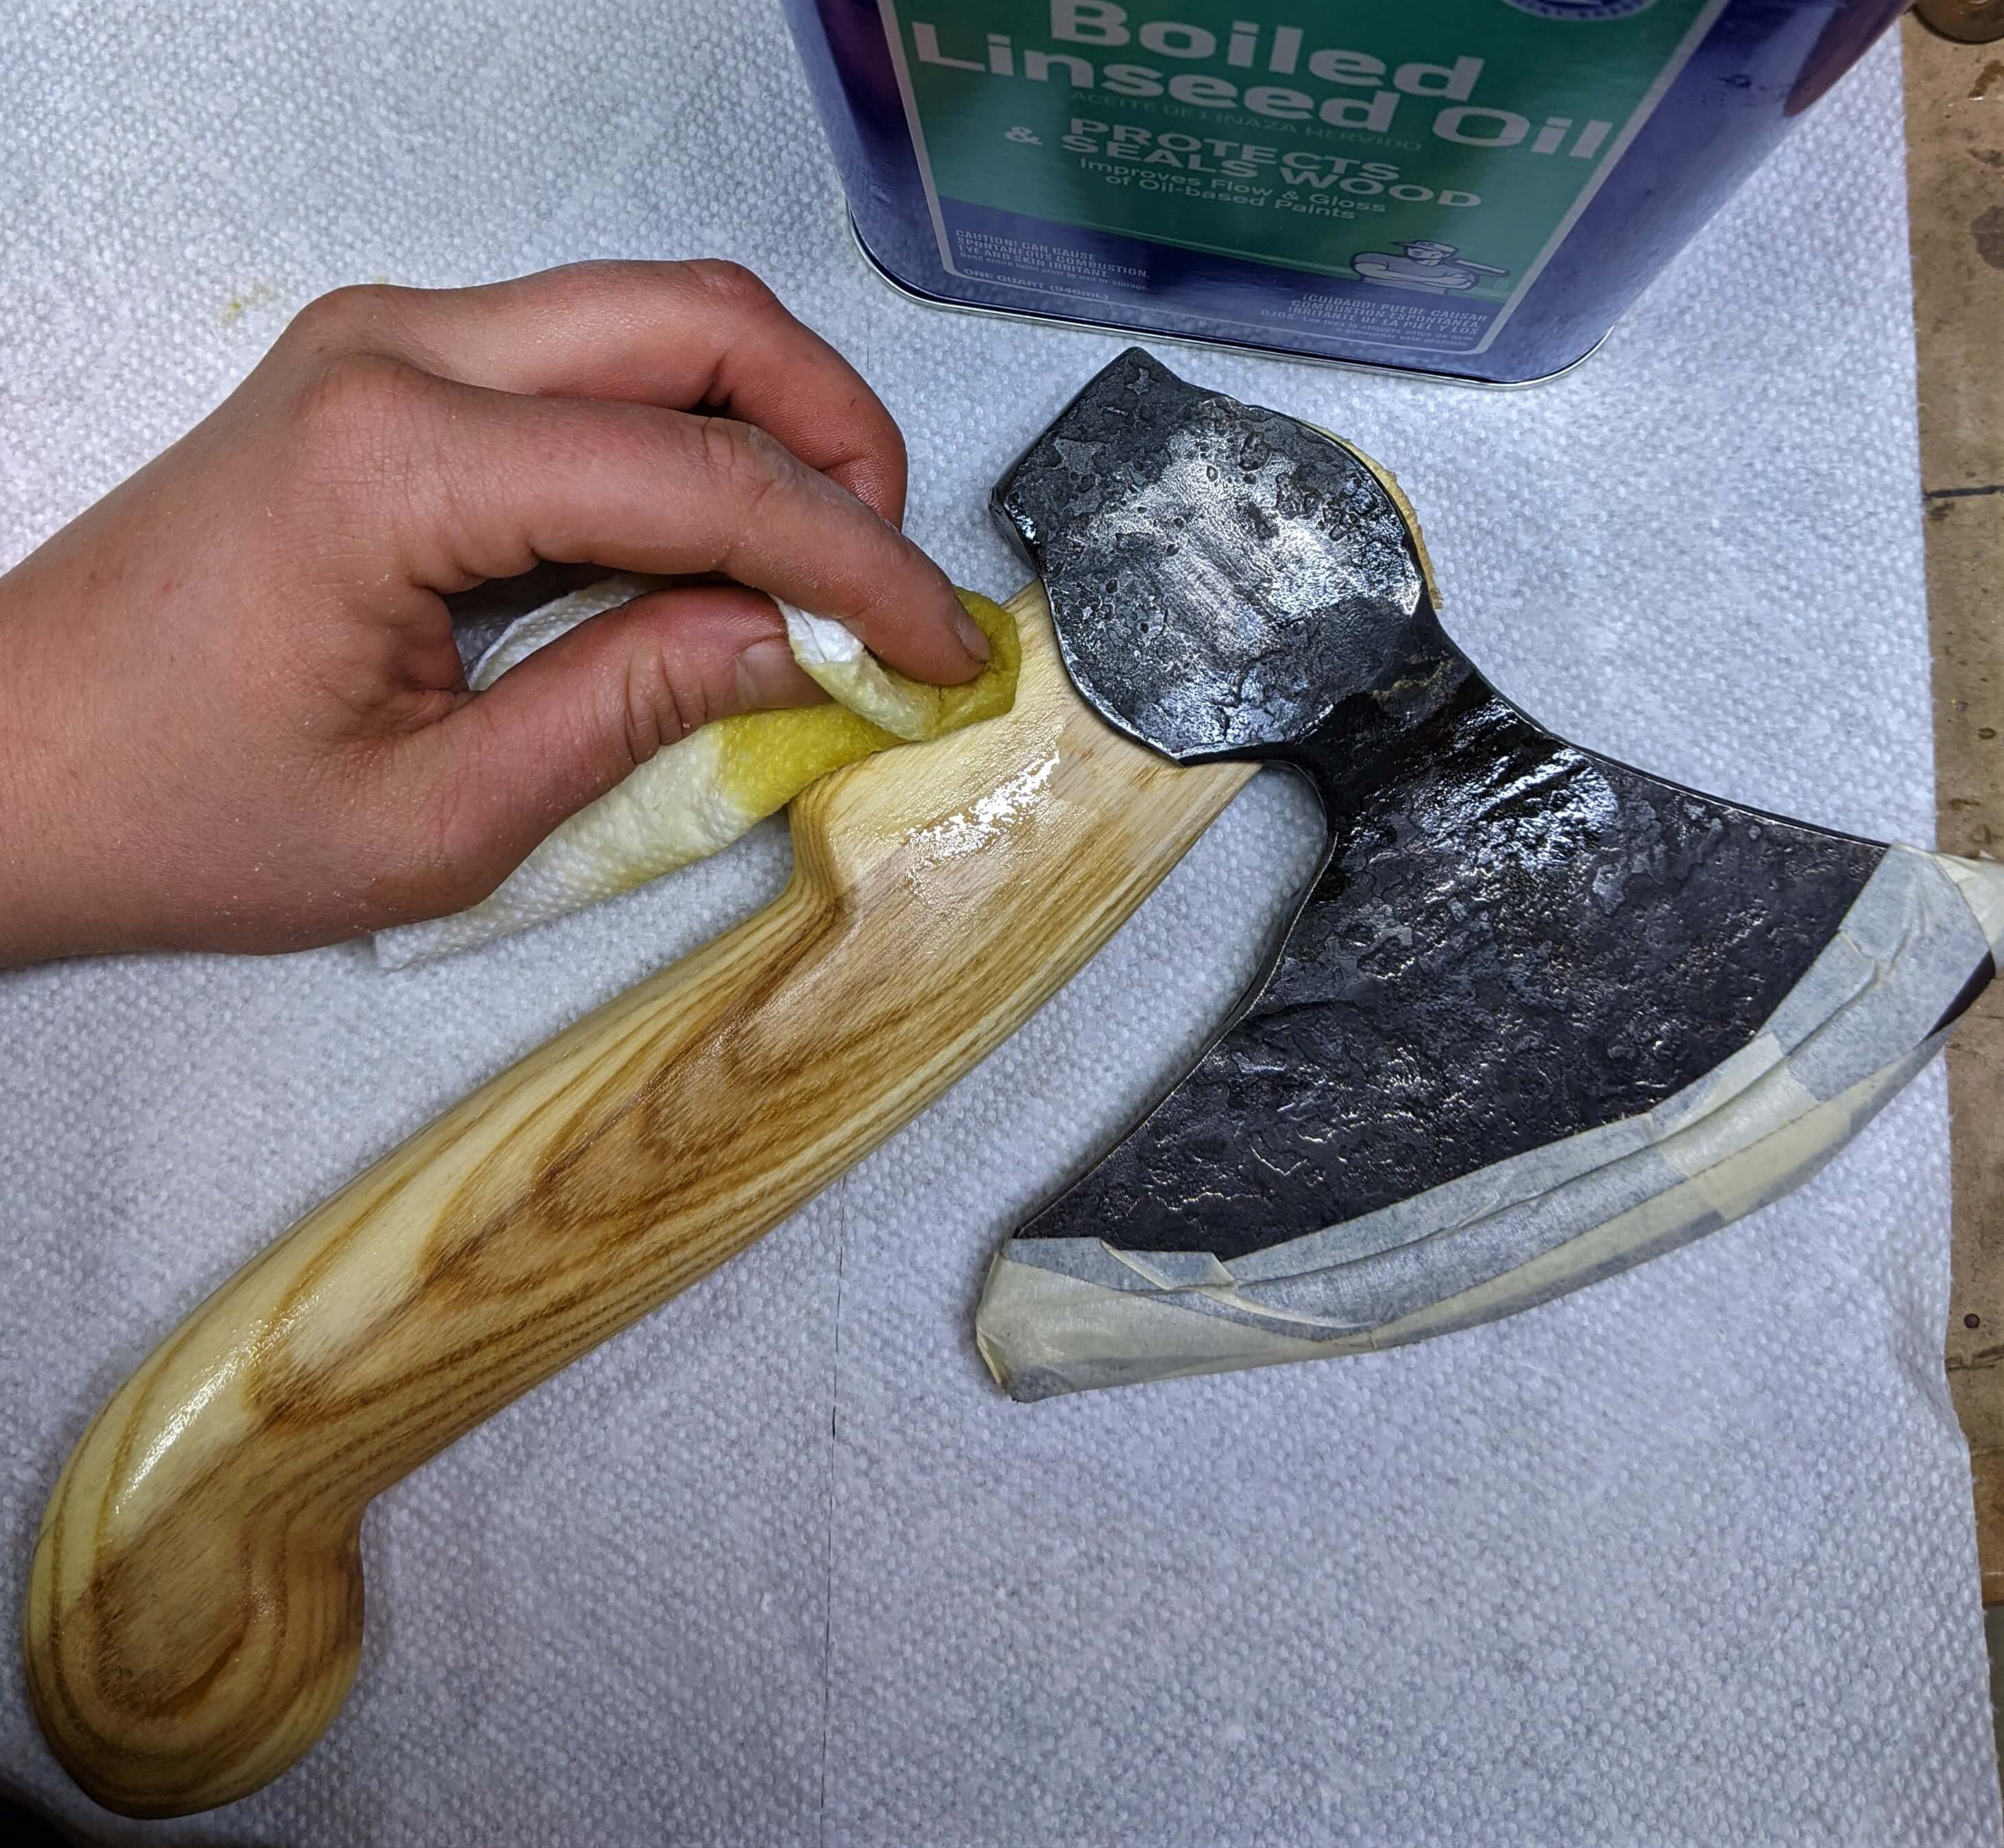
- Boiled linseed oil or varnish for finishing
Before You Start Learning How to Make a Hatchet Handle