
Japanese Garden Tools Vs. American: What’s the Difference?
You may have seen Japanese gardening tools popping up more in stores and online. Sure, they&rs… Read More
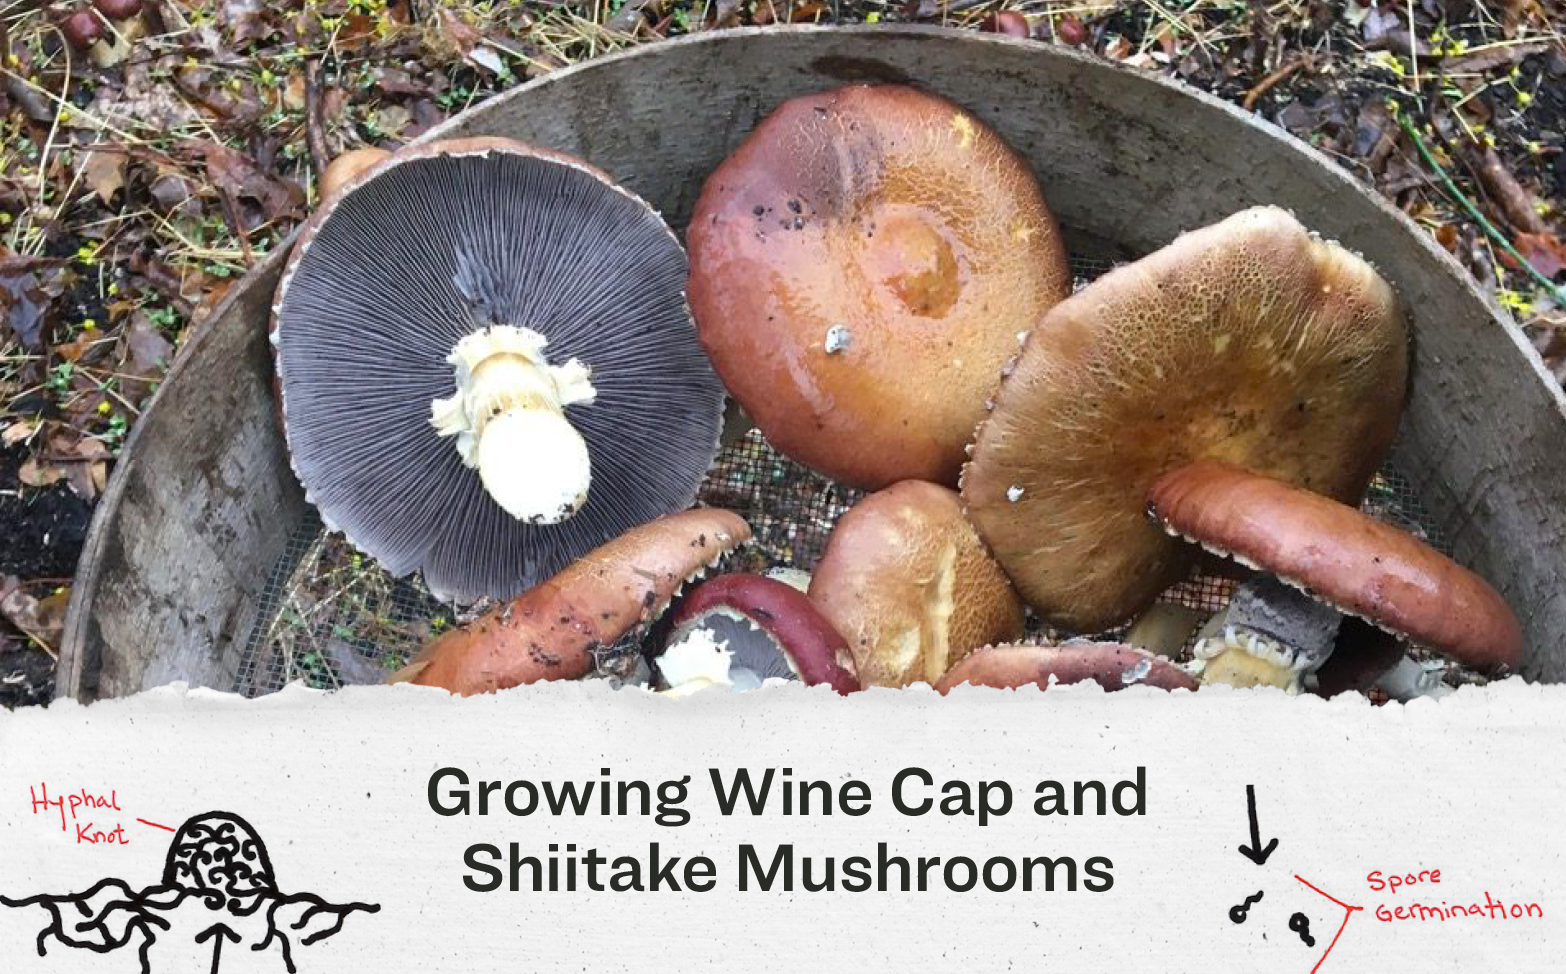
Growing your own food is an act of rebellion against an oppressive, nonrenewable, and unjust food system. Thus, I want to share my knowledge of producing mushrooms, both indoors and outdoors. All mushroom supplies can be purchased at companies such as Field and Forest, Fungi Ally, North Spore, and many more. I encourage you to research local providers since this will ensure the smallest ecological footprint and support small businesses. Below I will discuss a few mushrooms I’ve had success with outside, but this is just the tip of growing edible, gourmet mushrooms.
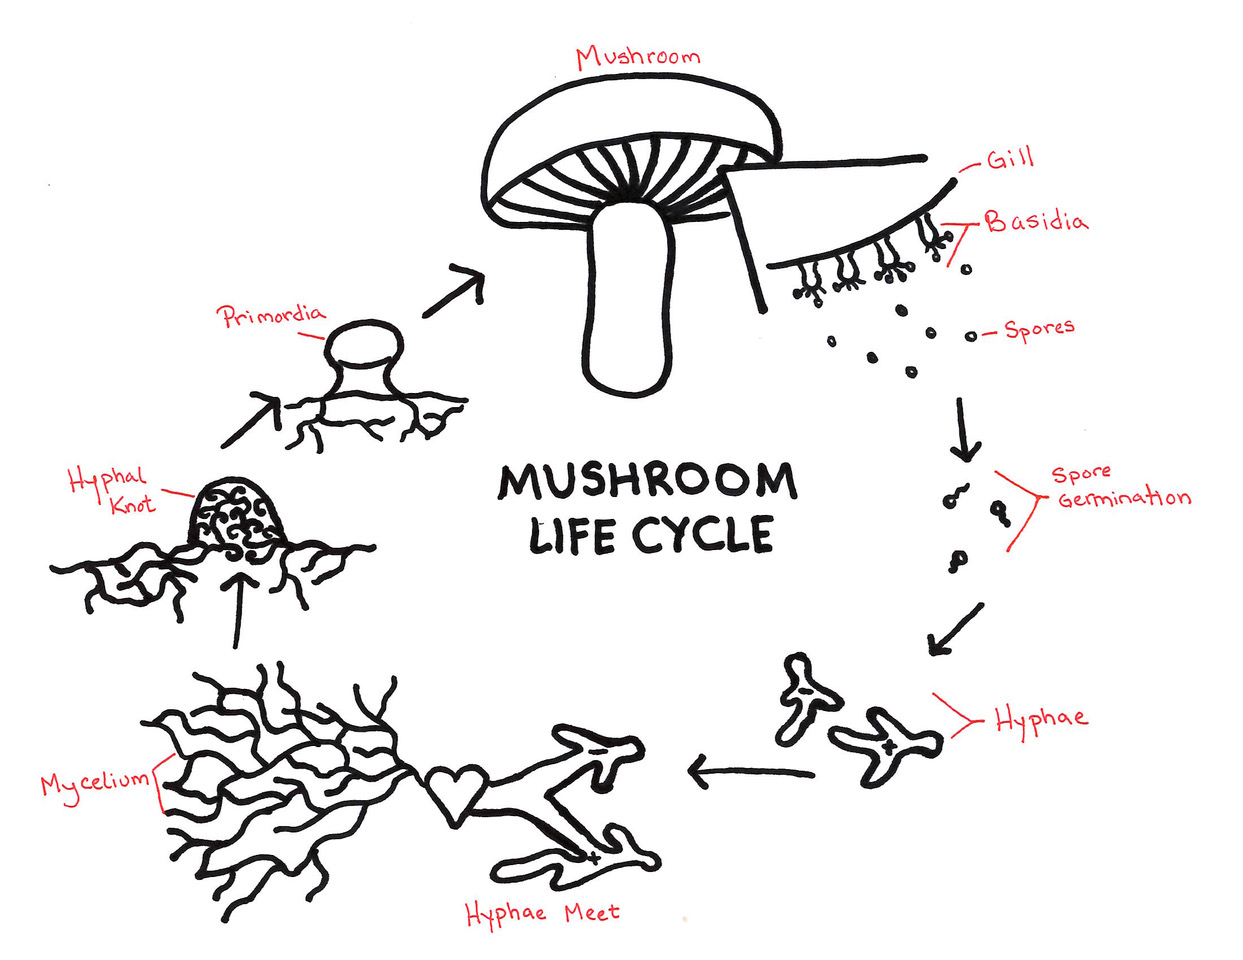
But first, a quick lesson on mushroom biology. Mushrooms are an amazing kingdom whose genetics are closer to humans than plants. That is why they are a high source of protein and can be used as meat replacements. Mushrooms consume material in their environment. The quote-on-quote roots of the mushroom are called the mycelium. Mycelium usually lives underground and reacts to changes in the weather including heat and cool spikes as well as rain. Mushrooms reproduce through microscopic spores and grow multi-directionally. The diagram below, provided by the mycologist Yellow Eleanor, illustrates the fungal life cycle.
If you have a garden, or even a patch of dirt in your backyard, it is possible to grow mushrooms for your consumption. Outdoor varieties are often perennial, meaning they will come back year after year if they like their environment and have a food source. An ideal mushroom home is generally a shady, moist place that won’t dry out in the sun. Each species of mushroom has different characteristics though, thus requires different treatments.
Grown on hardwood chips or straw beds, Wine Cap mushrooms grow quickly and their port wine colored caps and white stalks are very juicy and succulent, perfect for soups or grilling.
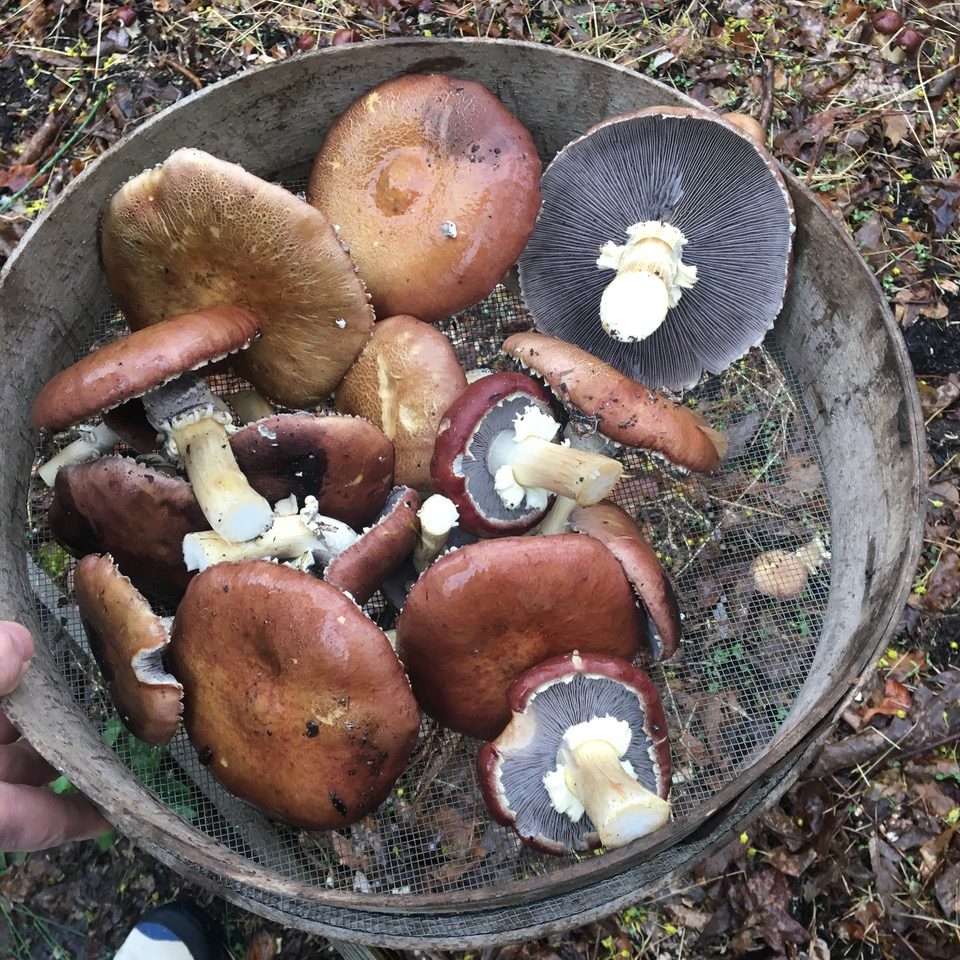
(Freshly planted wine cap bed with two layers of straw, 2 layers of spawn, and final layer of year old oak mulch.)
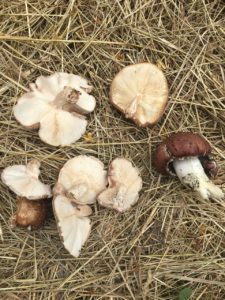
Wine caps take anywhere from 4 to 13 months to colonize their space and produce mushrooms. Once the mushrooms appear, their caps will be tight and open over the course of a day or two. Wine caps can be harvested early when their caps are still closed tight over the stem, or when they have grown tall and revealed their beautiful purple gills. Harvest with a knife close to the base of the stem. Often rain will trigger fruiting. Mushrooms grow very quickly once they are above ground. Keeping a close eye on your crop is important so you don’t end up harvesting an old mushroom. Overtime, your mulch will decompose. For continued care, add a new layer of straw or wood mulch every year to encourage consistent growth for your wine cap patch. Overall, these are a very easy mushroom variety to grow and will flourish with neglect.
Shiitake comes from the Japanese, meaning mushroom of the “shii” (oak tree). This mushroom prefers hardwood species such as oak, maples, and American beech. Shiitakes need wood that is from a healthy tree and cut fresh during the early spring when leaves haven’t developed and the sap is running up the trunk. A log won’t be as welcoming for the shiitakes if it has been sitting for more than 2 months and cut at the wrong time of year.
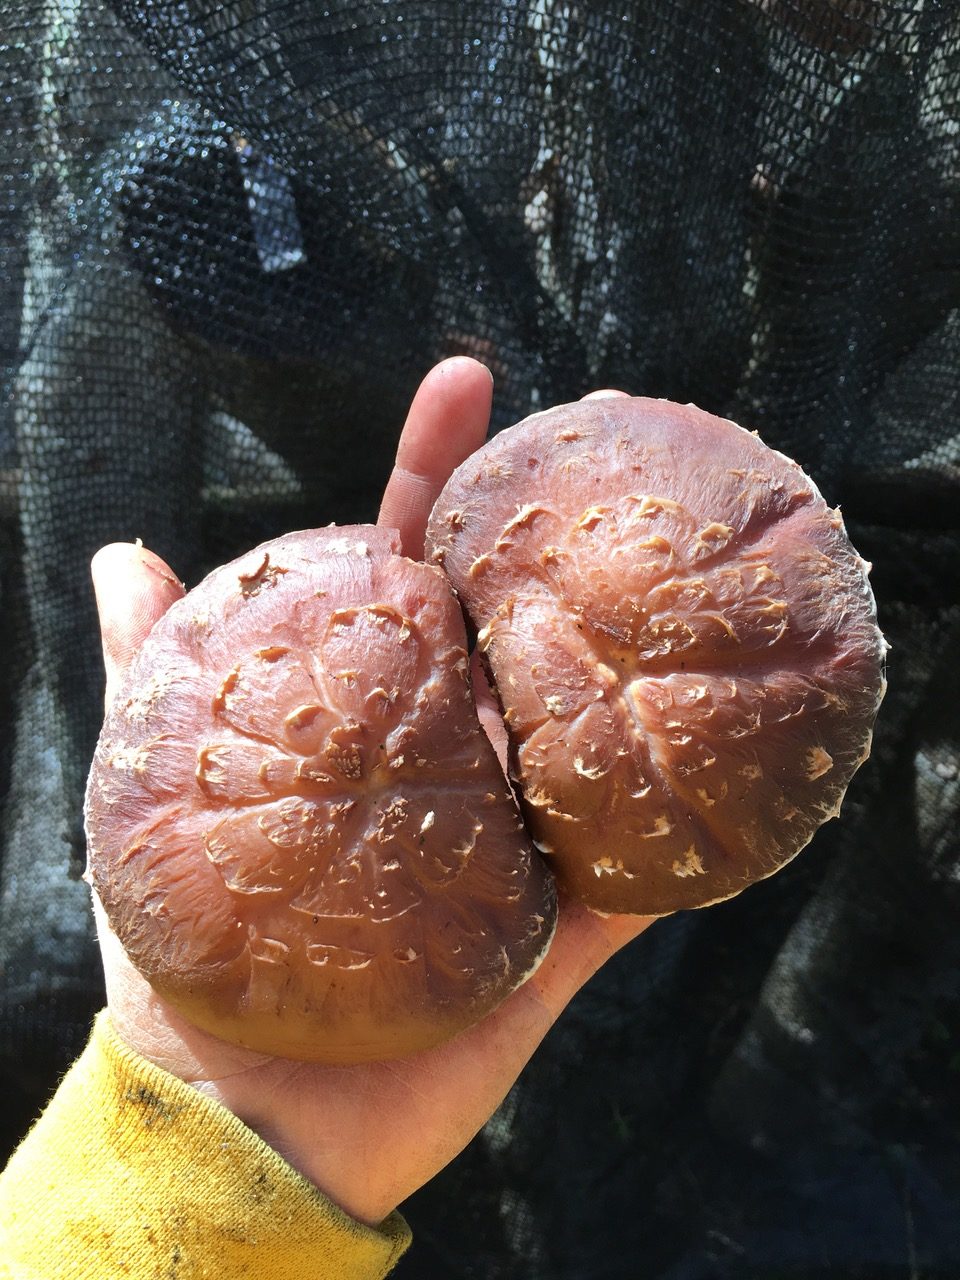
(Fresh, log-grown shiitakes harvested and eaten the same day taste incredibly sweet and have a lovely meaty texture.)
The perfect bolt, aka hard wood log for mushroom planting, is 4 to 8 inches in diameter and no more than 36 inches long. Basically, the goal is to have the bolt manageable for you to carry. Some ways to acquire logs include talking to the forestry services in your area as well as public works. Purchasing inoculated logs from online is also an option. If you are planning on harvesting the bolts yourself, summer and fall would be the best time to identify the species, select your trees, and mark them.
Shiitakes respond to temperature, humidity, and access to food. A lot of these factors are controlled by the log’s bark. Thus it is important to select bolts without damaged bark. You also want a log with a lot of sapwood vs. heartwood (note the photo below). After harvesting, you want to let the wood sit for at least 2 weeks before inoculating with your mushroom spawn.
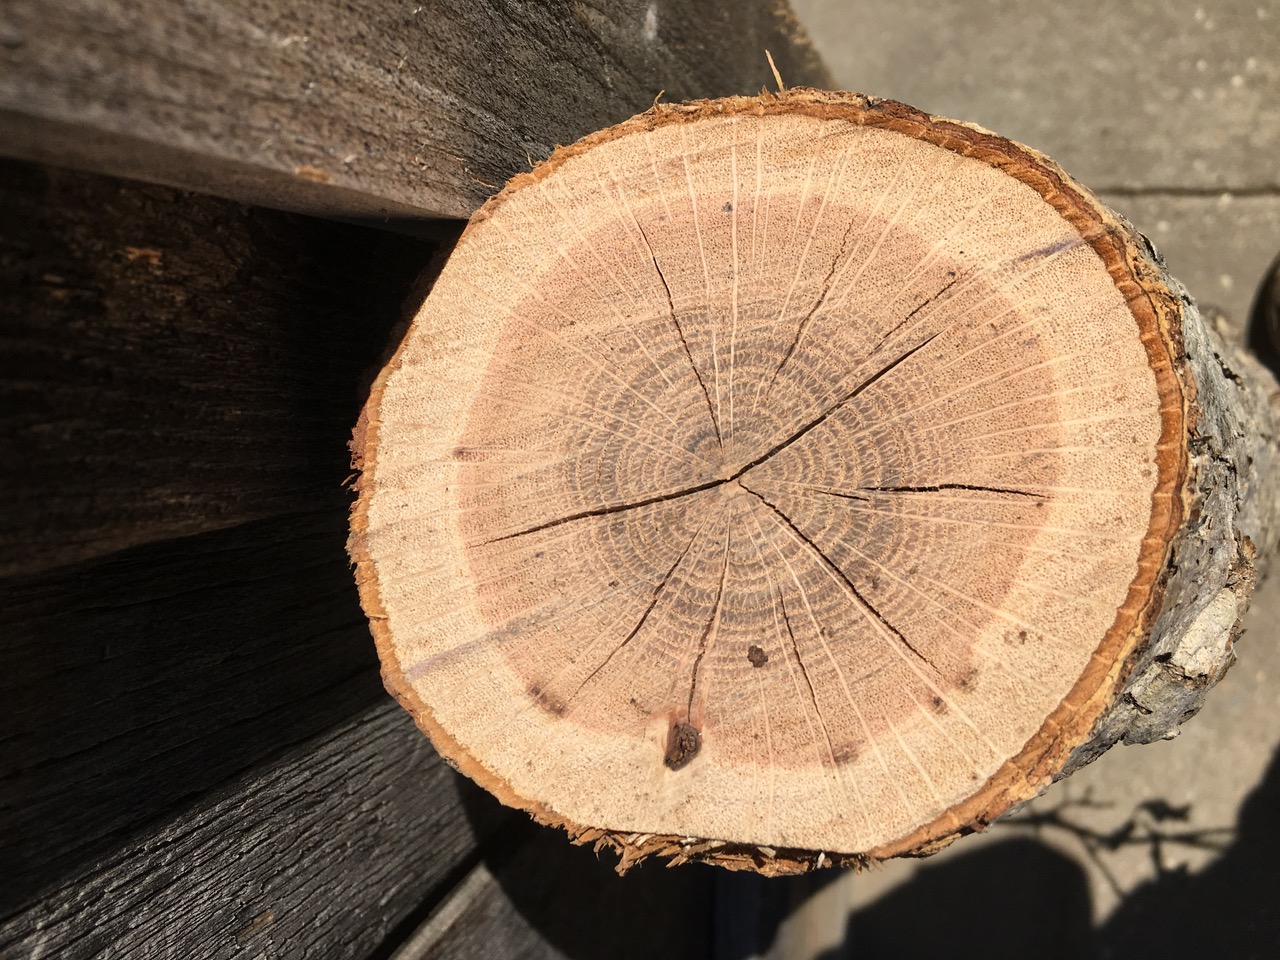
(You can tell this oak log is freshly cut and good for shiitakes since it has a healthy layer of sapwood, the lighter colored wood, closer to the bark. If you harvest a tree and note only a thin layer of sap wood, that means the shiitakes will have less food to live on.)
Drilling, filling, and waxing are the basic steps to inoculating your logs. I recommend purchasing the correct drill bit (12 mm screw drill bit with one inch stop) as well as the thumb style inoculation tool, which efficiently inserts spawn into the holes. Of course, you will need to buy your spawn too. A 5.5 lb bag of shiitake mycelium will cover approximately 20 logs.

(Shiitake drill hole measurements illustrated above.)
On a surface where you can roll the log, drill holes 6 inches apart in row with a 2- inch separation between rows (reference the above image). Once the log has been drilled, take your inoculating tool and insert its open end into your bag of spawn to load your tool. Place the loaded side against an empty hole and fill the hole by pressing your thumb on the back button.
Waxing is the final step to inoculation day. Heat up food grade paraffin wax, aka cheese wax, in a crock-pot or in a pot (that you don’t care about since it will be waxy for the rest of time) that can be kept warm so the wax stays liquid. Using a cheap brush, dab the hot wax onto the filled holes to seal the shiitake spawn inside. It is recommended that you date your logs marking their year of inoculation as well as strain of shiitake used. I use metal tags, which are sold online at the companies I listed in the introduction.
Now that you’ve done the hard work of planting the mushroom “seed” in your logs, it is important to choose a home for your logs. Shiitakes love moisture and shade. They should be treated with care especially in their first year of existence since the mycelium is working very hard to settle and spread. An ideal location is a wooded section of your property where there are evergreen trees that will provide shade all year round. But any shady spot will do, as long as the logs won’t be sitting in direct sunlight for more than an hour or two. If your space doesn’t seem to have any shade, you can create shade. I’ve used a simple line going over the logs and some cloth to make a tented space for some of my logs.
Once you’ve chosen a location, the inoculated logs ideal positioning is to have one end of the log on the earth and the other leaning against a tree or railing. This way, the log maintains a connection to the earth floor, which will help keep moisture stable.
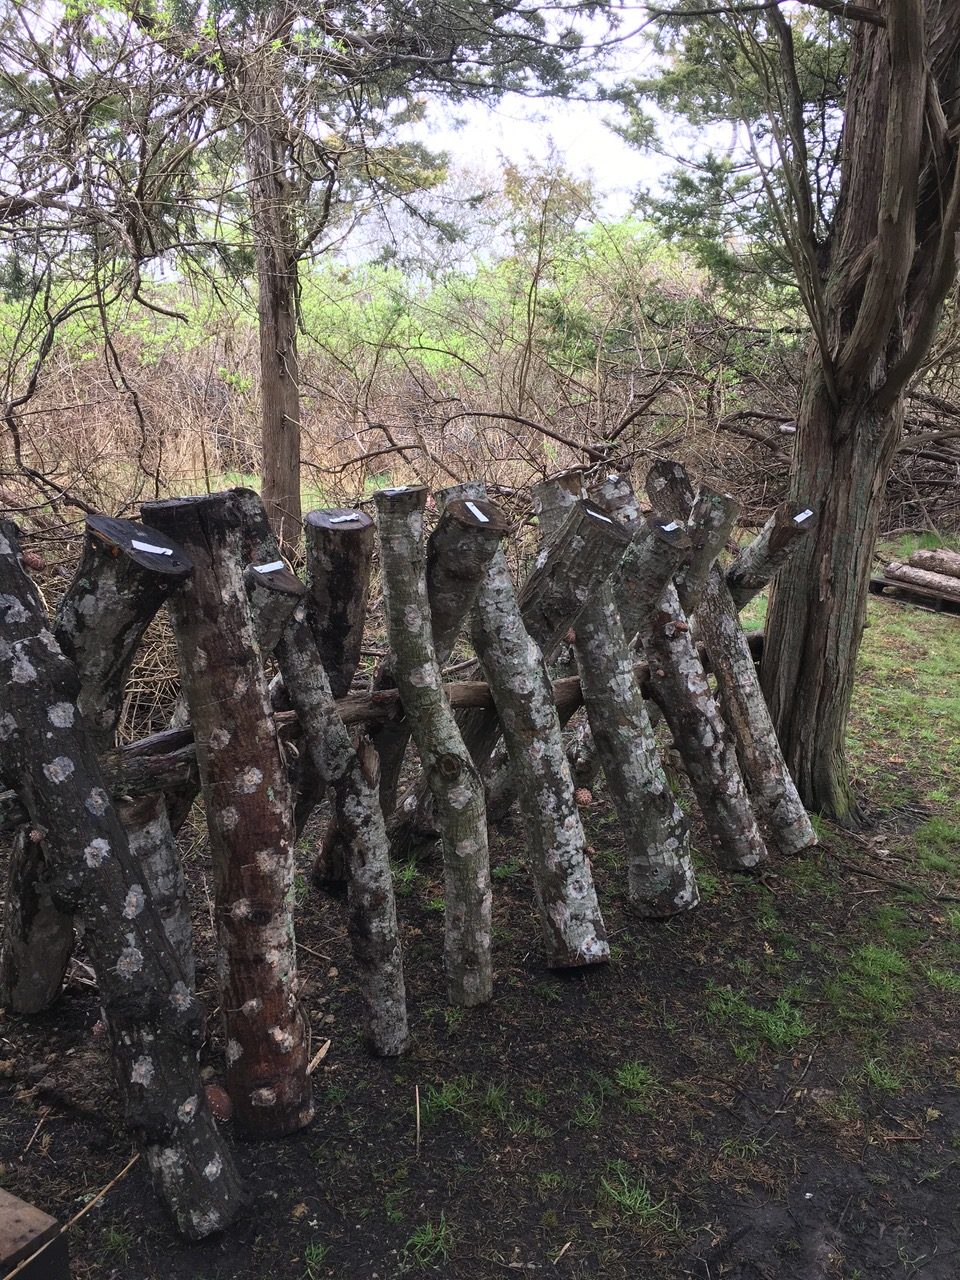
(Inoculated oak logs are propped up in the shade, leaning against a support bar.)
The logs will sit in the shade all summer. If it has been a nice wet fall, you can expect to see some baby shiitakes appear from of your bolts. But don’t be disheartened if you don’t witness life popping from the logs. Sometimes spawn, especially if they are housed in thicker bolts, take time to fully colonize their new homes.
After a year has passed, there is a technique you can use to increase production on your logs called forced fruiting. Forced fruiting is a fairly simple approach where you stimulate the mycelium into production by “shocking” the logs in a cold water bath. By soaking your logs underwater for 16 to 24 hours, your logs will be fully remoisturized as well as experience a temperature change. You will be impressed to see how quickly your logs will start pinning, or showing tiny mushroom babies on the wood’s surface. Logs need to be rested 6 to 8 weeks between soaks. If you cannot procure a large soaking tank, some people use nearby streams or ponds to float their logs in. You should avoid salt water and dirty water sources. If using this method, make sure to tie your log to the shore so it is easy to get out.
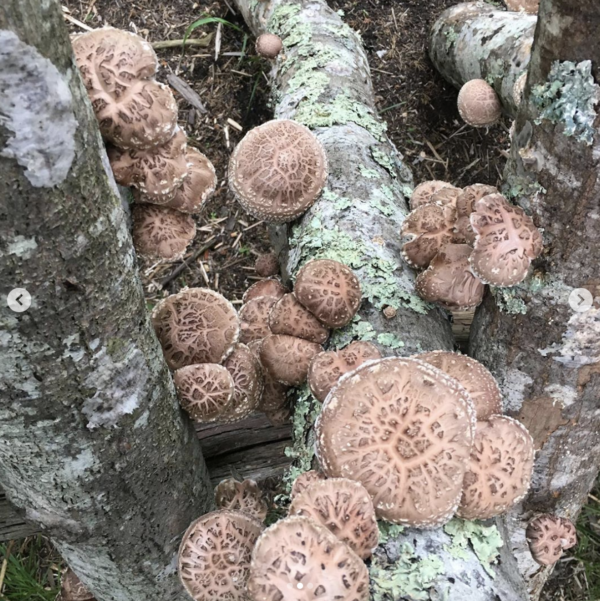
Post soaking, the log’s production pops off with each log producing upwards of 3 lbs of mushrooms.)
When you harvest shiitakes, use a sharp knife to cut the stem as close to the bark as possible. They are best enjoyed when their cap has fully opened and the gills are visible. Cap diameter’s can range between 2 and 5 inches. Again, it is important to keep your eye training on your logs since major growth can occur in a few hours.
Overtime, your shiitakes will consume their wood home, eating their logs until the wood is totally digested and turns into beautiful material for your soil. But this will take years. Generally logs will be productive for 8 years, but this is dependent on the size of the log. Many who invest in the inoculation tools repeat the process every spring to expand their collection of logs.
In conclusion, mushrooms planted and grown outdoors can be a steady source of food for you for years. There are so many more mushroom species and techniques you can research and explore beyond what I’ve described. Some cool ones to look into are the wedge method used for oyster mushrooms on downed trees. Or the totem method used to grow lions mane.