


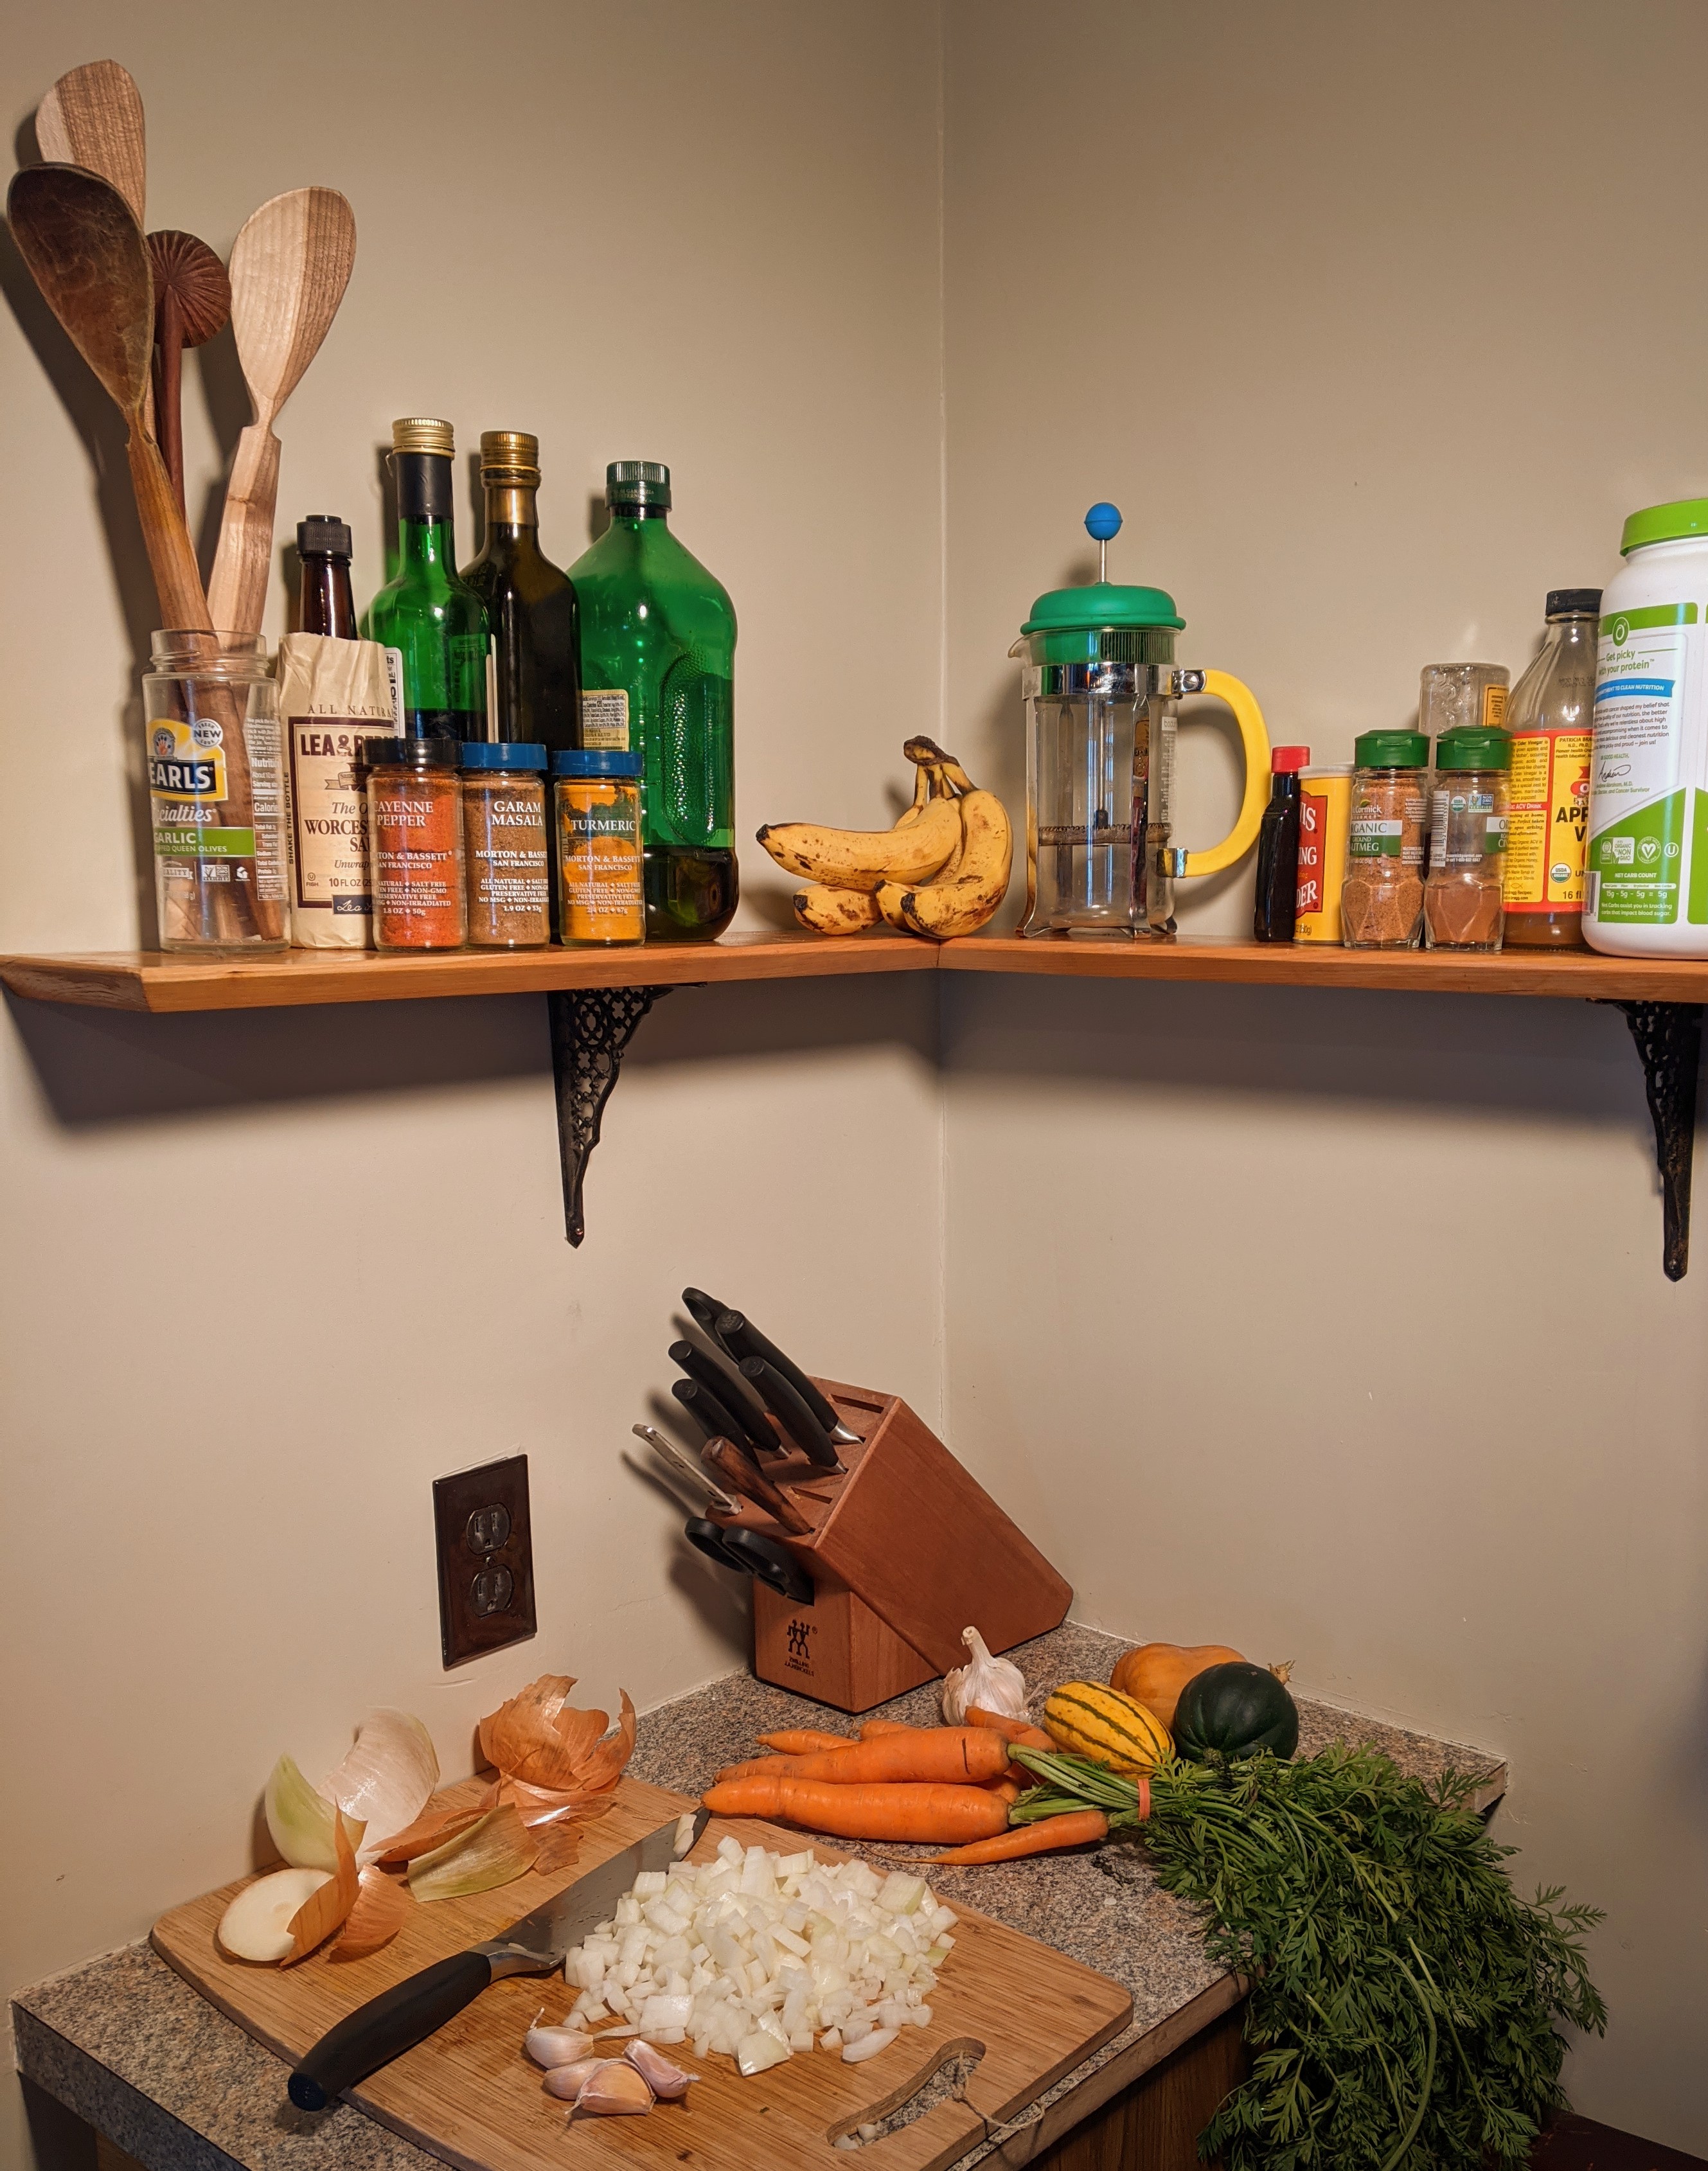
Like many, I am spending much more time at home this year. I live in a small cabin with a quaint (read: tiny) kitchen where counter space is prime real estate. Eventually, all my walls will be littered with cute shelves full of useful things and assorted treasures. Every journey begins with one step, so I am starting with the shelf I need the most: a corner shelf for my spices and oil bottles in my kitchen. Shelves are a very simple project and can be much cheaper and higher quality than store-bought offerings. They only require a few key tools and some good planning in order to achieve a high-quality result. For these cherry shelves, I went to my local lumber yard and got some 6” wide short lumber. The brackets are from my father’s collection of antique hardware but can be found at local flea markets and yard sales if you’re lucky. The main skills you will need to make this project a success are chamfering (to plane off corners of wood for a faceted finished look), and cutting and fitting miter joints (joints cut at 45 degrees like picture frames).
Tools and Materials:
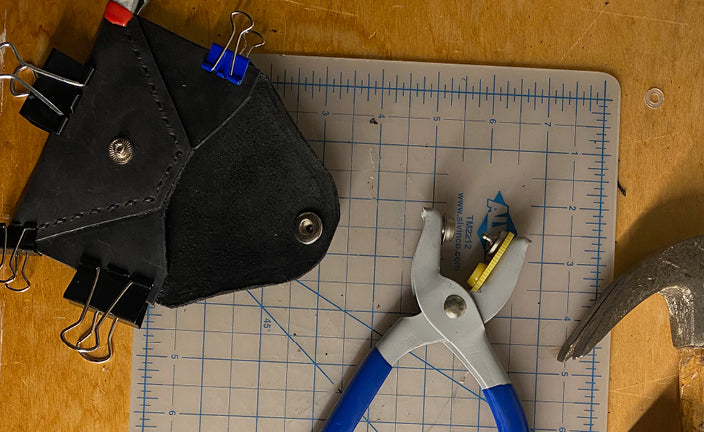
Tools
- Stud finder or high-powered magnet
- Measuring tape
- Square and 45-degree template
- Saw
- Spokeshave
- Hand plane
- Plate joiner
- Clamps
- Hammer and nails
- Level
- Screw driver
Materials
- Lumber for the shelf itself. I used 6” wide cherry from my local lumbermill.
- Biscuits. Although you are welcome to make a shop snack of biscuits as well, these are composite wood ovals that strengthen your miter joint. You can find them in any hardware store.
- Wood glue
- Wax paper
- Scrap wood and small wood wedges
- Sandpaper and varnish to finish
- Brackets: I used some cast iron brackets from my dad’s hardware store.
- Fasteners of choice
Steps:
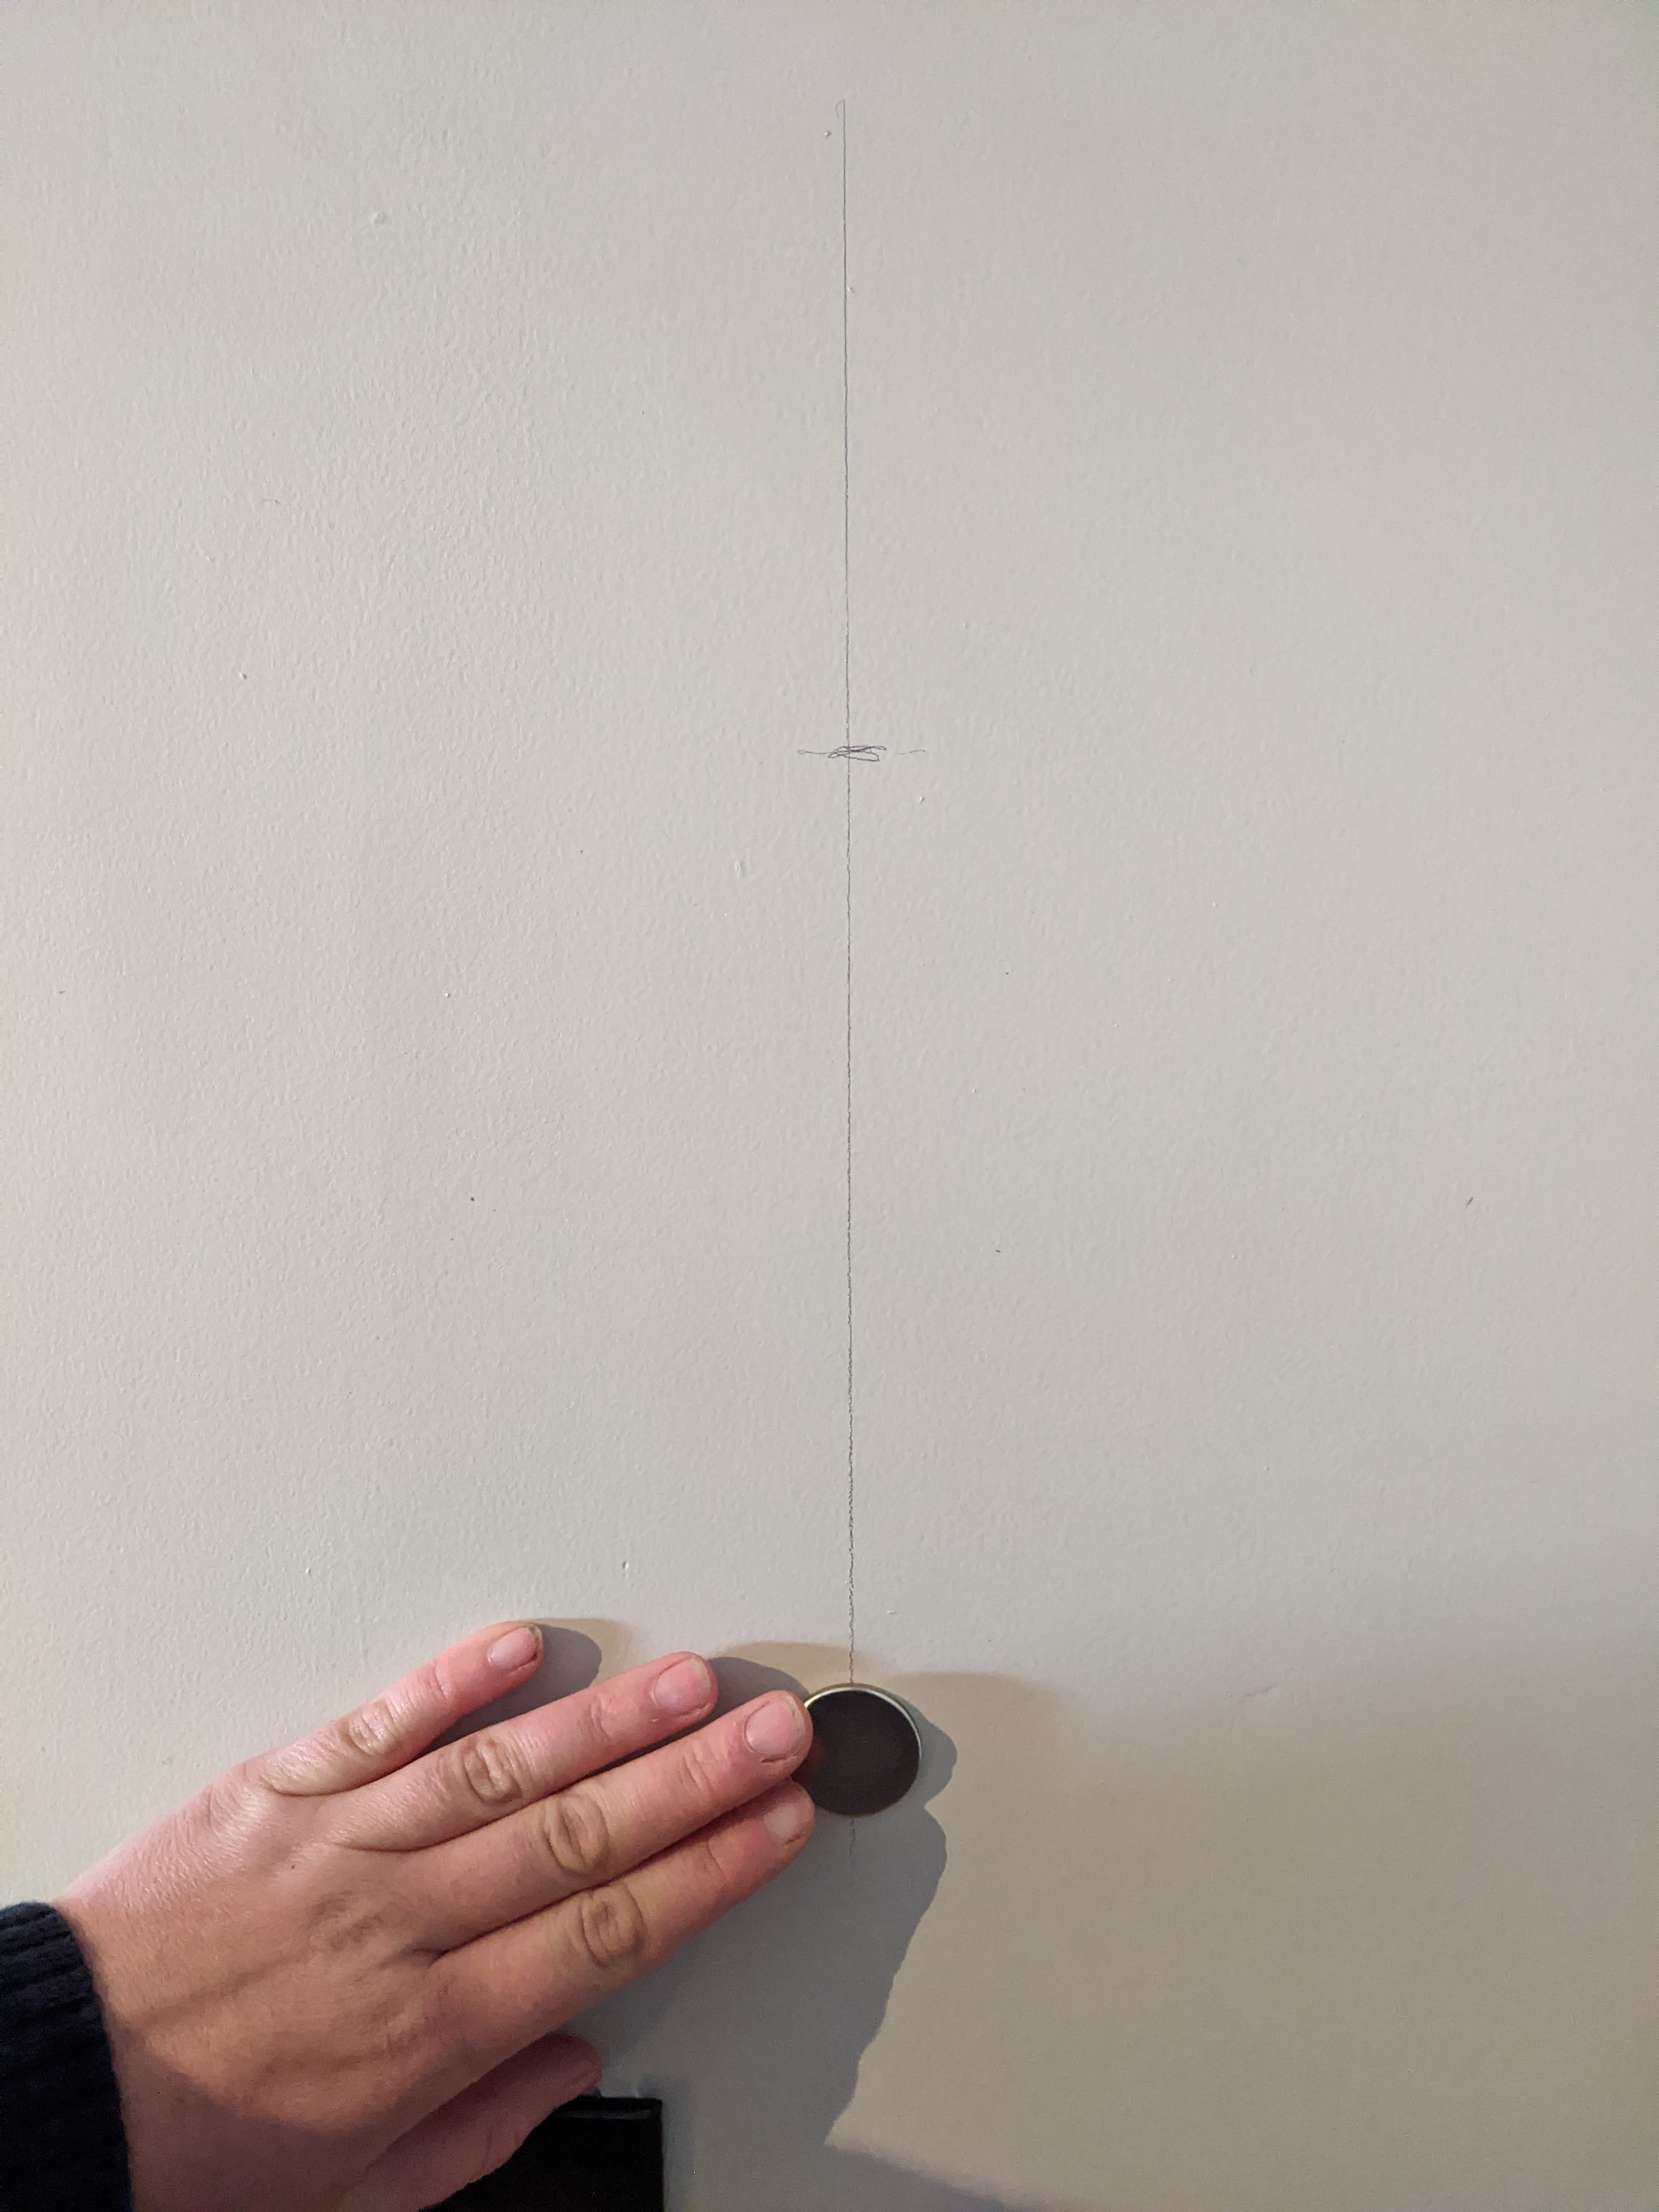
1. Find and Mark the Studs
The stud measurements will be the cornerstone for all future measurements. If you don’t have a stud finder, you can use a high-powered magnet to locate the drywall screws, and thus, your studs. I prefer the magnet method because my stud finder has gotten confused on several occasions leading to me drilling holes in unsupported drywall. Since my shelves are going in a corner, there isn’t much I can do about stud placement, but it is good to know that at least one stud exists on each side for the desired length of the shelf. Mark your studs and record the measurements.
2. Measure and Cut Shelf Halves
First, measure and cut your shelf pieces to the desired length. Draw a 45-degree line across on one end of each half where they will meet to form a 90-degree shelf. Cut along the line on each half with your saw. I used the radial arm saw to cut my pieces so that I could double check my angle lines with the laser line of the saw. Before proceeding, test fit of your miter cut. Decide which side should be the top and which should be the bottom, and label them to prevent mistakes with your chamfers. If your shelf is at eye level or below, put the prettiest side on top. If it is above eye level, make the bottom side the nicest side.

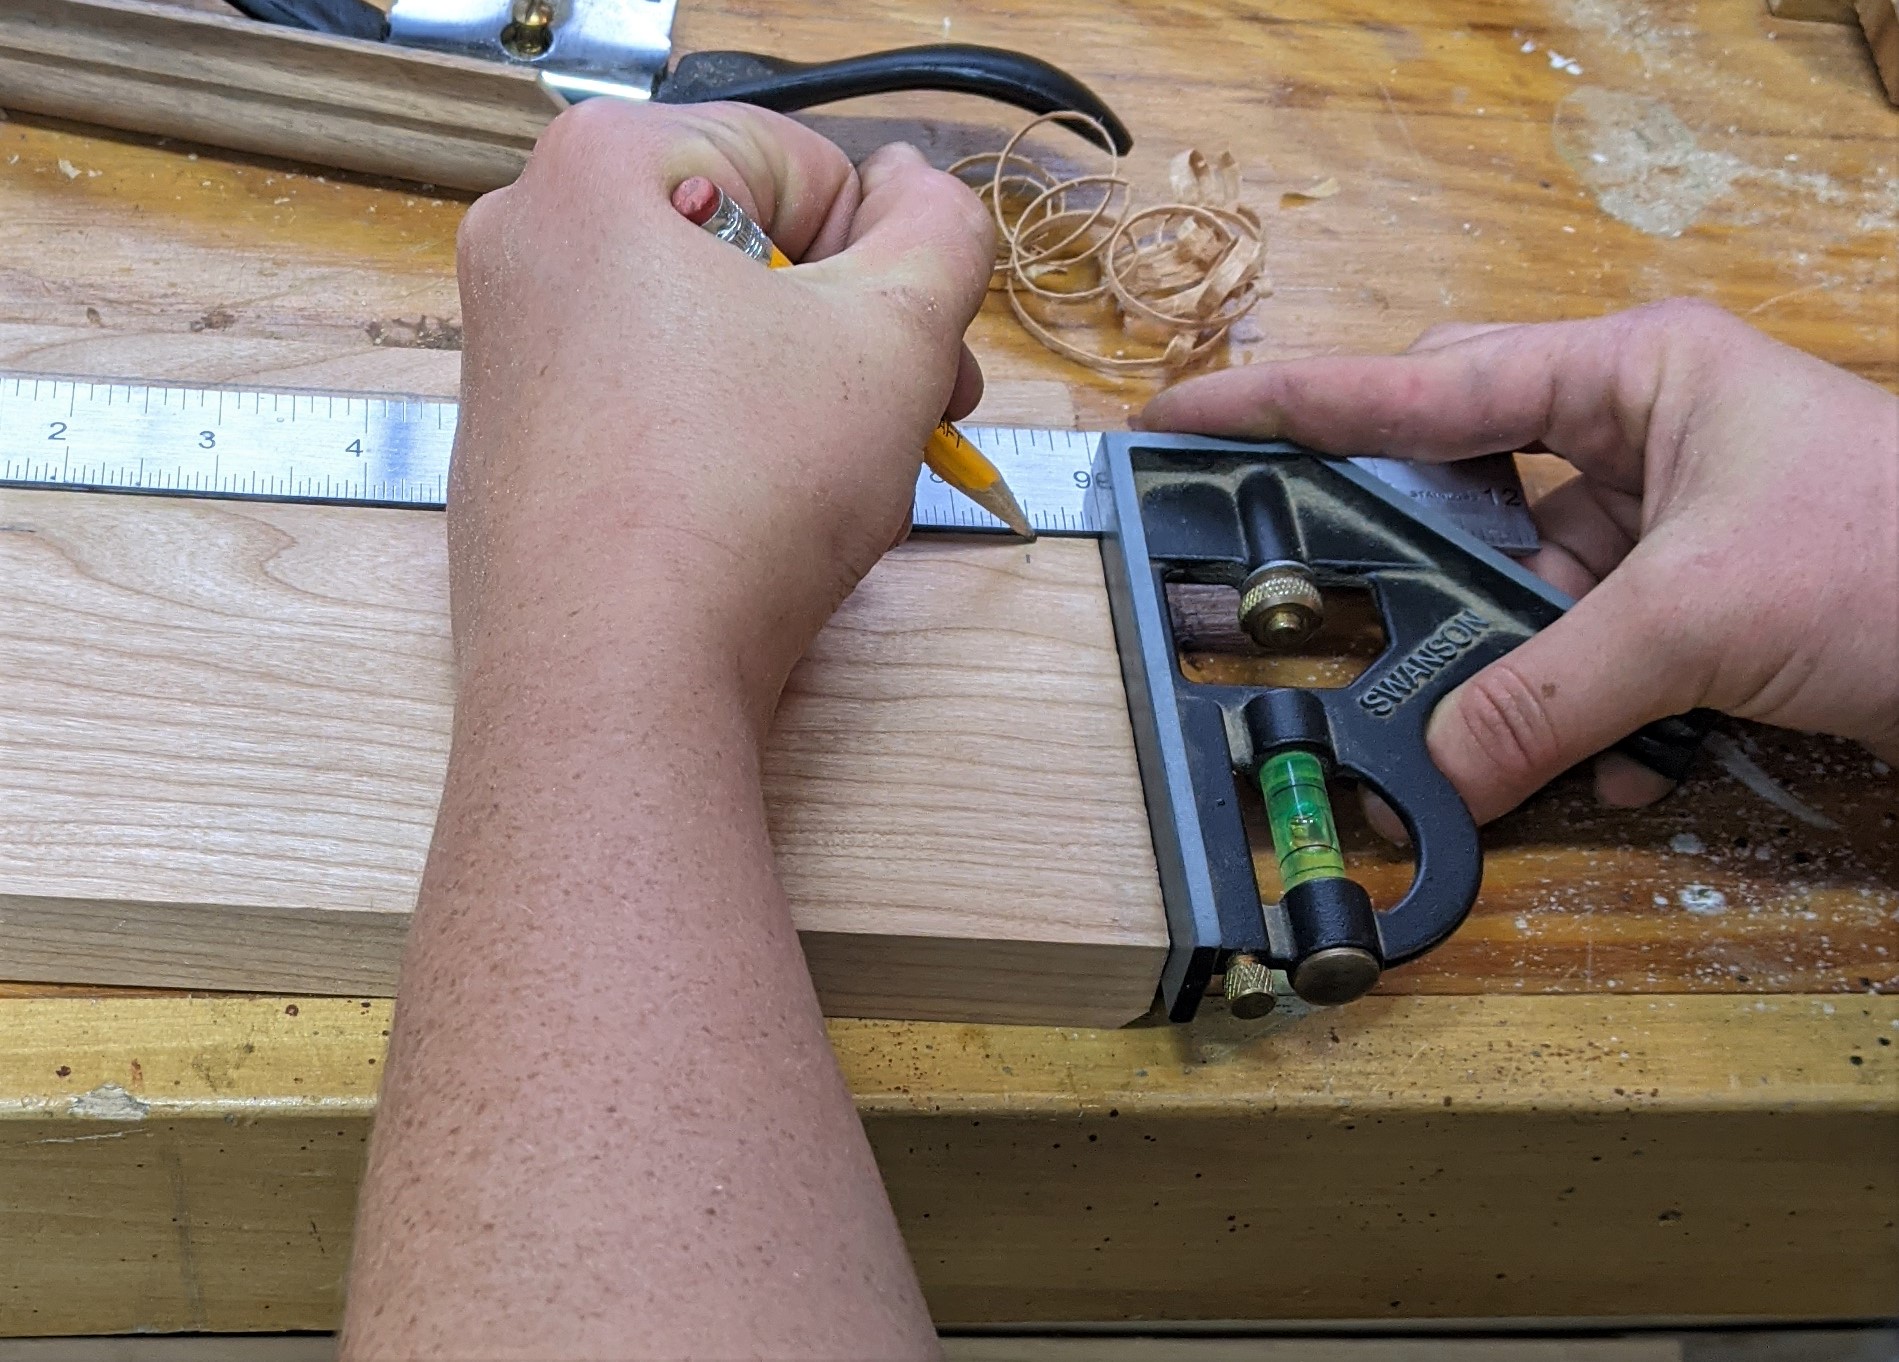
3.Chamfer Edges
A large 1/2” chamfer on the bottom edges and a small 1/8” chamfer on the top edges will give a nice finished look without compromising too much shelf area. Begin by drawing guide lines to the correct depths on each edge. With your hand plane, chamfer the top and bottom corners of the fronts and sides of your shelf halves. Do not chamfer the 45-degree miter edges or the back of the shelves. As a rule, I always begin with the end grain chamfers and then do the side grain chamfers. This reduces the risk of tear out on your final edges. The spokeshave is a great tool for bulk removal on the larger chamfers.
4. Join Shelf Halves
You can either join the two shelf halves with just glue or cut a joint if the pieces of wood are thick enough. Since my shelves will be holding many glass bottles of spices and oils, I am reinforcing the joint with biscuits. If you are using another joinery technique, be sure to account for it in the total length measurements of your shelves. Without glue, assemble the miter and mark the center line where the biscuit grooves will be cut. This lines up with the guide line on the plate joiner. Clamp the shelf half to the bench and use the plate joiner to cut out the mortises where the biscuits will sit. Be sure to press down on the tool so that it cuts a nice parallel channel. Repeat on the other half. Dry fit the pieces with biscuits in place to make sure everything lines up. Add a thin, even layer of glue to both sides of your joint and to all sides of each biscuit. Set the two halves together and clamp overnight. Tip: Clamping a miter joint can be tricky without the right clamp due to the unyielding powers of physics. I nailed some scrap wood to my workbench on the outer sides of the shelf. I then nailed two short pieces of scrap wood to the bench 1/4” away from the ends. I then tapped in a series of wedges between the scrap wood and the shelves until the joint fit perfectly. With wax paper underneath the joint to catch any escaping glue, I clamped the shelf to the work bench and let it sit overnight.

5.Finish Shelves
Once the glue has cured, remove the shelves from the clamp and scrape of any escaped glue. Sand with 80 grit sandpaper and a sanding block. The shelf should sit nice and flat on both sides. Gradually increase your sandpaper grit until all tool marks have been smoothed out. Coat with the varnish of your choice. Oil-based varnish will bring out the beauty of the grain. Allow to dry overnight or until cured. The varnish will raise the grain. Sand with 120 grit sandpaper and add a clear finishing coat. Allow to cure overnight.
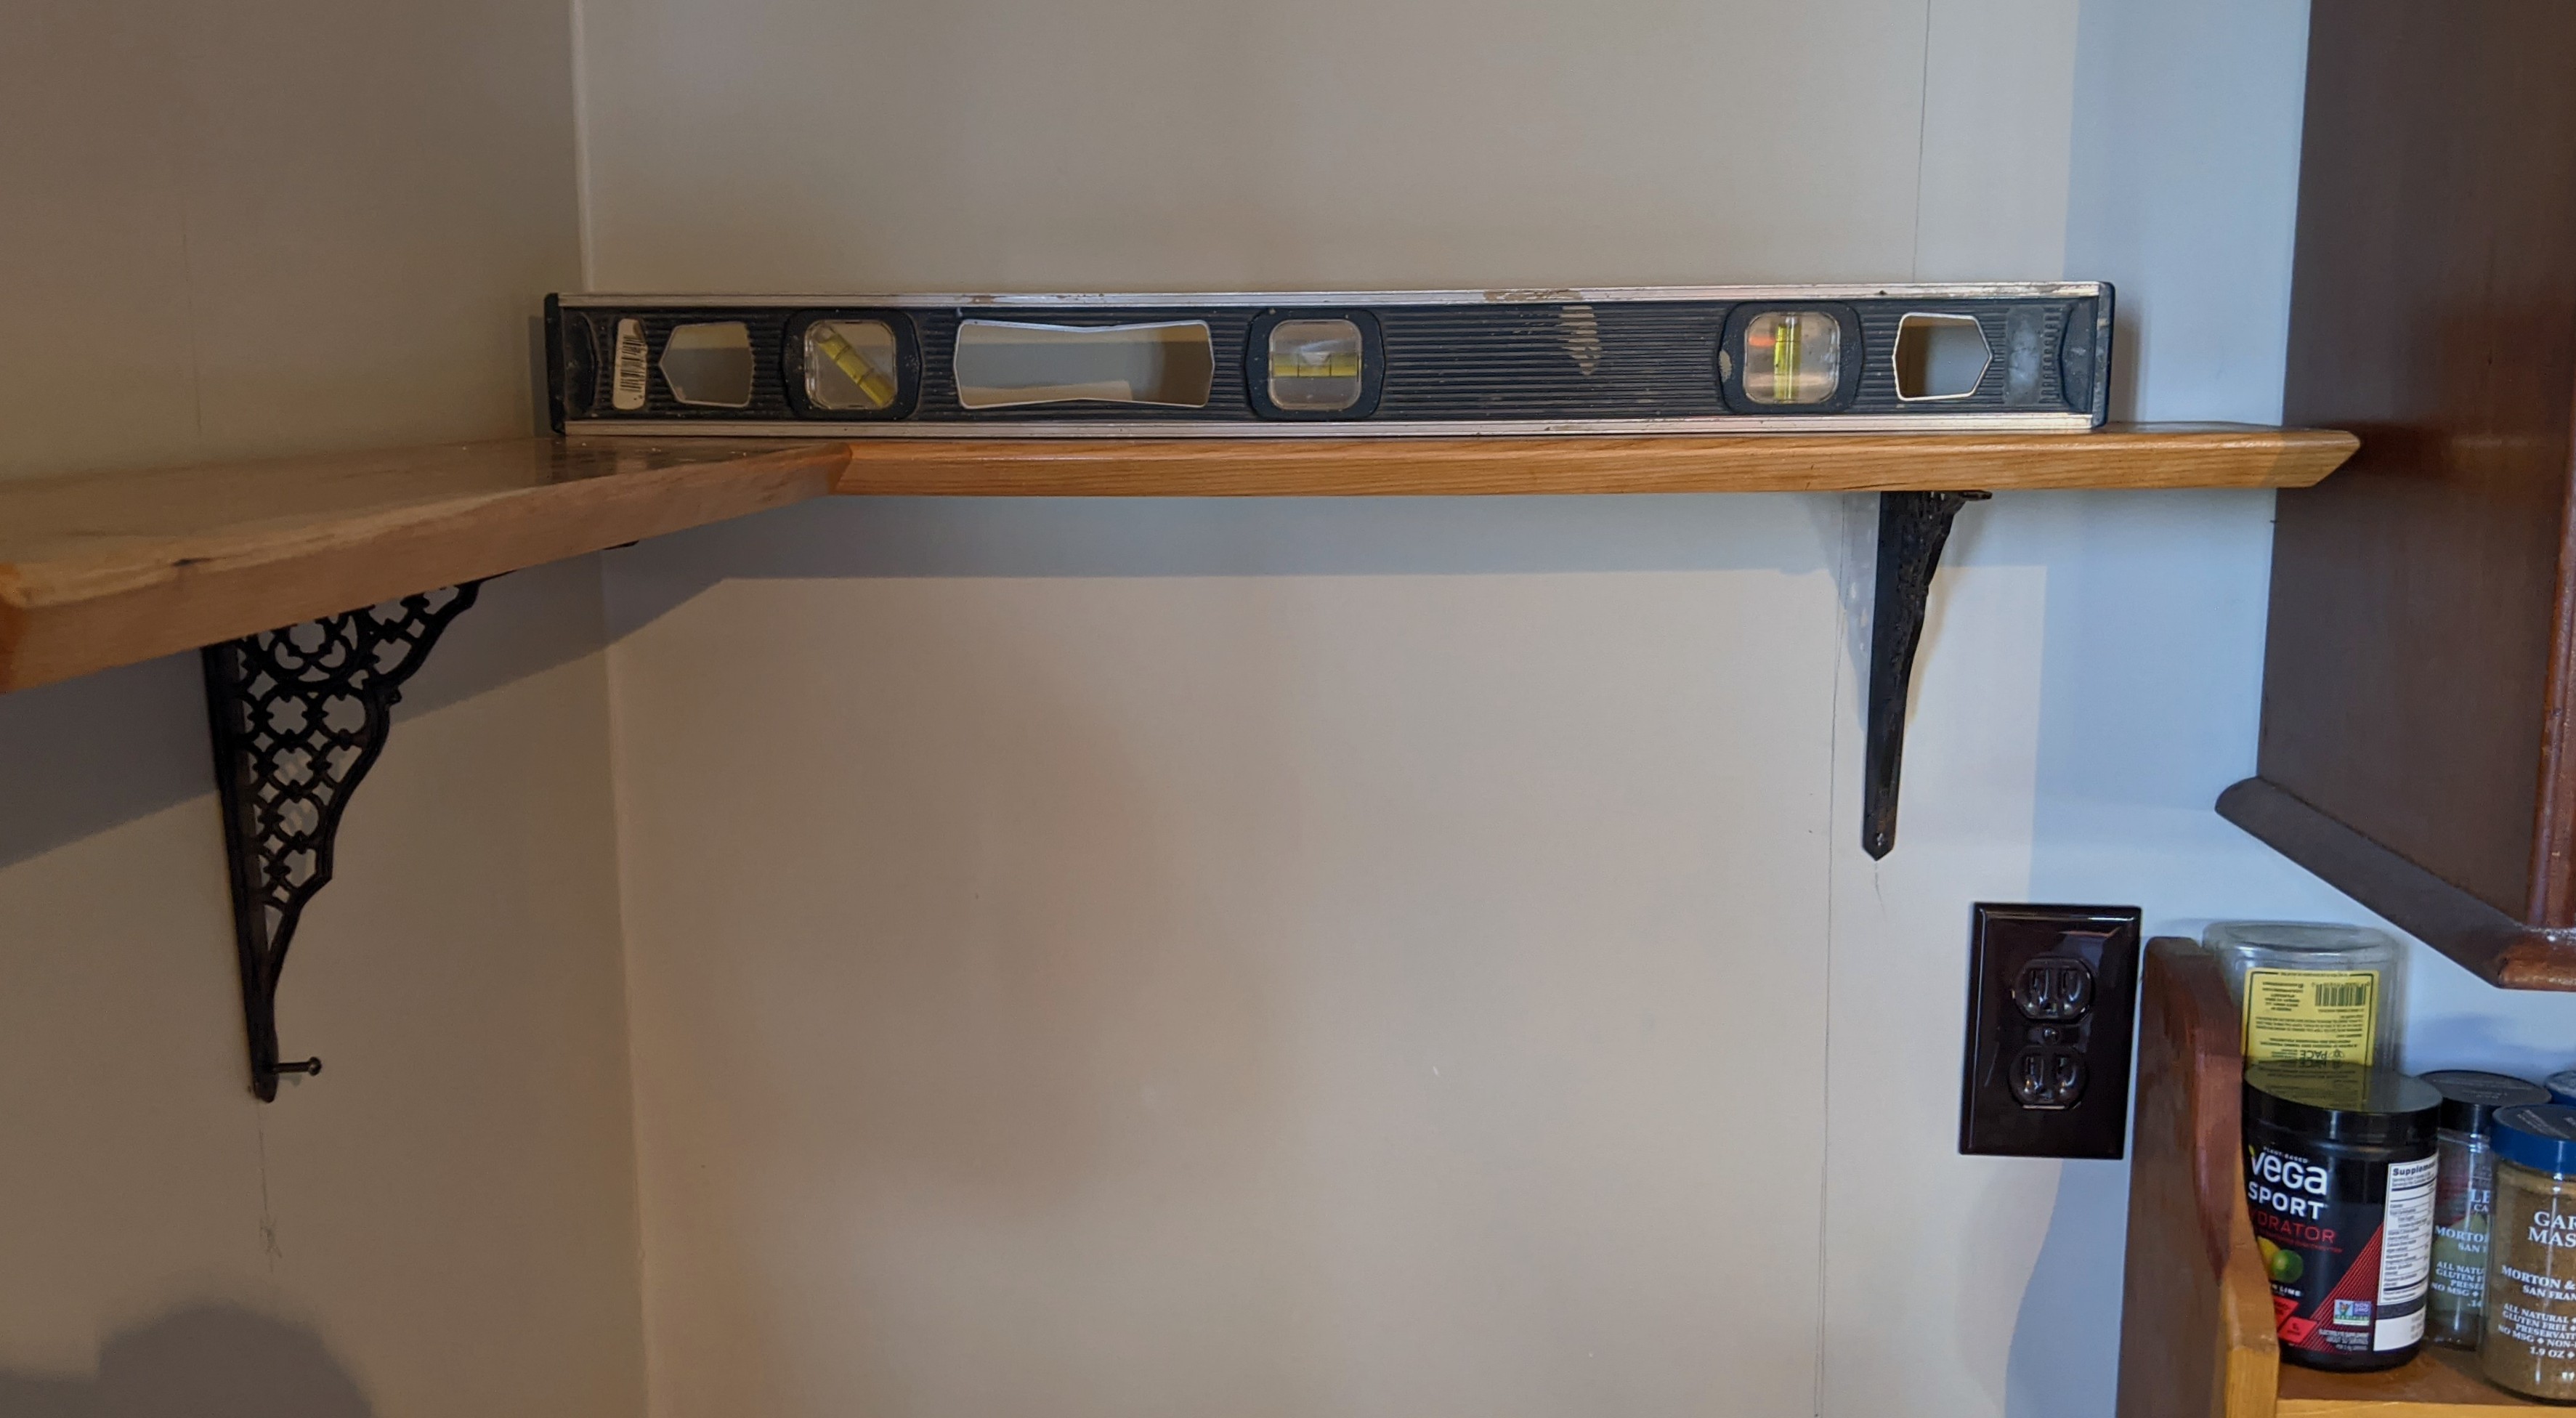
6. Attach Brackets
Draw a tangential line at your stud measurements on each end of the shelf and transfer the location of the bracket’s screw holes. Drill pilot holes for each screw with a drill bit smaller than your screw diameter. Be careful not to drill through your shelf. Fasten the brackets to the shelf.

7.Install
Screw in one fastener through the bracket to the wall for stability. Set your level on the shelf and adjust until it is perfect. Then add a screw to the second bracket. Double check that nothing has shifted before adding the remaining screws. Then load up the shelf with all the things you want to get off your kitchen counters (within reason).

