Japanese Garden Tools Vs. American: What’s the Difference?
You may have seen Japanese gardening tools popping up more in stores and online. Sure, they’re… Read More
I'm Bailey Van Tassel, and I am a busy wife, mom, and gardener. I work year-round in my home garden as well as work to help others learn to garden and grow their own food. As Spring approaches, life ramps up and I find myself rifling through all the seeds and planning out the garden (multiple times over). As soon as we see warmer temps in sight, about six weeks away, I like to start some seeds indoors. I've struggled with plastic containers and reusing old nursery pots, so was relieved when I learned about soil blocking.
With seed starting being a rediscovered trend, soil blocking has risen to the top as an essential approach. Soil blockers couldn't be easier to use, and simply require excellent soil that sticks into the hand-held device.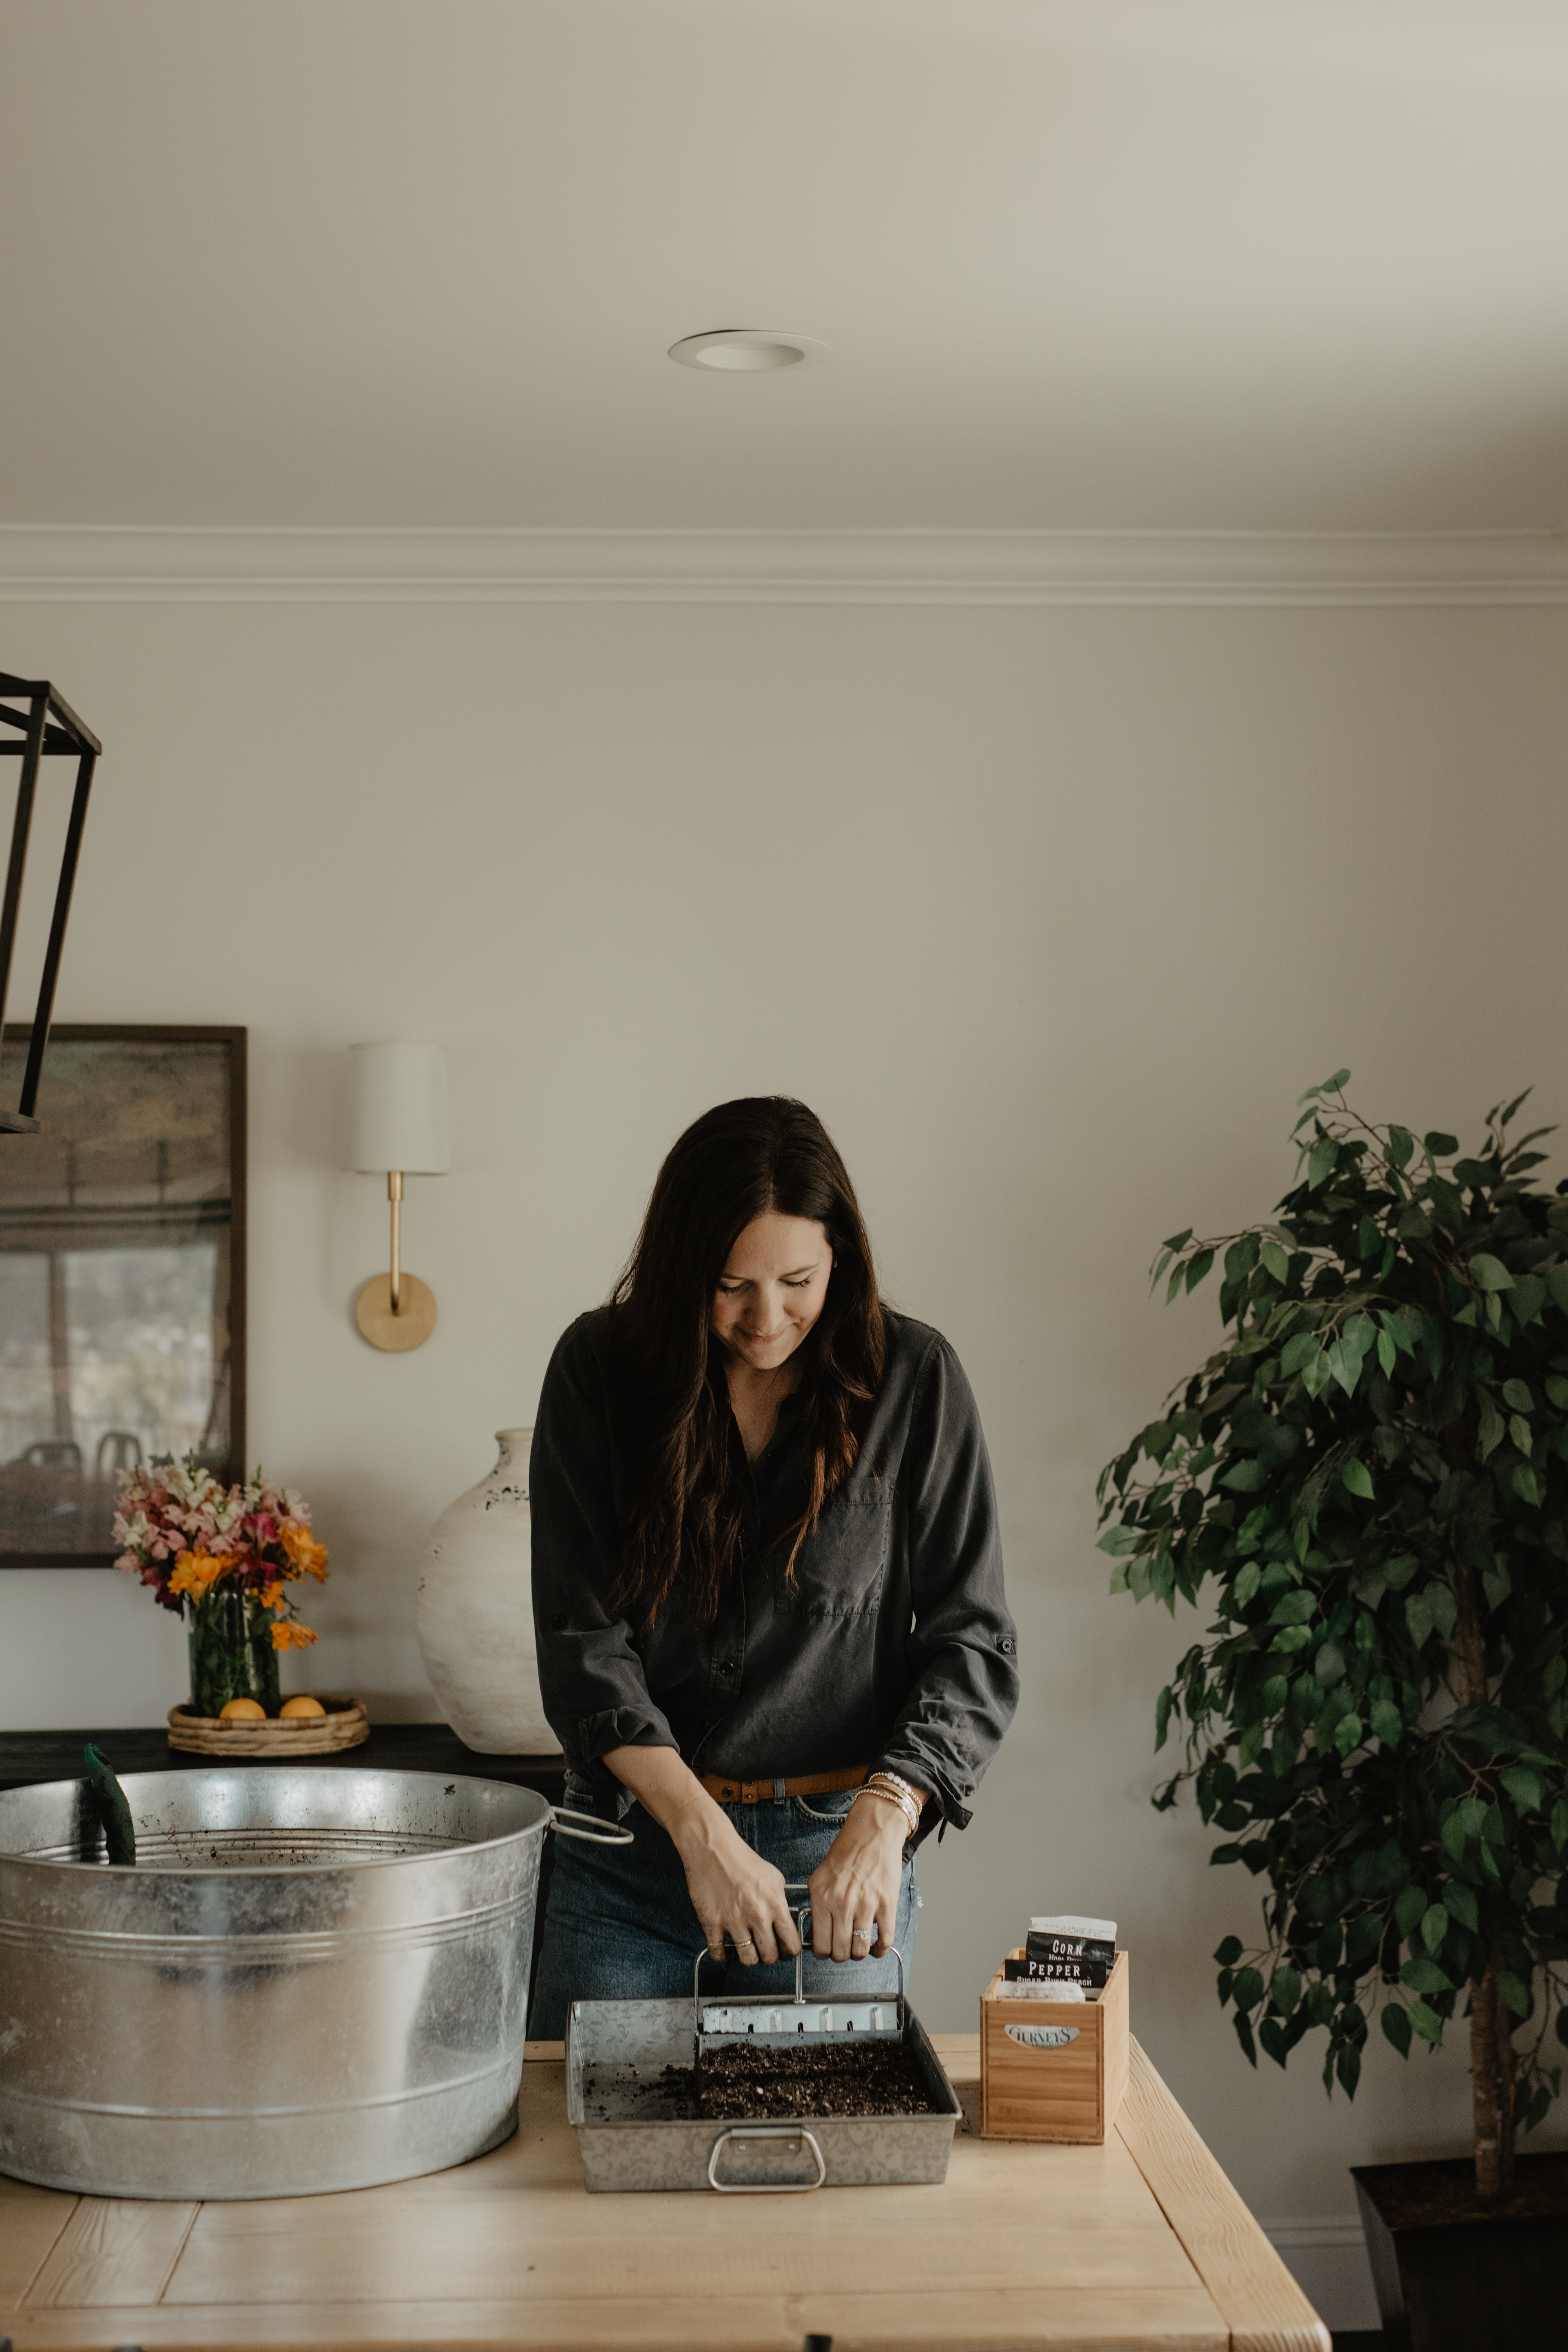
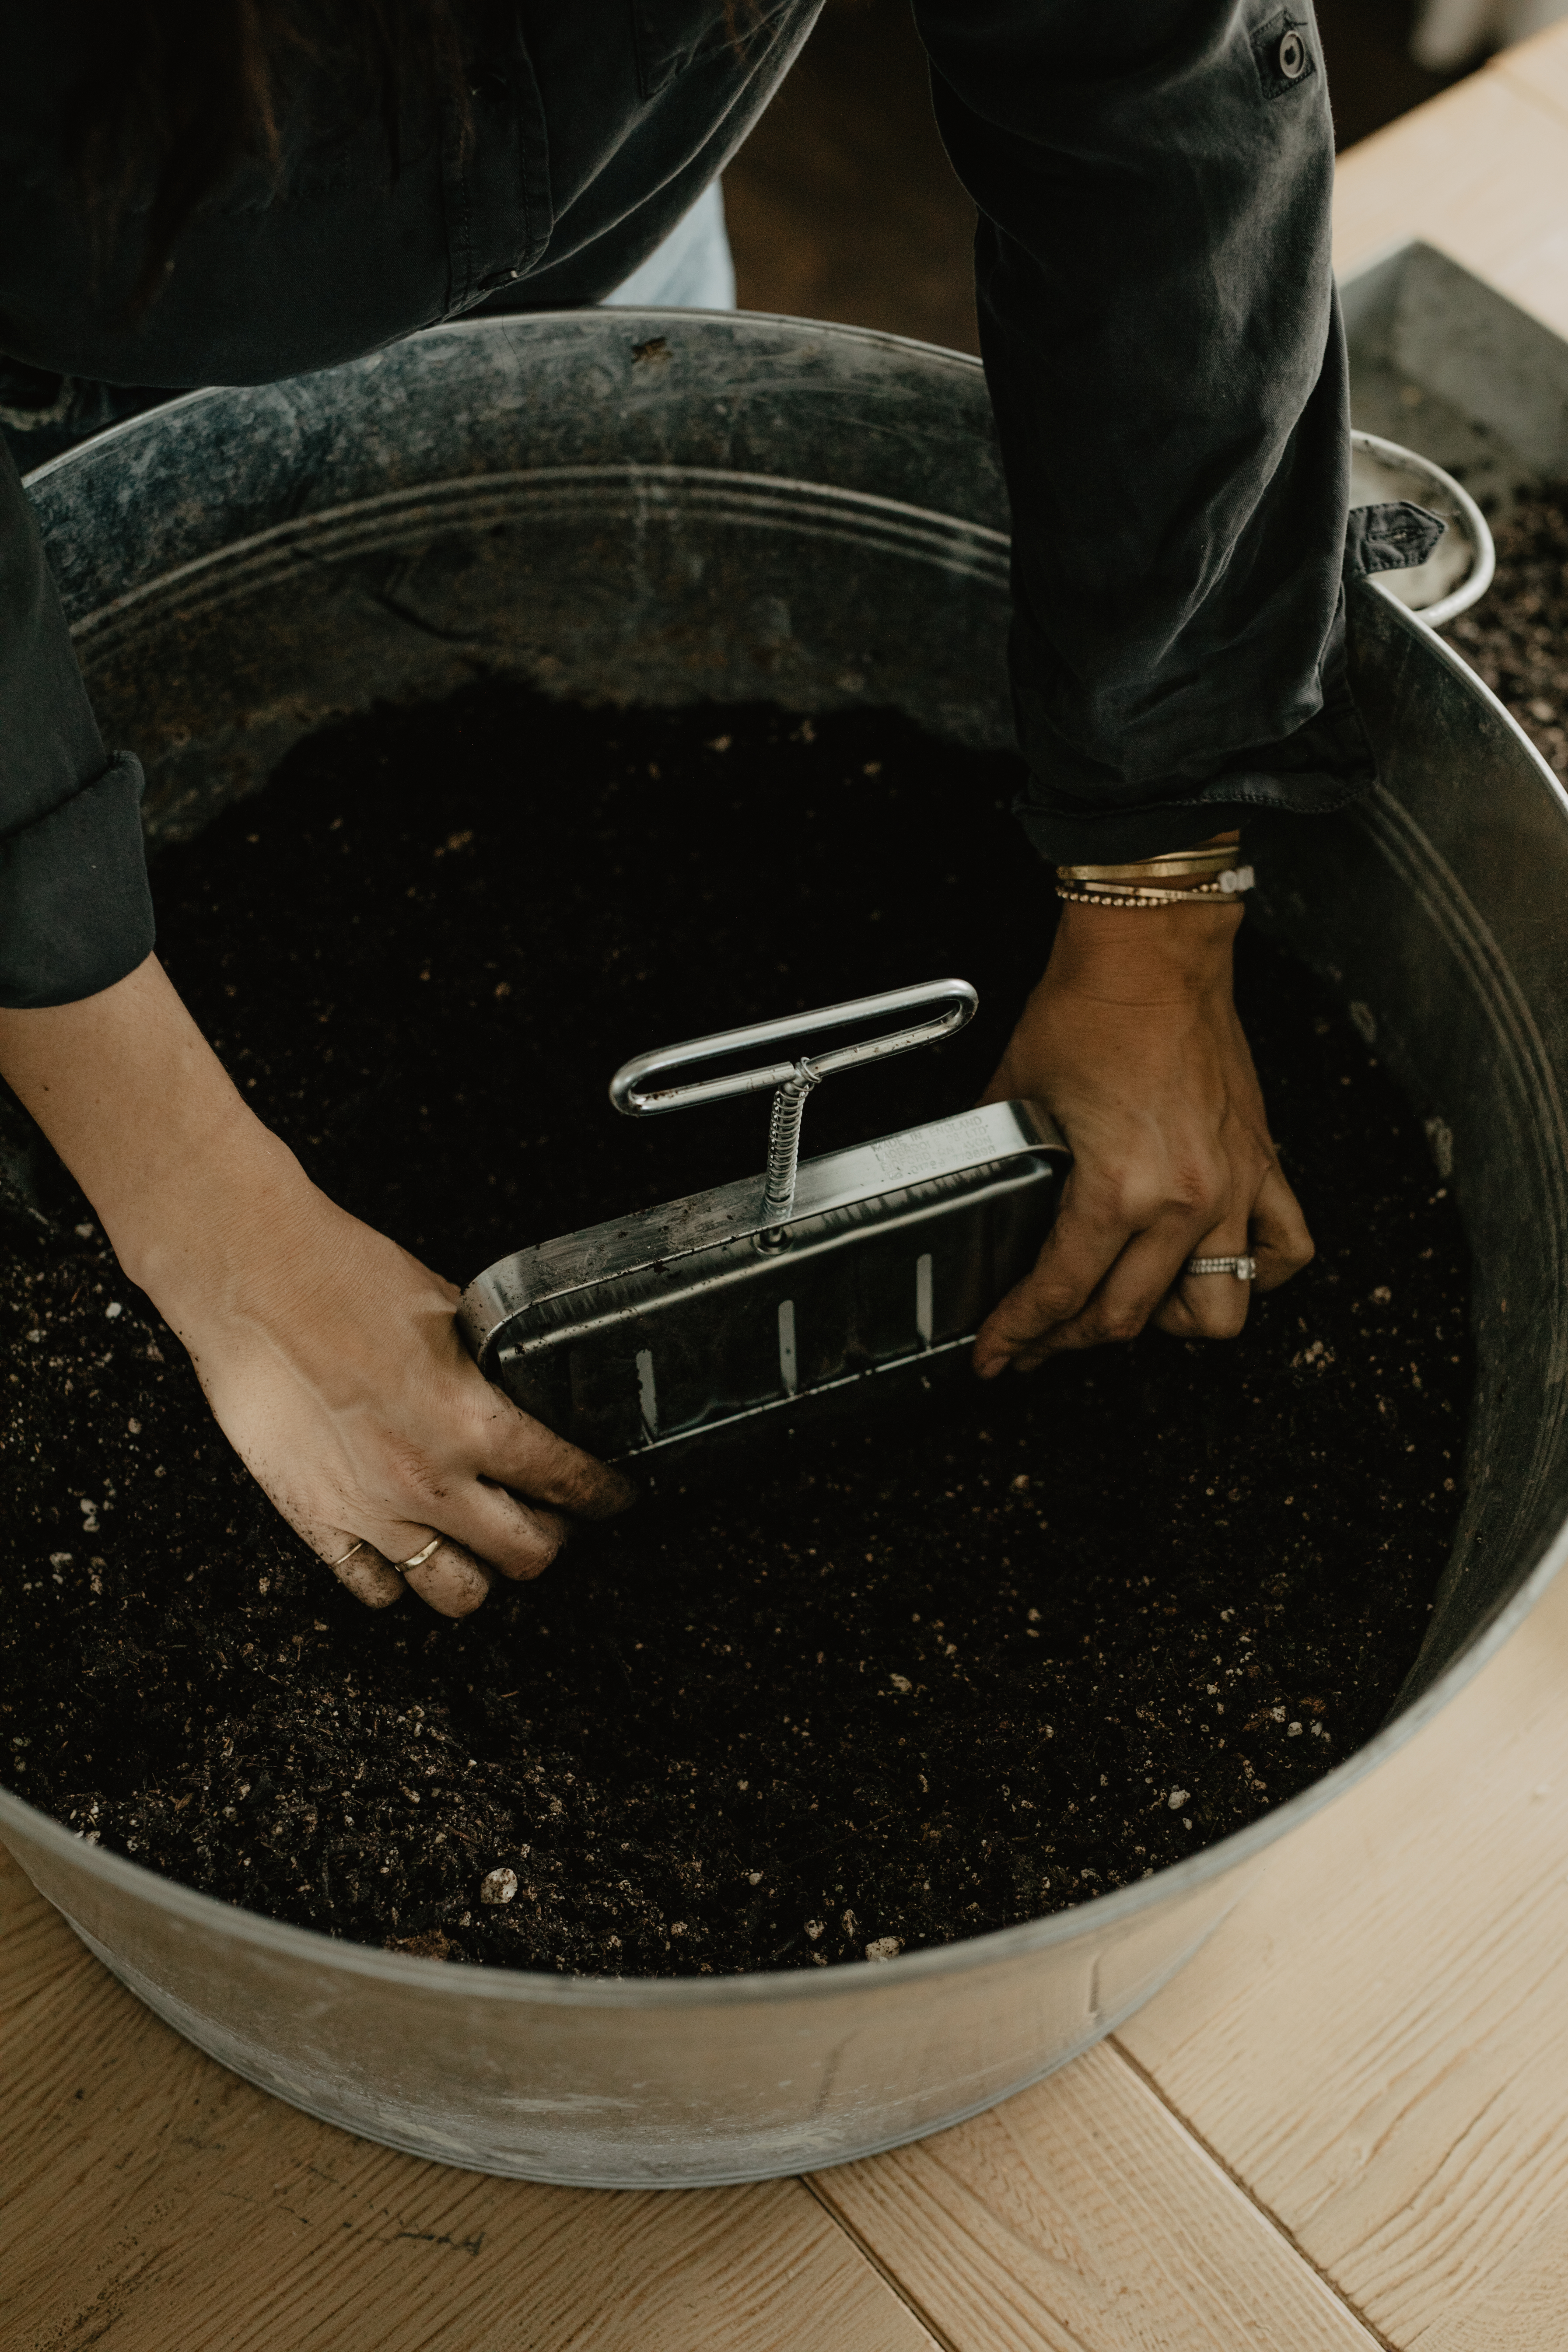
For a healthy seed starting soil mix, consider using garden soil and adding compost, blood meal, bone meal, coconut coir, and perlite. Add enough water to make the soil a bit sticky, and then start your blocks.
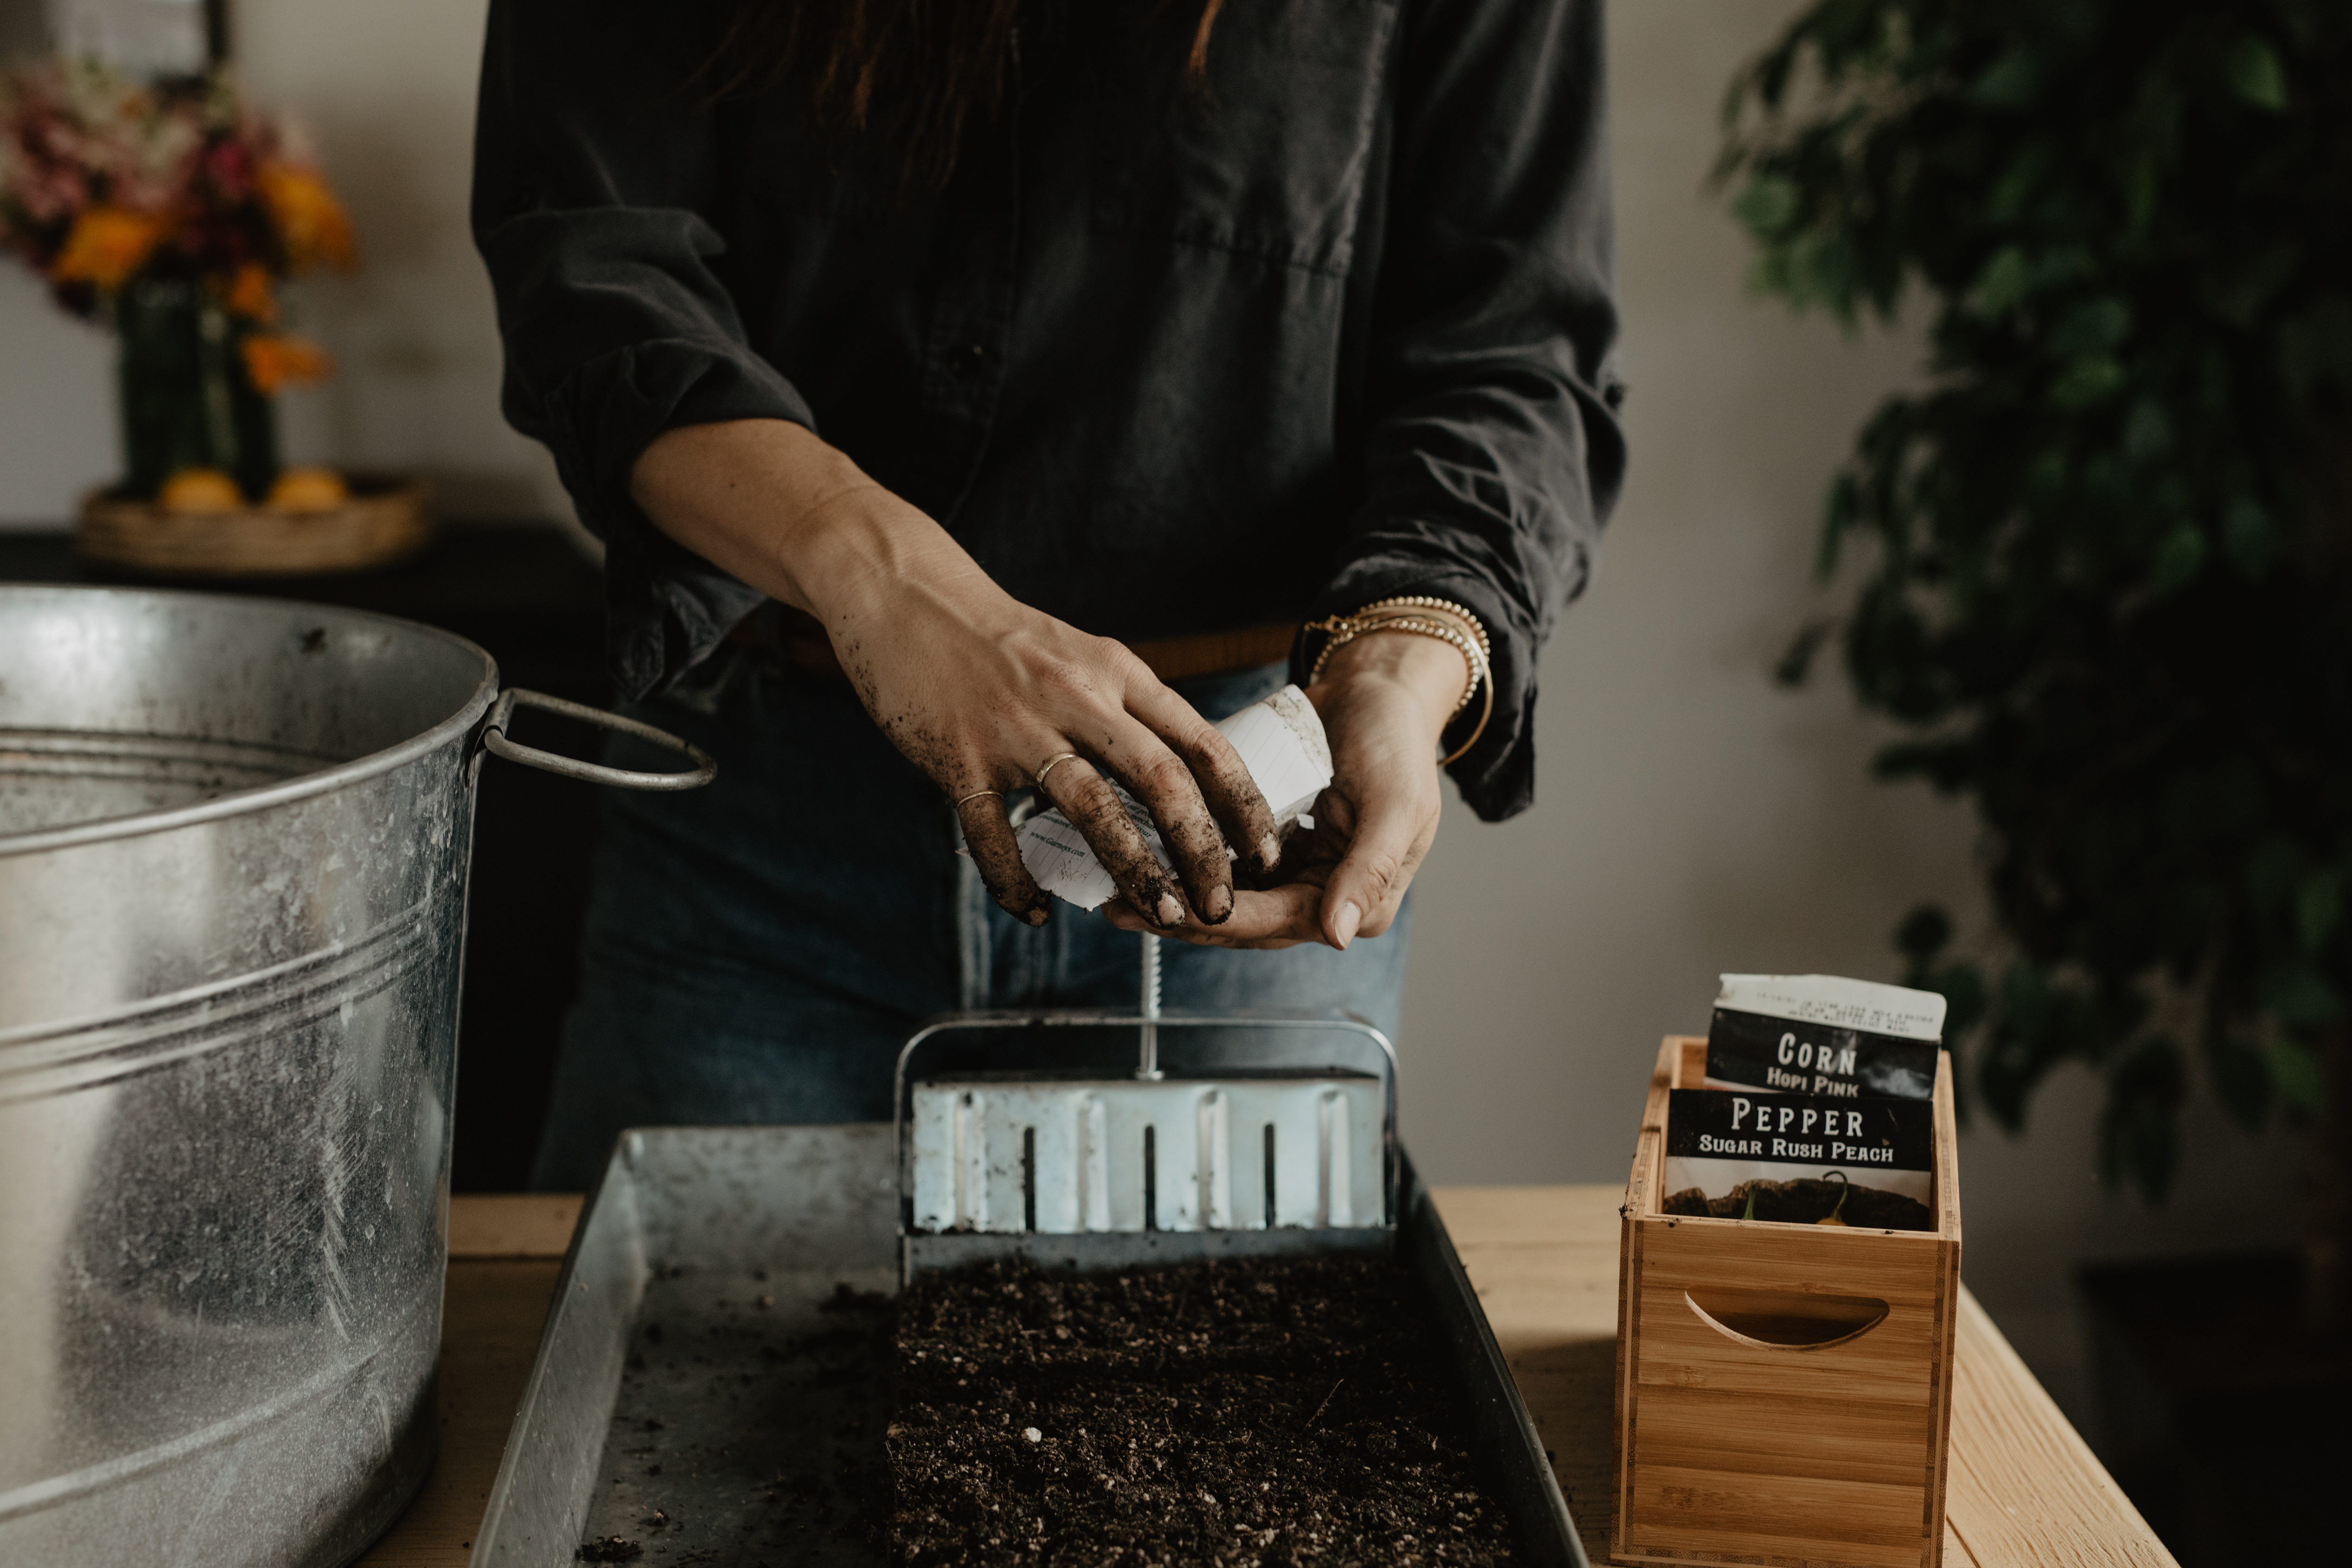
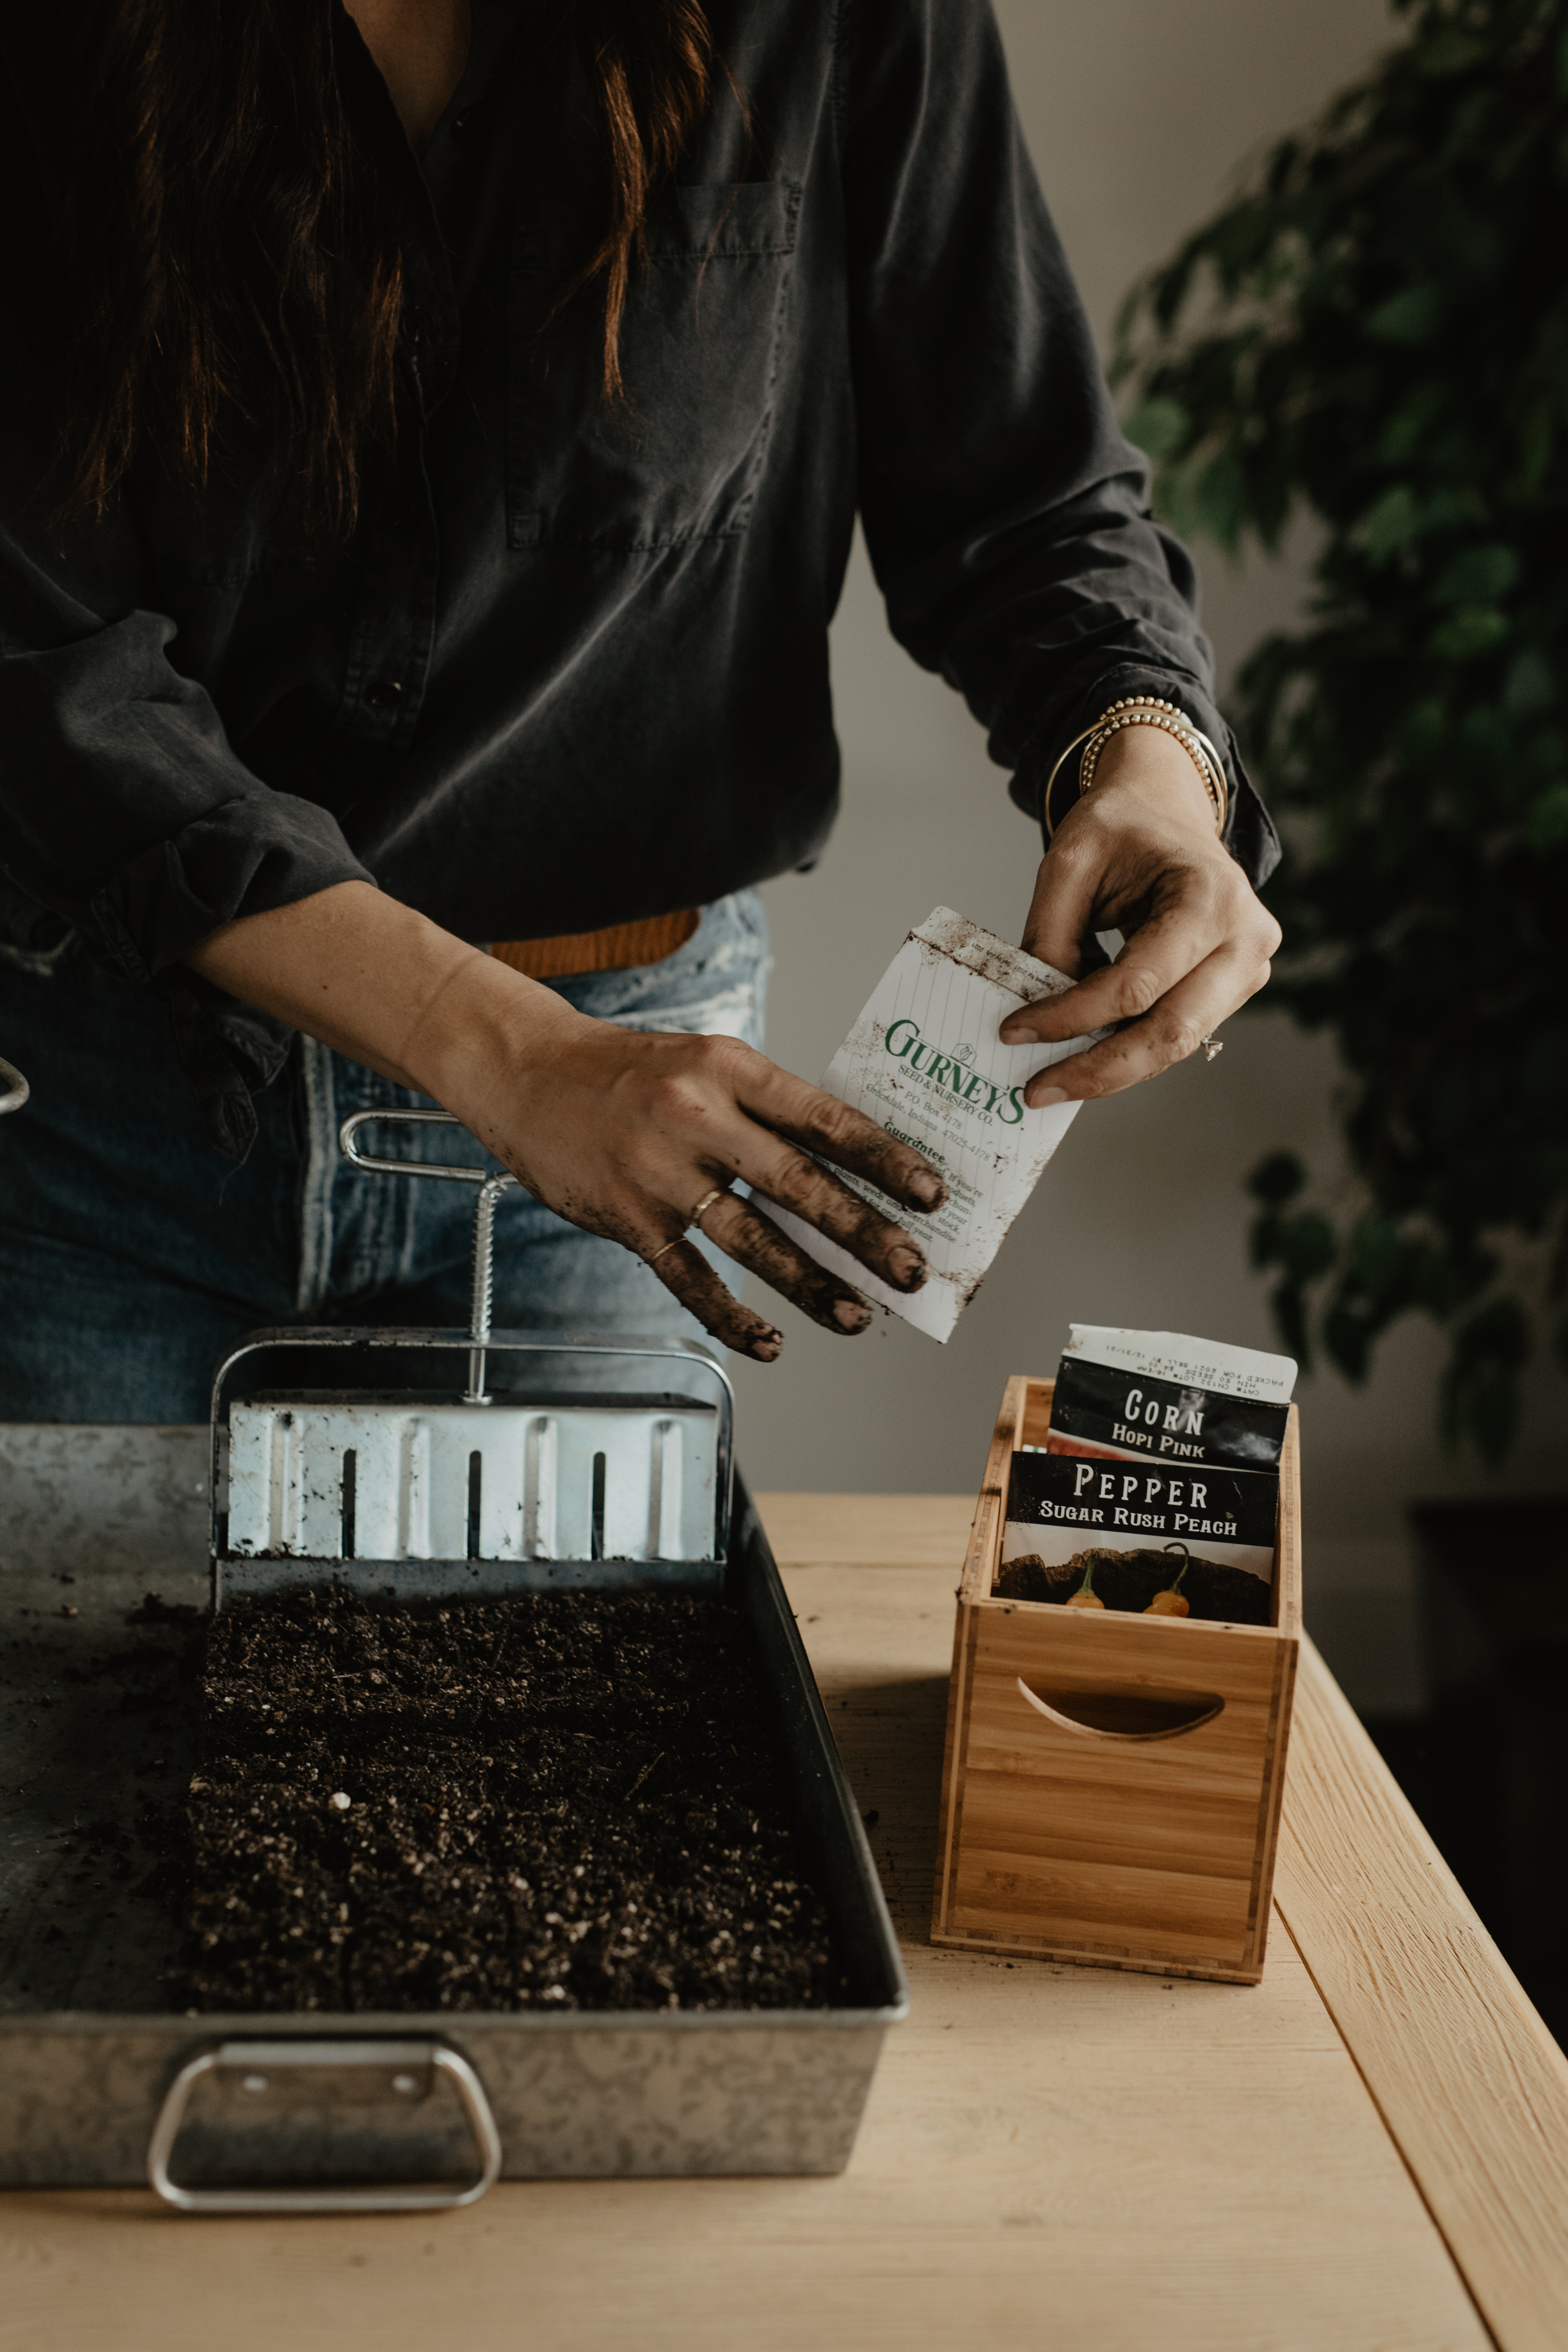
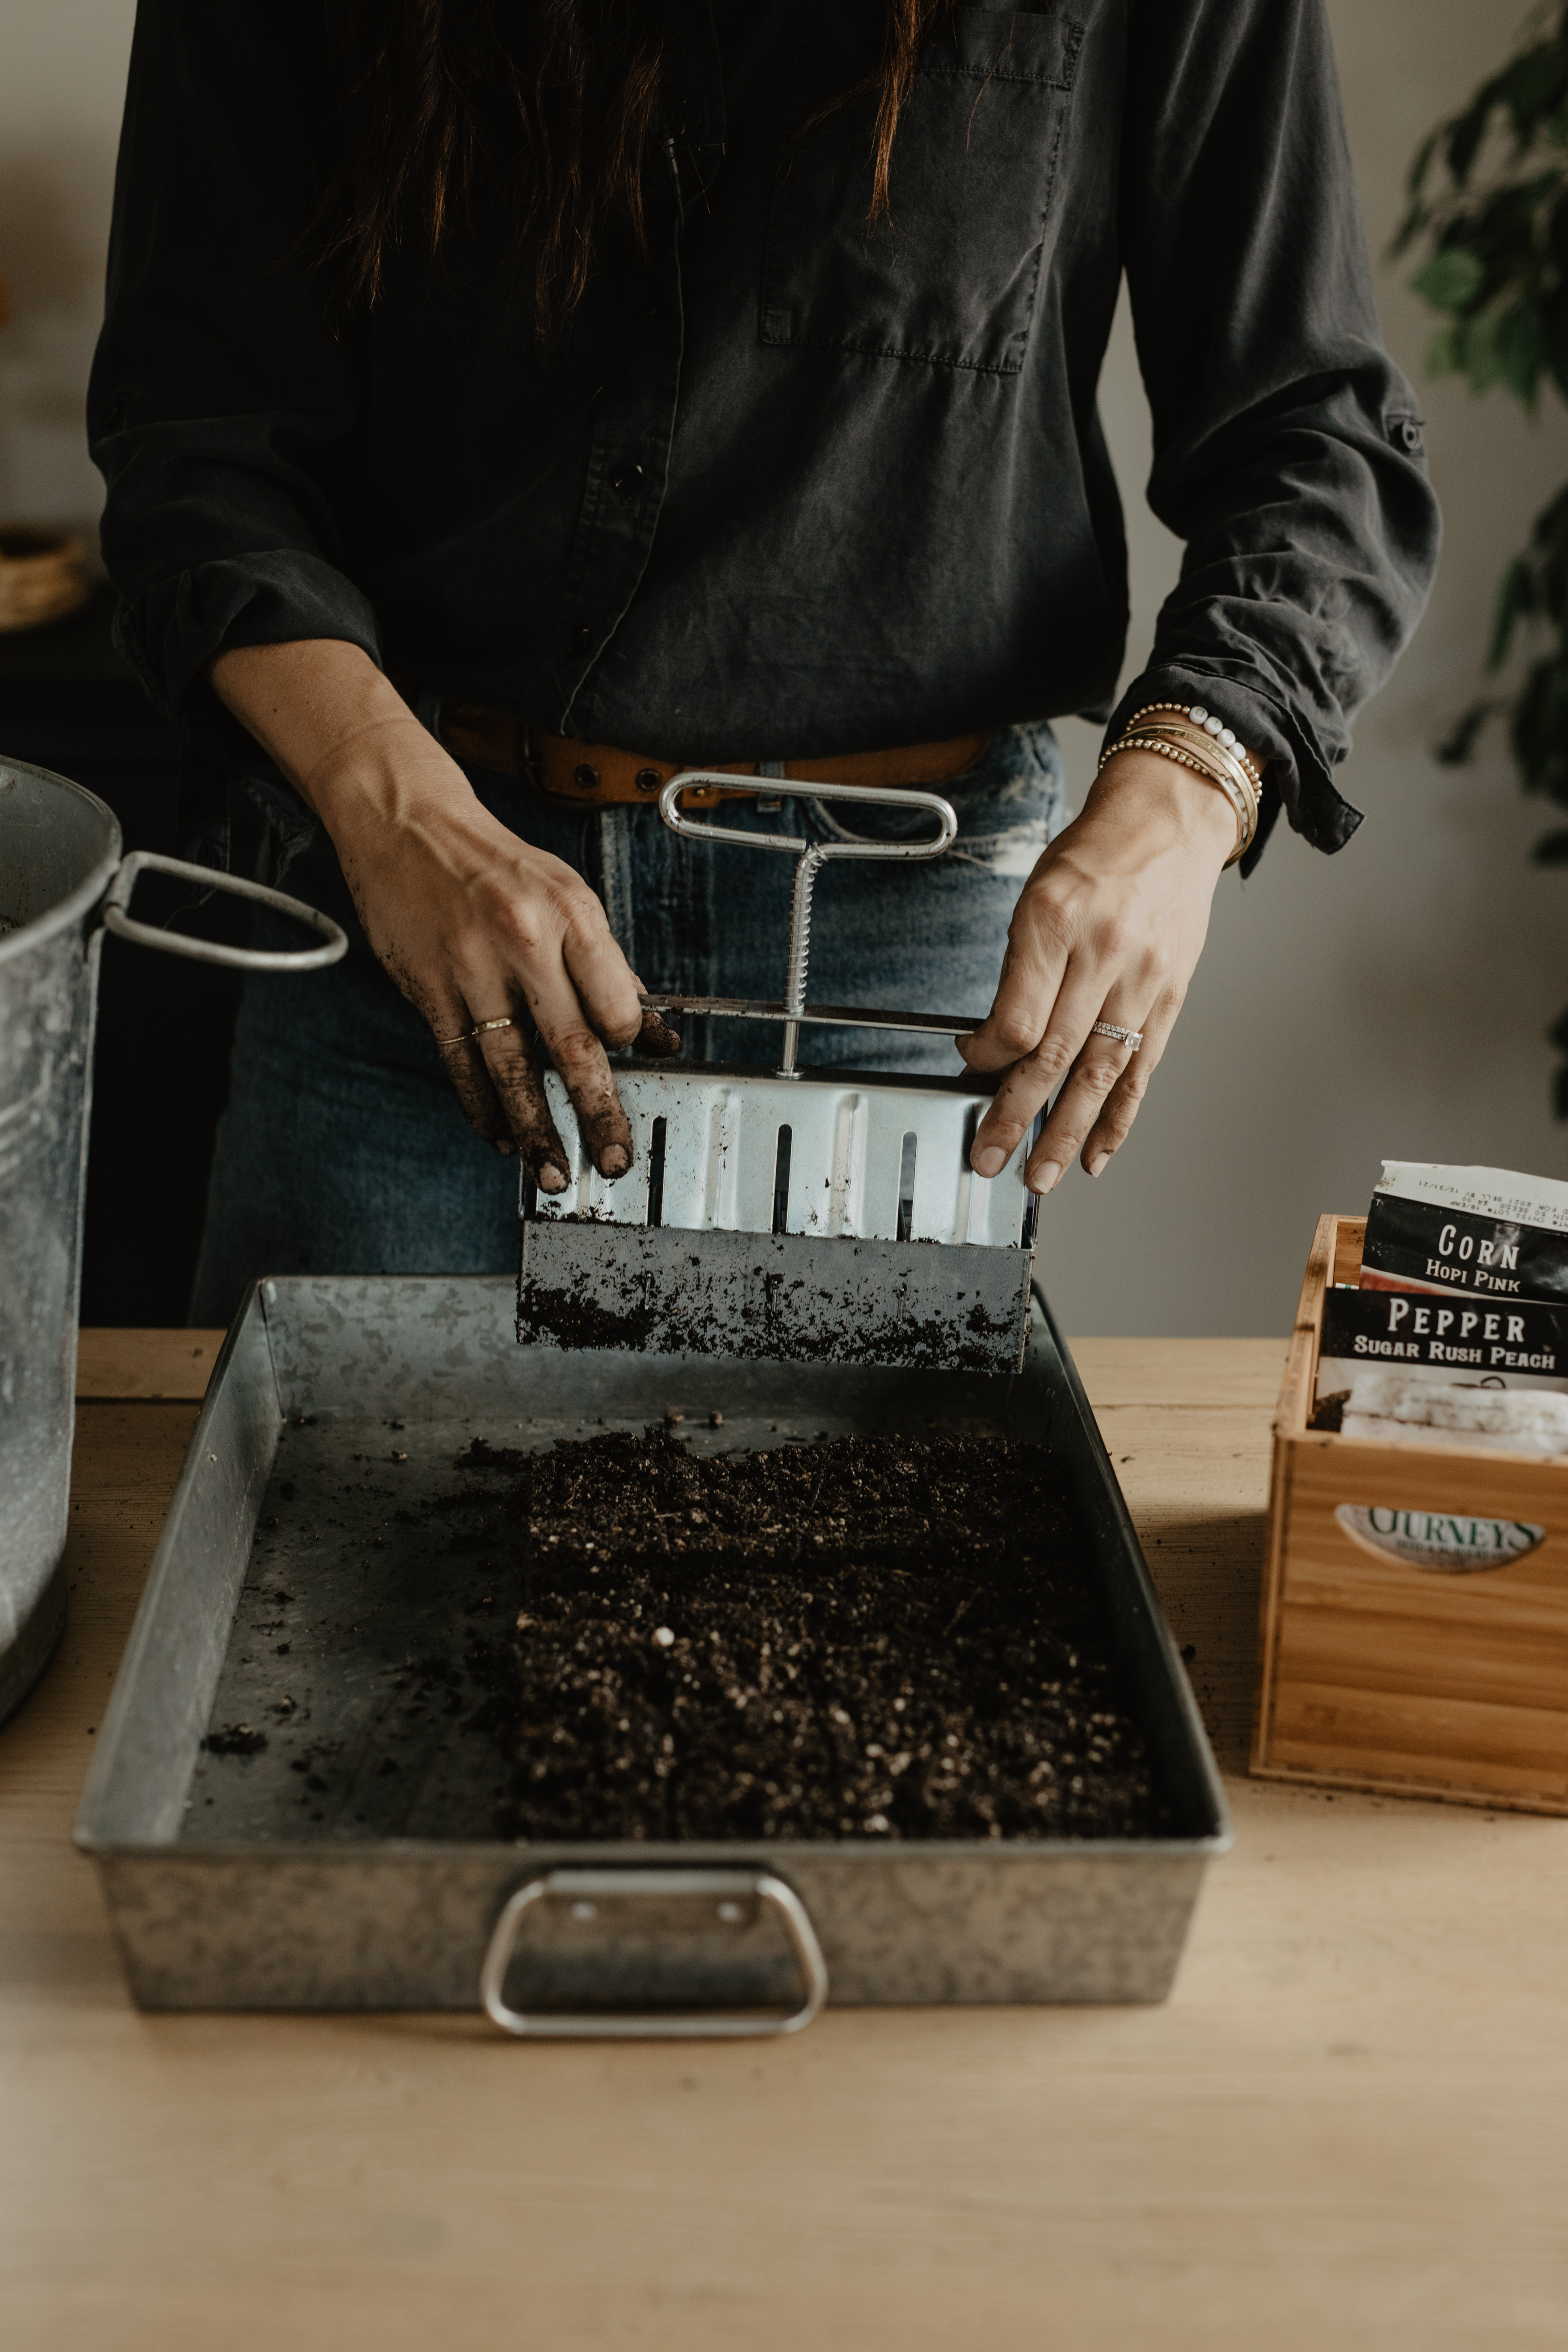
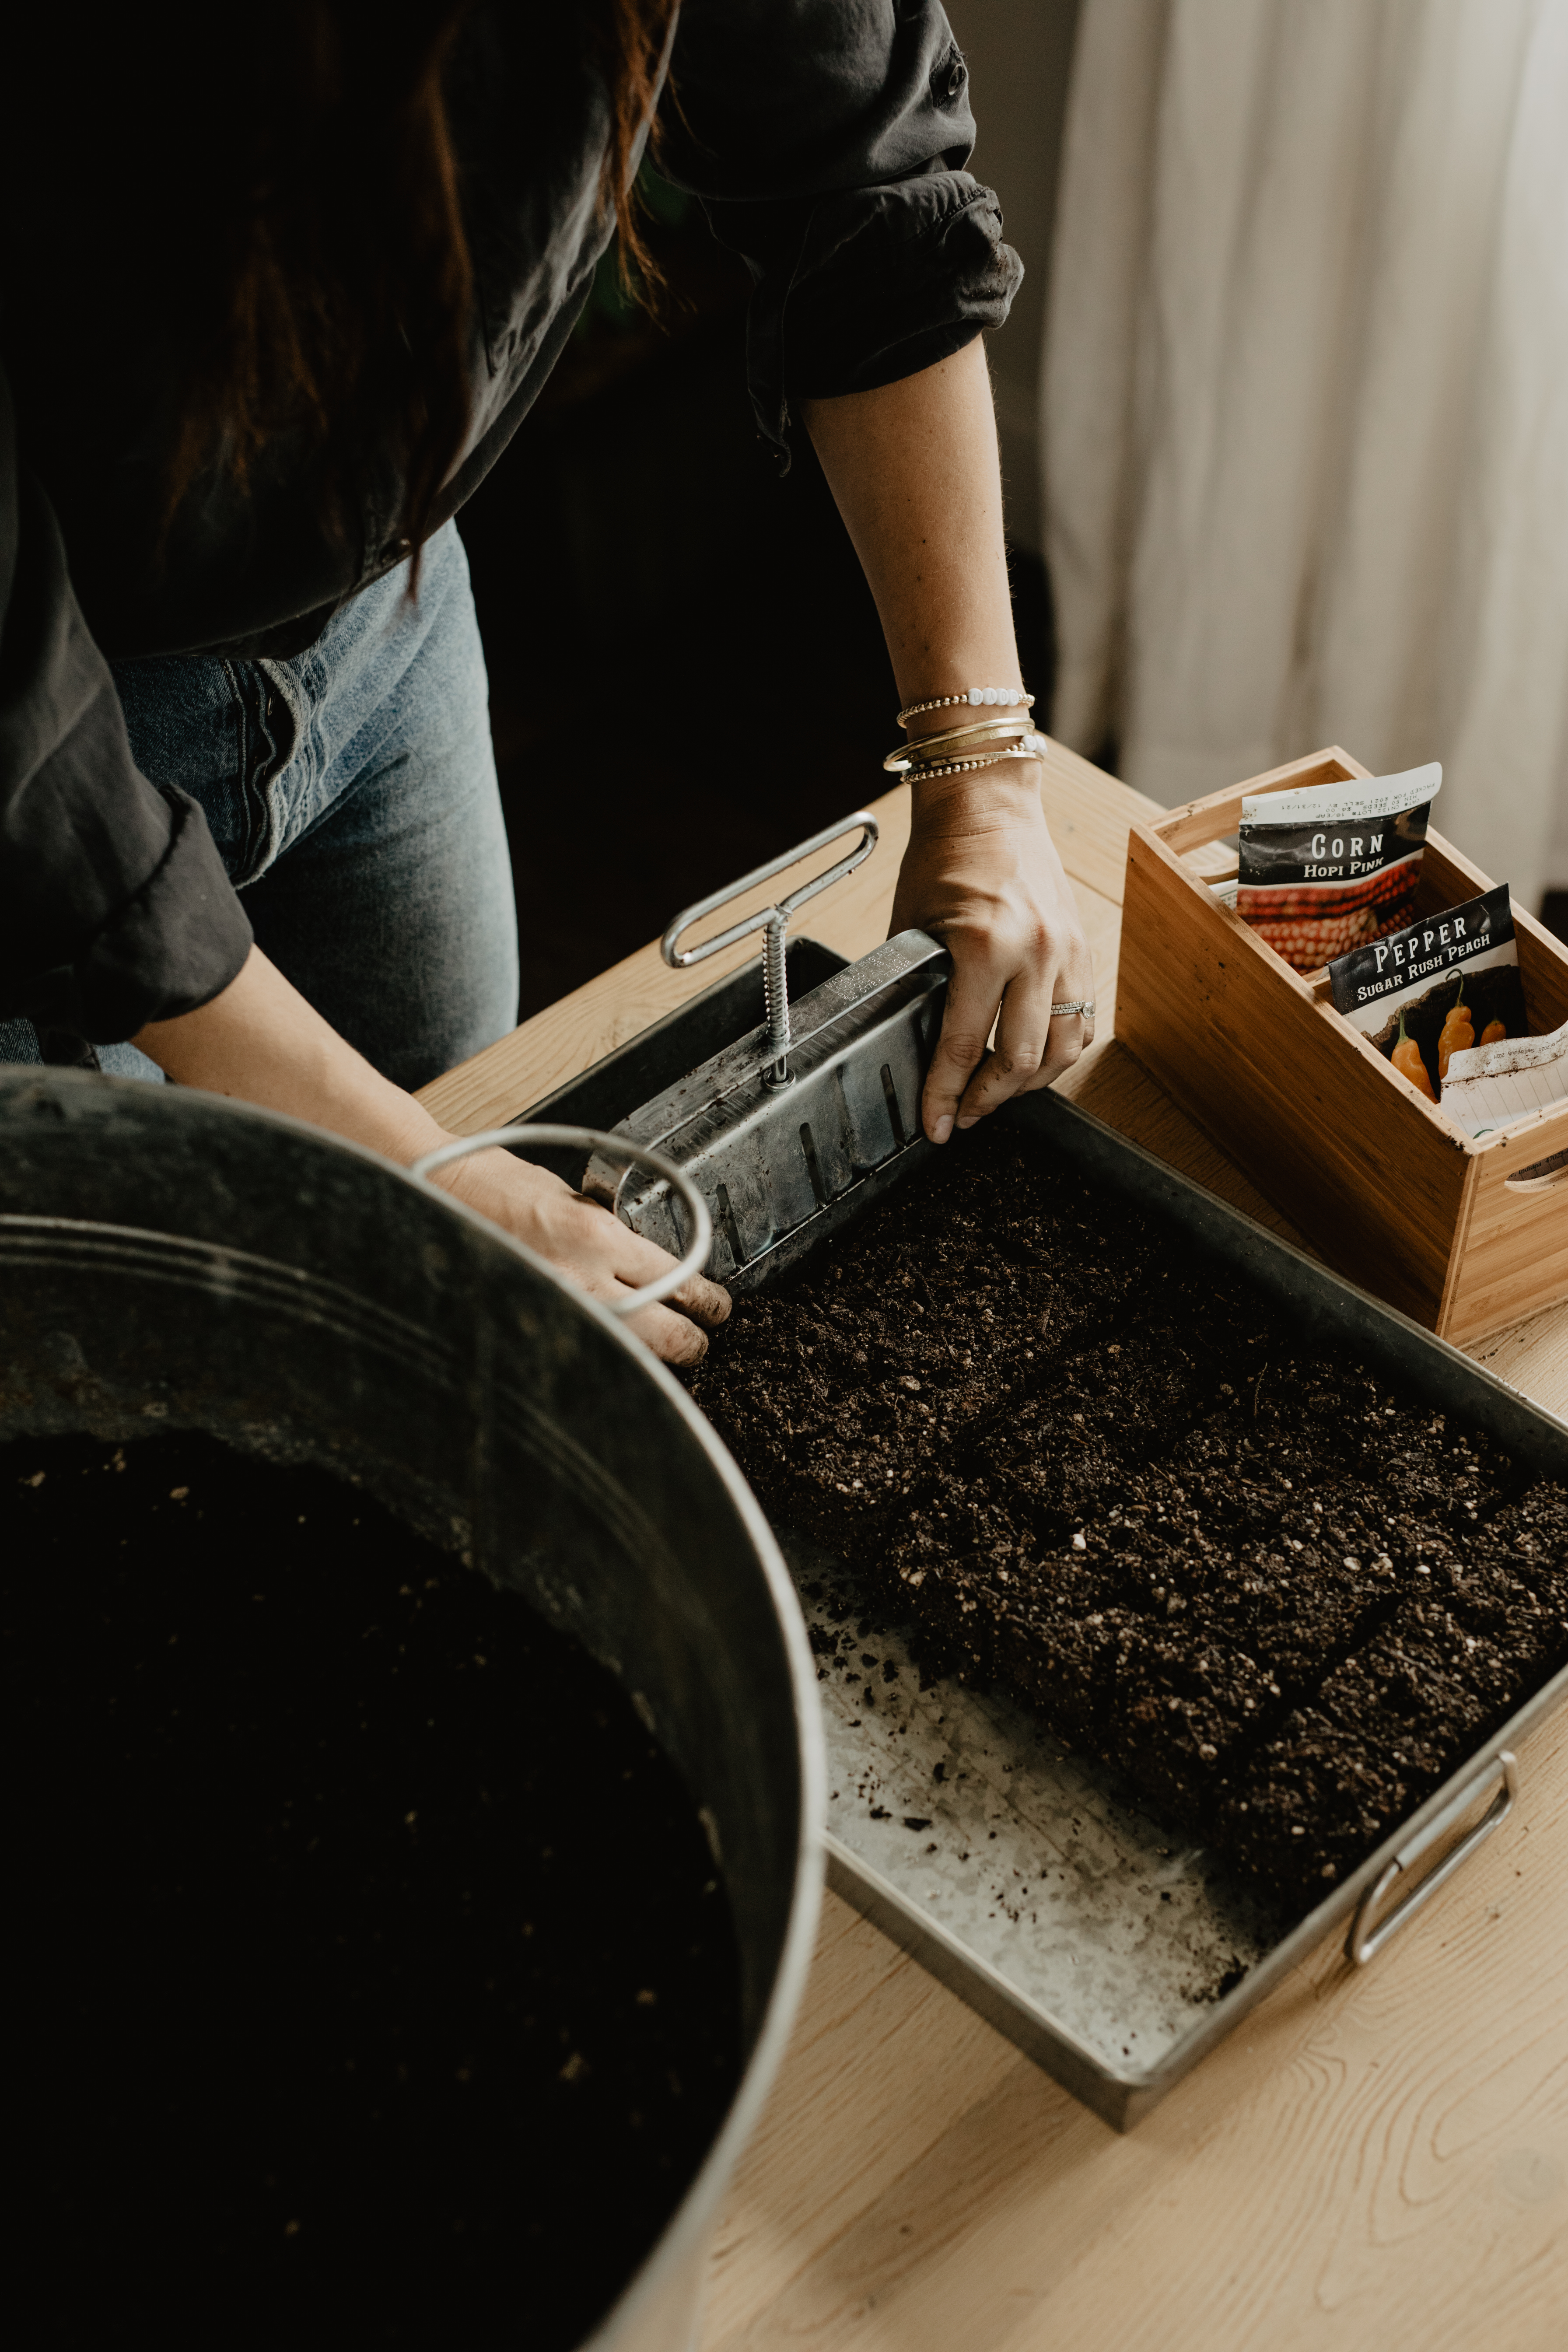
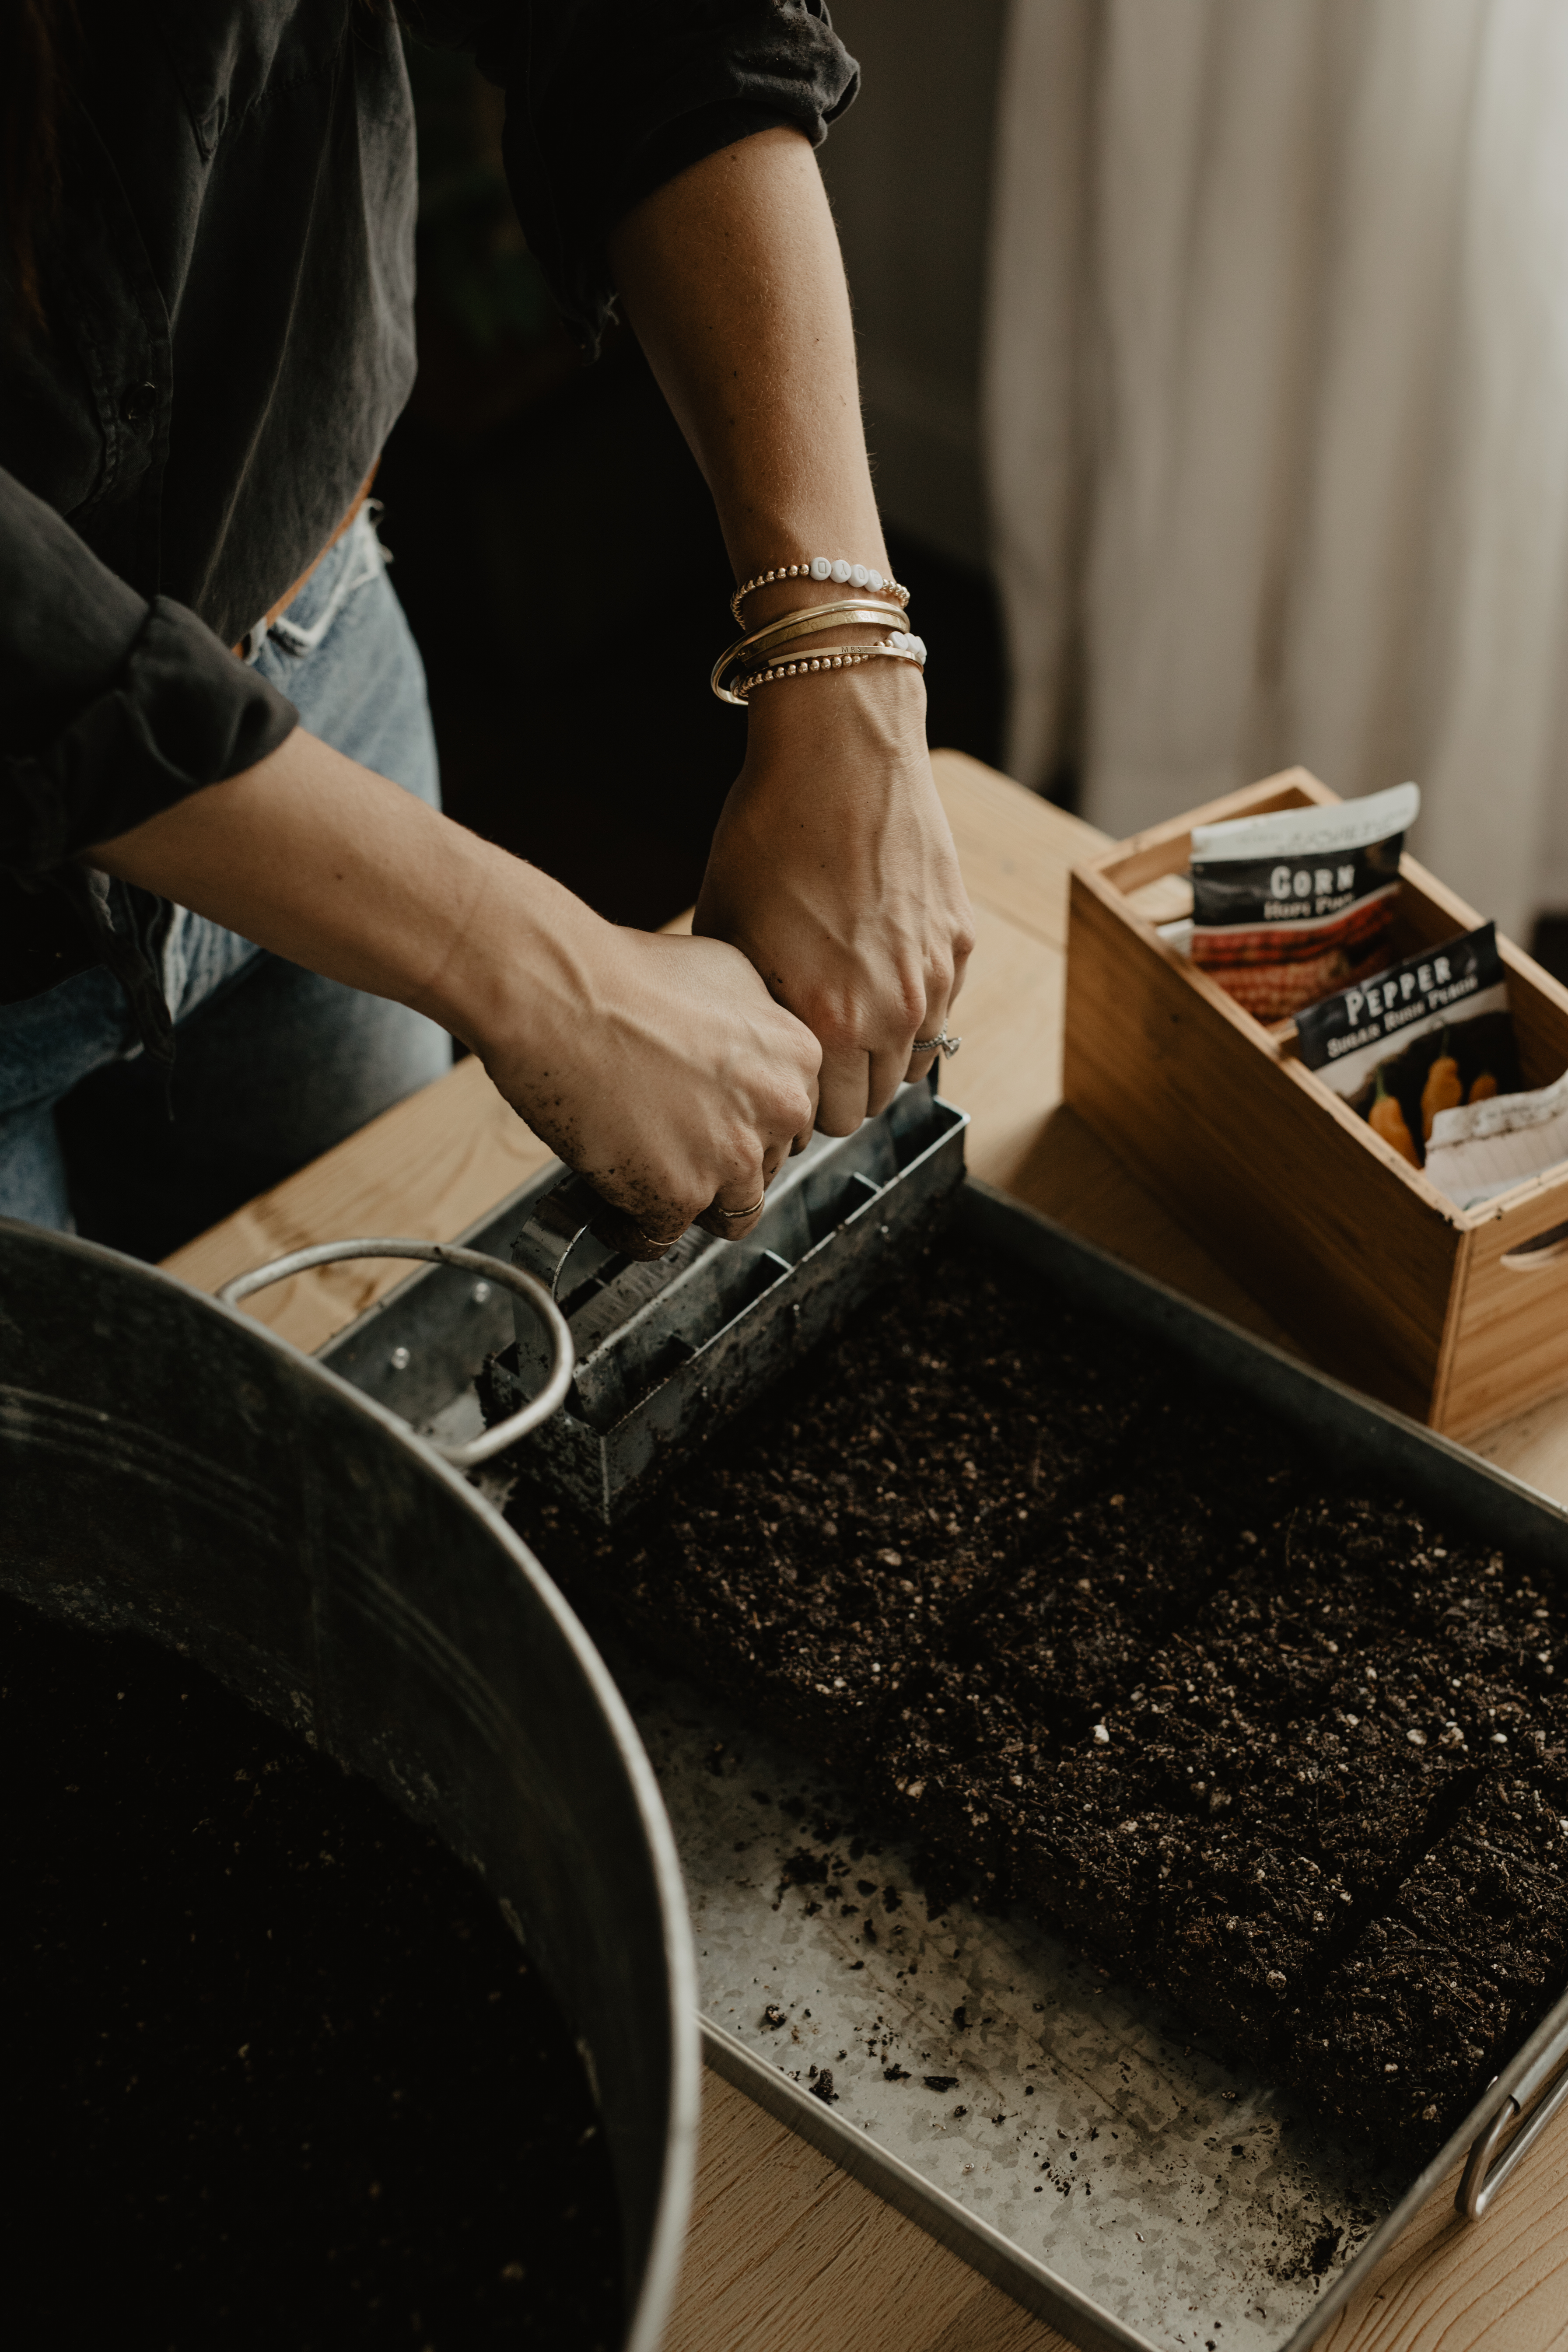
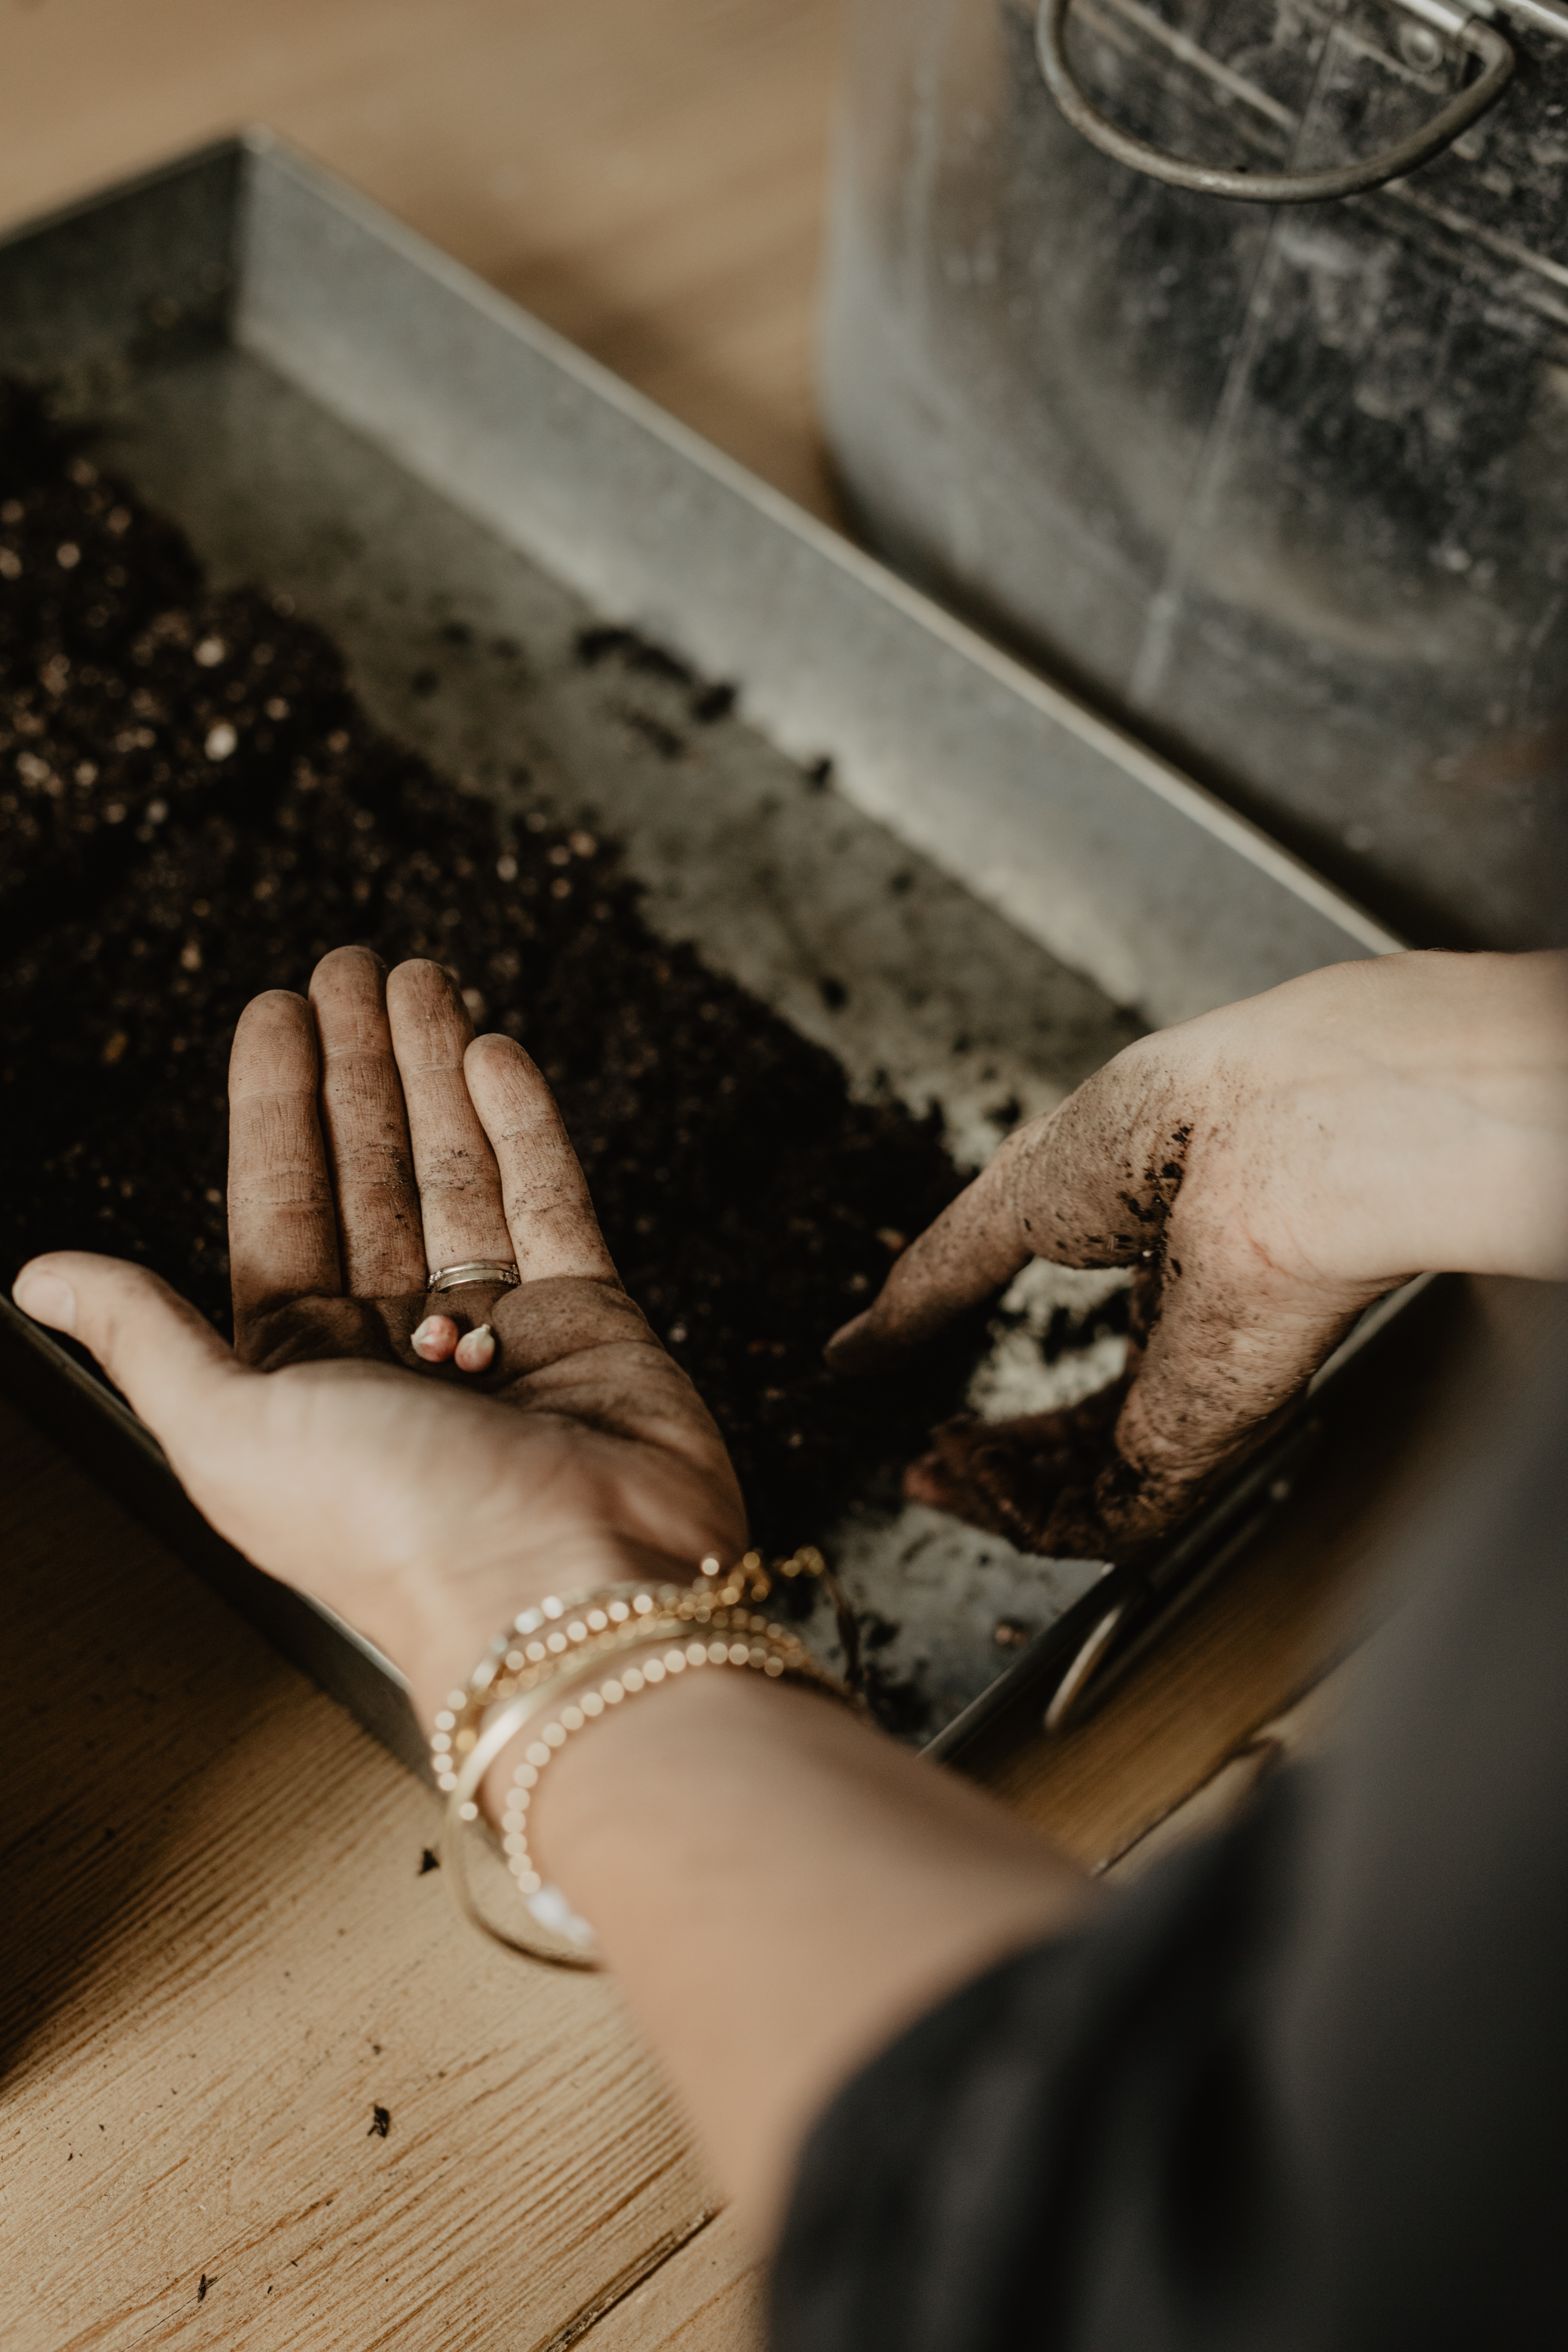
To use your soil blocker, push it at about a 45-degree angle into your soil, scooping your soil into the blocks. Then push down into the soil and gently lift up, placing your full soil blocker onto a large tray. Grasp the soil blocker handles while pushing down on the soil blocker lever, and release your soil blocks. Little dents will be left on the top, for you to place seeds into. Gently brush soil on top of the seeds, making sure to plant at the appropriate depth.
It's that simple! We hope your seed-starting adventures begin with soil blocks and end with healthy seedlings.
Happy planting!
