
Japanese Garden Tools Vs. American: What’s the Difference?
You may have seen Japanese gardening tools popping up more in stores and online. Sure, they’re… Read More
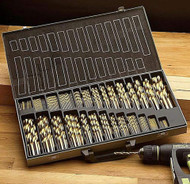
There are many different kinds of drill bits, and each is designed to excel at a specific type of task. Apart from determining which style is best suited for your work, you should be aware of the quality of the bit, which can affect not only the hole itself (concentricity, smoothness, etc), the working life of the bit, and whether it will even cut the material you are working on. Higher quality drill bits will typically be more expensive than lower quality bits. Three general factors affect overall drill quality:
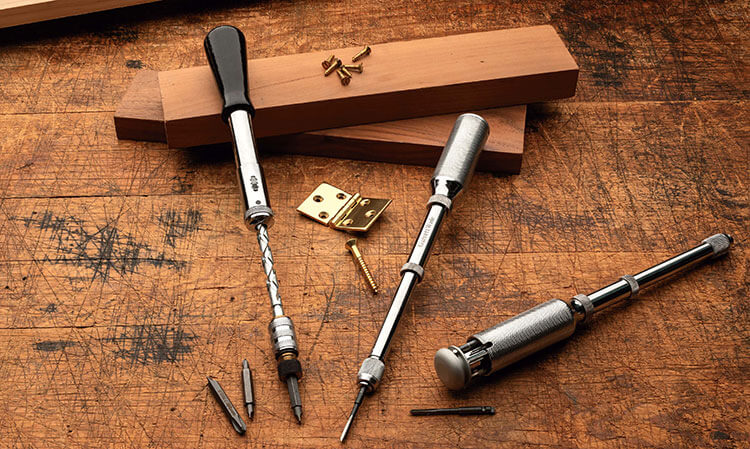
Quality concerns aside, you should, whenever possible, use a drill bit suited for the work you are doing. For example, despite the fact that most people use them for this purpose all the time, standard twist bits are not designed for drilling screw holes; taper point bits are, and they do a much better job, since they leave enough material on the sides of the hole to allow all the screw threads to bite.
“The Last comes first,” as we shoemakers say. For the uninitiated, lasts are the forms that one makes the shoes or boots on. A representation of your feet – sort of – including style lines, heel-height, toe-shape, attitude. The most essential and trickiest part of the whole job. In my line of work it all starts here. The shoes can be lovely, but if they don’t fit properly, they won’t last, they might cause hurt and can damage the feet. As the lasts are made or adapted to the specifications of each individual client, they are beautiful in their uniqueness of lines, curves, character. Each last has their own story to tell. It is a hard-earned skill to understand how measurements, tracing and movement play together. Once again, experience through trial and error, learning from skilled craftsman and not giving up marks a successful maker.
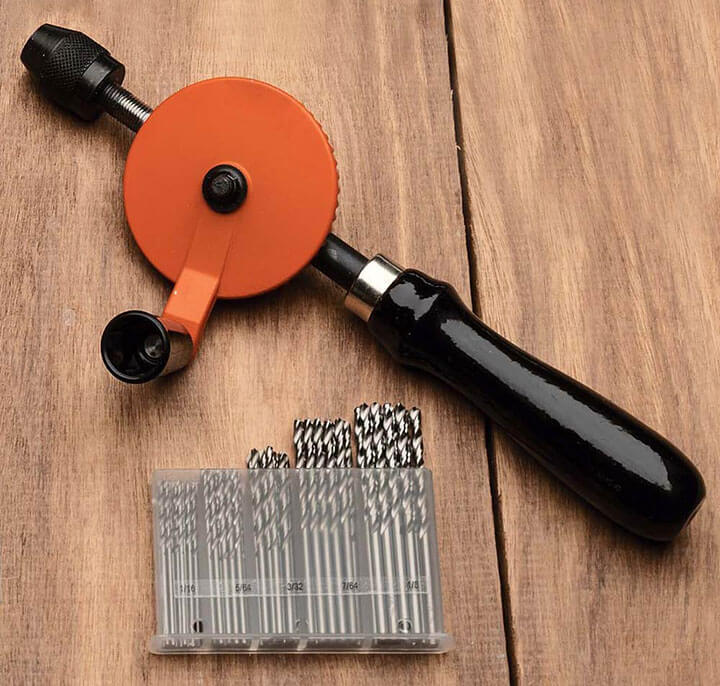
Take the following into account when selecting any bit:
The drill bit descriptions in our catalog can help you to decide whether a particular bit will work for the application you have in mind. Whatever bit you ultimately choose, let the tool do the work for you. If you have to use excessive pressure to cut, then the bit is dull and should be re-sharpened or replaced right away. Consult the following to match the job at hand to the correct bit:
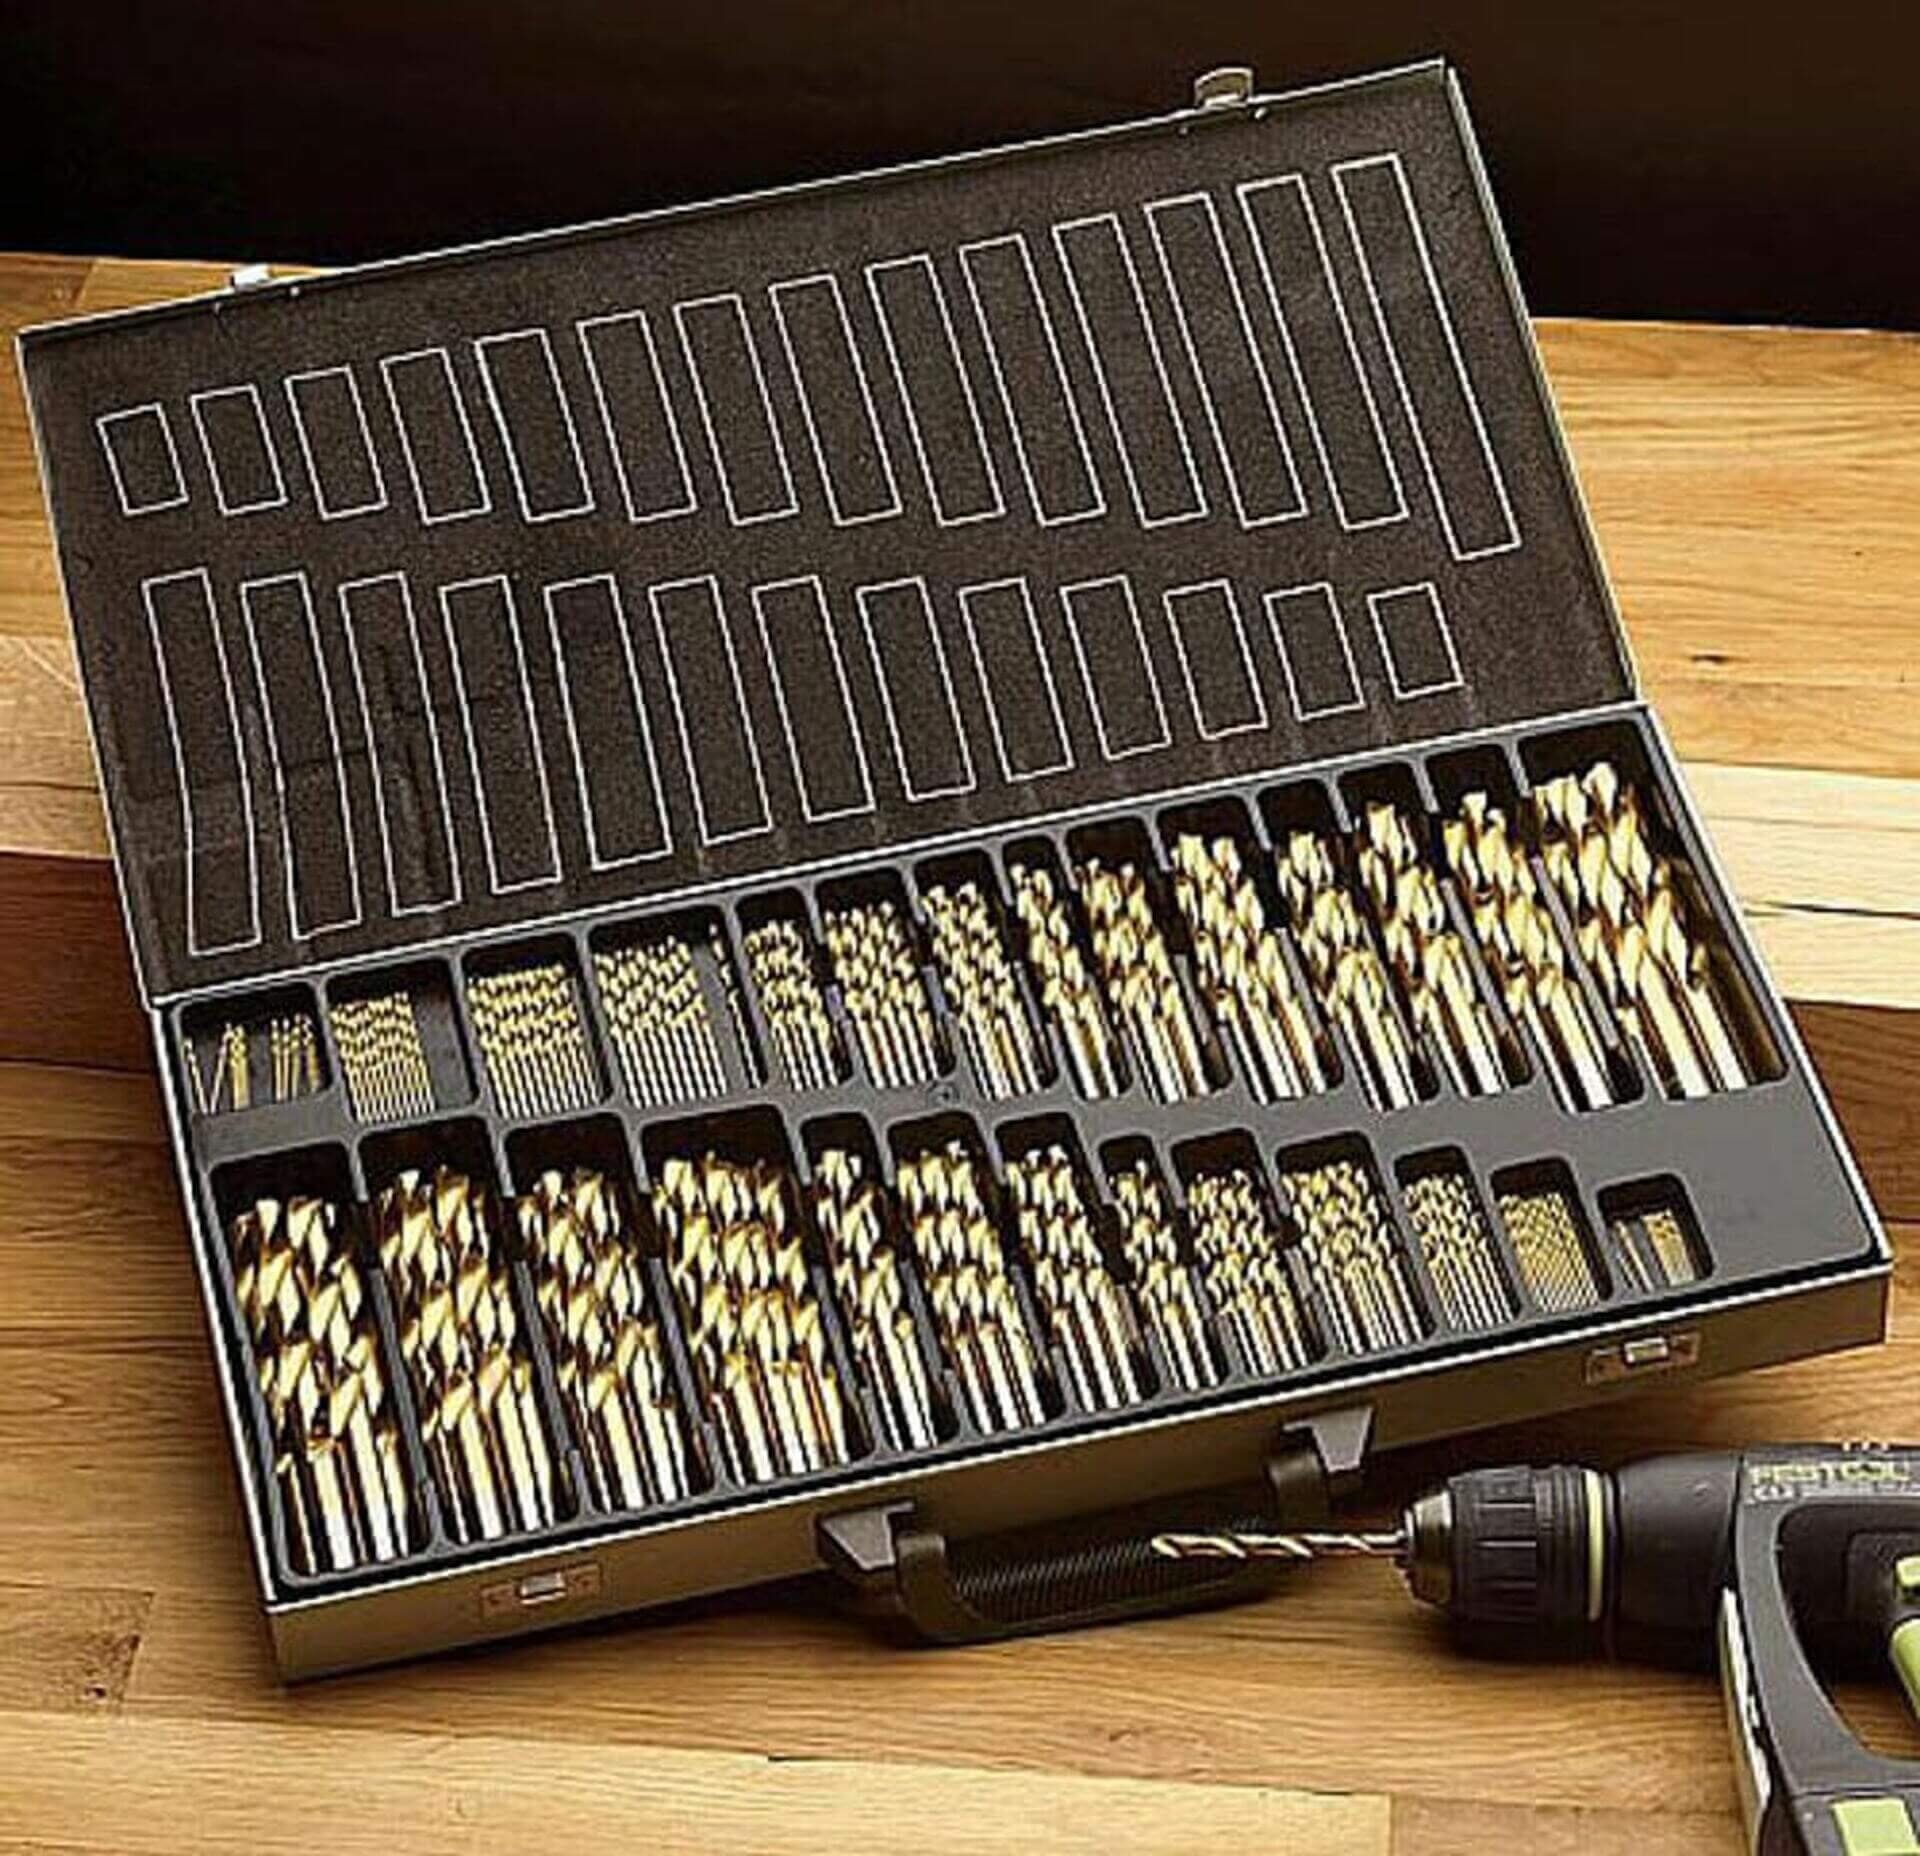
While the proliferation of readily available and relatively inexpensive drill bit sets almost make self-sharpening a thing of the past, there are some professionals who still sharpen their own bits. If you should feel the urge to sharpen your own drill bits, here is a quick how-to guide. If you don’t want to take the time or trouble of sharpening your own, we recommend buying sets with multiple bits of common sizes, so that you can quickly and easily replace your bits as they dull or break. Garrett Wade sells a few such multi-bit sets, with 246-bits, 230-bits, and 333-bits.
Because of the compound relief on the back of the cutting edge of a twist drill, it is best to use a jig or special machine (like a “Drill Doctor”) to re-sharpen them. These are virtually impossible to re-sharpen by hand.
Use an auger bit file or stone or a triangular saw file, never a grinder. Carefully examine the bit before sharpening and while filing. Each cutting lip should do the exact same amount of work, so be sure to maintain the original profile. First, sharpen the spurs on the inside. Never file on the outside as this will change the size of the drill. Then file the cutting edges on the underside—that is, with the file working through the throat of the bit.
Use a smooth auger bit stone for sharpening in the flute and for removing the burr. Sharpen the teeth with a small saw file, and use the file to sharpen the nose, taking care to maintain the critical angles. The plain edge is sharpened with the stone working in the flute. Never sharpen the outer edge.
Use an auger bit file or stone, or a small triangular saw file to sharpen both the spurs and the cutters. Keep both pairs of cutters and spurs at the same height, so they do an equal amount of work. Take off as little as possible, and be sure to file only on the inside of the spurs or lips.
Using a very smooth file or a small stone, sharpen the forward cutting edges carefully, maintaining the original angle and keeping the ground surface flat. Sharpen both sides equally, and check the levels. Sharpen the brad point if necessary, maintaining the centricity of the point. Never touch the sides of the bit.
Unlike most bits, the Forstner runs on its rim. This scribes the circumference of the hole, and the lifters pass the chips up the throat. Use an auger bit file or stone to sharpen the lifters, working through the throat of the cutter. Maintain the original angle and keep the edge straight. Use a small, round-edge slipstone on the inside of the rim, using a continuous motion to maintain the curve. Never touch the outside of the rim.
Use a smooth auger file or stone to sharpen the lifters, working through the throat of the cutter. Maintain the original angle and keep the edge straight. Use a triangular saw file to file the teeth, maintaining an equal height around the periphery. Filing the brad point should rarely be necessary. Never file the lifter on the top, nor the outer periphery of the bit.
Use a smooth file to sharpen the lifter, working through the throat of the cutter. Maintain the original angle and keep the edge straight, removing as little metal as possible. The rim should rarely need attention; just make sure it is clean. If necessary, stone the rim with a very fine stone (like honing). Do not file it.
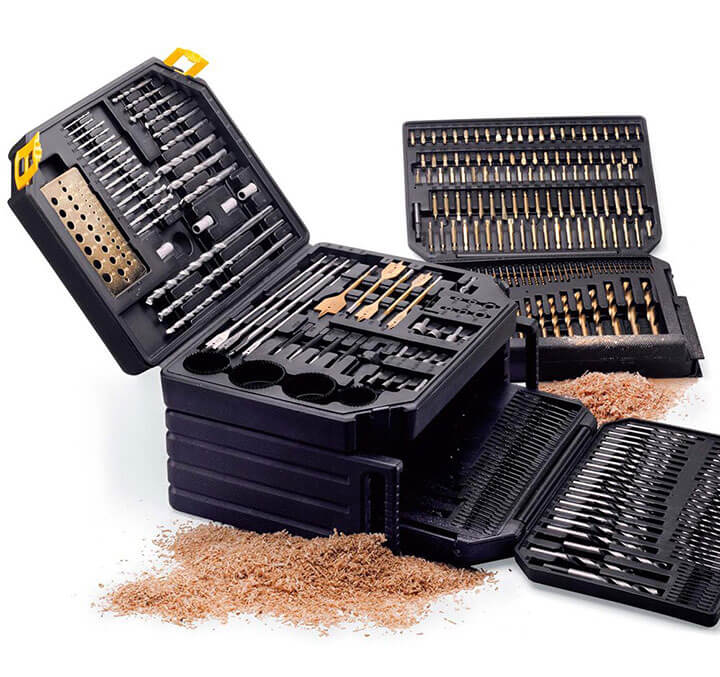
Check out some of Garrett Wade’s excellent drilling tools here.