
Japanese Garden Tools Vs. American: What’s the Difference?
You may have seen Japanese gardening tools popping up more in stores and online. Sure, they&rs… Read More
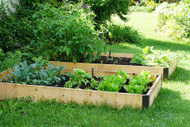
Whether you’re a rural dweller with plenty of open space or a suburban or urban type with a smaller patch of grassy land, you can enjoy the process and benefits of growing your own food with a raised bed garden. It’s a great way to give yourself a little farmland, and with a little planning and elbow grease you’ll be enjoying the fruits (and veggies) of your labors.
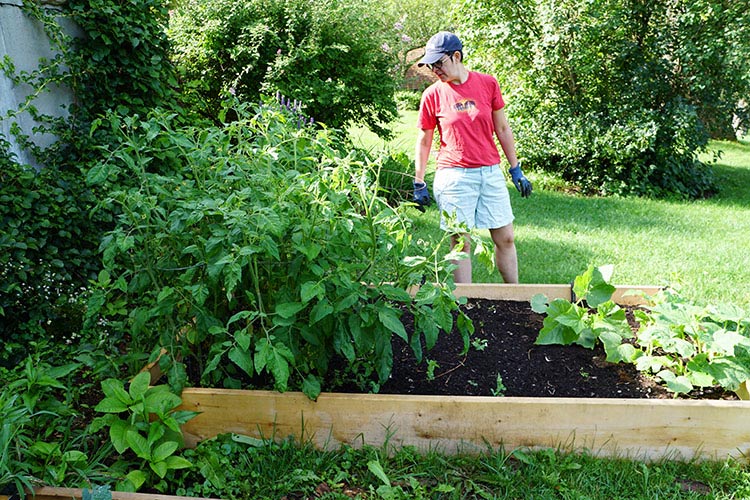
When planning your raised bed garden, think about proximity and access–to your house, to transportation, water, sunlight, etc. Will you drive or wheelbarrow your building supplies, or hand-carry them to your location? How about water? Does your hose reach or will you be lugging buckets? For plants that need a lot of sun, it’s nice for them to have southern exposure. Planting next to the house not only makes it easier to keep an eye on their progress but allow sun to reflect off the house onto your garden.
Think about pests, and protection from them. Consider netting to keep out insects, and fencing against deer and racoons. Even dog and cats can wreak havoc on your plantings. Also consider a placement close enough to house for you to monitor and enjoy the visual process, and which will also remind you when it’s time to harvest and plot your home-grown meal.
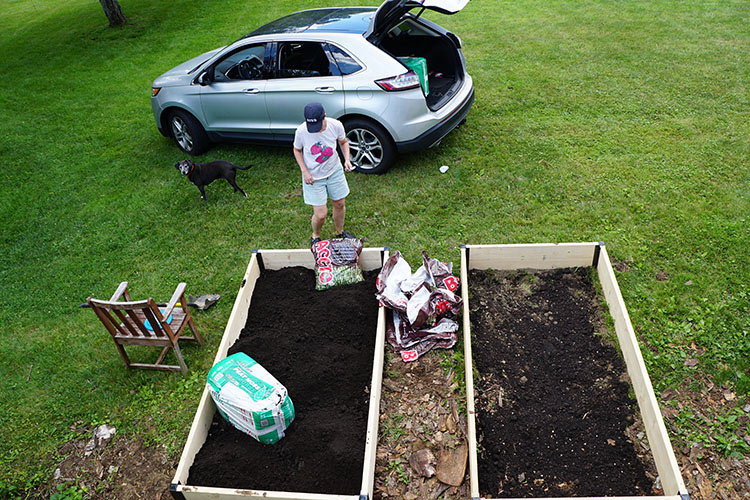
Be aware that, once sprouted, the roots may not be able to break through the original ground beneath your bed’s fresh layer. Cultivating the ground before you lay down your layer of soil will help them continue to flourish.
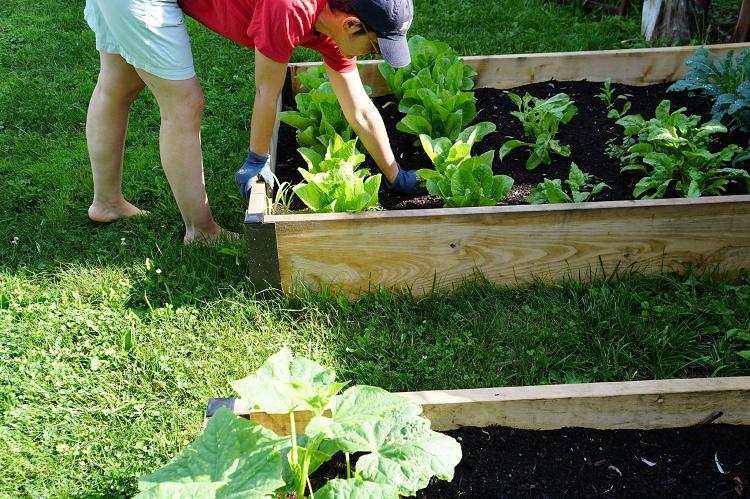
Most construction lumber comes in 2x size, so for our beds we used 2” x 8” lumber in 4’ & 8’ lengths. The resulting wall depth is a good standard depth for planting, and the 4 foot width allows you to reach comfortably to the center of the bed from each side. For corners, we are using a welded steel bracket, into which you insert your board ends. You can also use 4 x 4 posts.
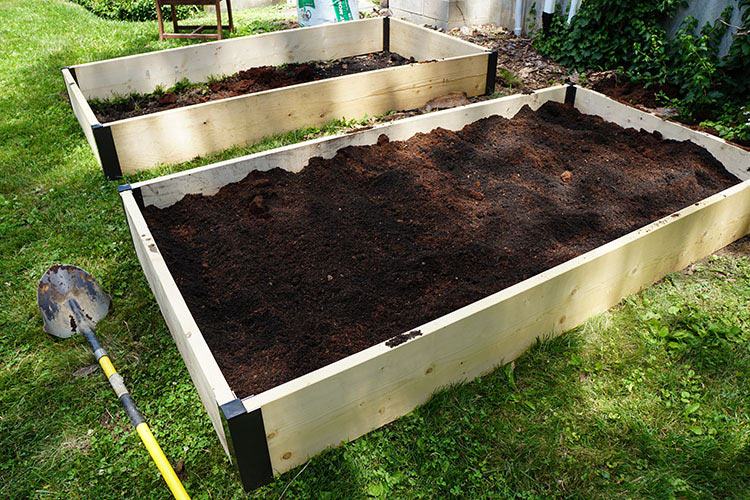
When filling the raised bed garden, you should anticipate that the soil will settle over time due to gravity and to watering. In fact, in an 8” depth box, it may settle as much as 3 inches. Plan to fill it more than you’d think.
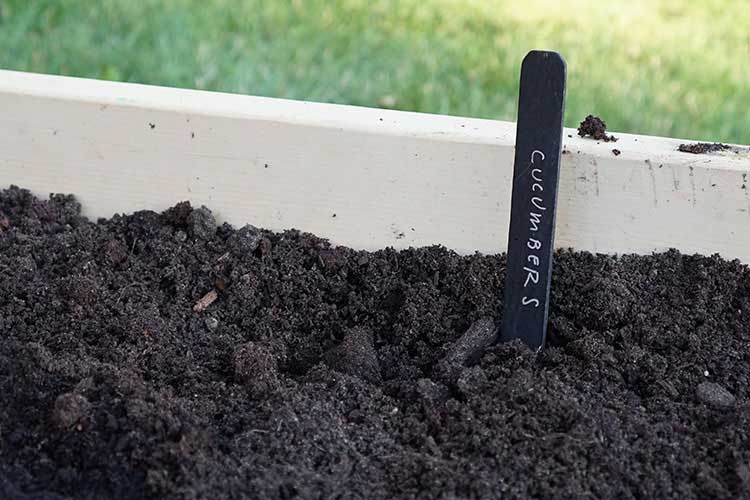
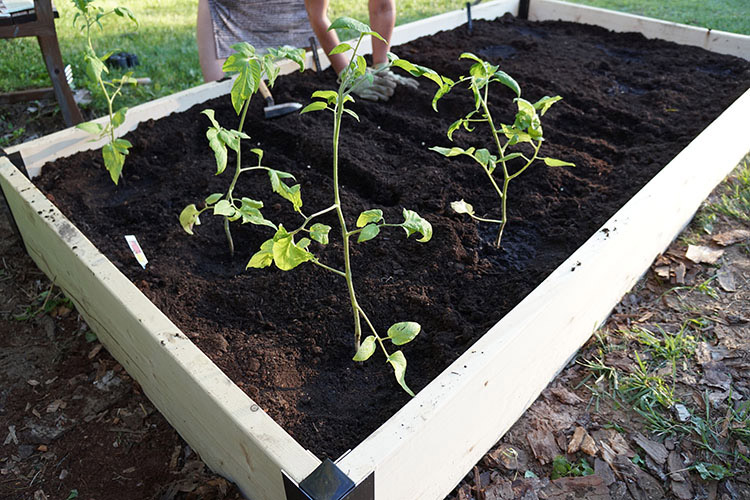
When it’s time to plant, you can go with planting seeds or early starts, which get a jump on the growing season by sprouting indoors– particularly helpful in the northern climates for plants like tomatoes and cucumbers.
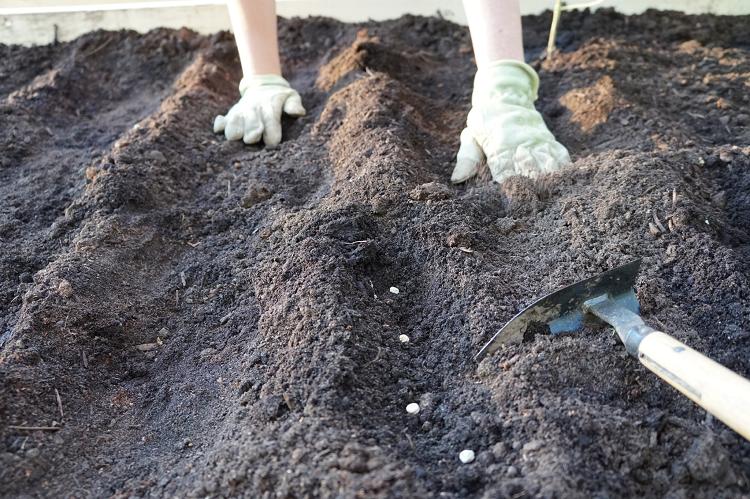
Planting seeds is the time honored way as well, and fairly straightforward. Remember that most seeds only need to be planted at a depth equal to the seed’s thickness (check the package for specific instructions), with dirt brushed back over to cover them.
Another consideration for your beds is plant placement. Plant highest growing plants, like tomatoes, to the rear of where the sun’s rays strike so that they don’t overshadow smaller ones.
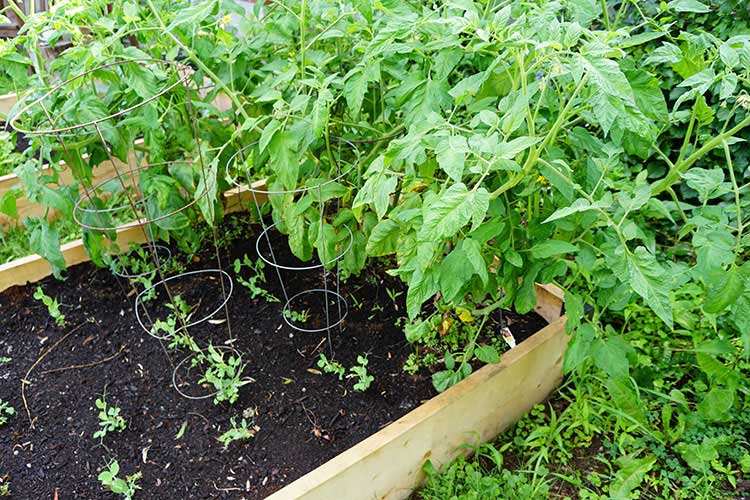
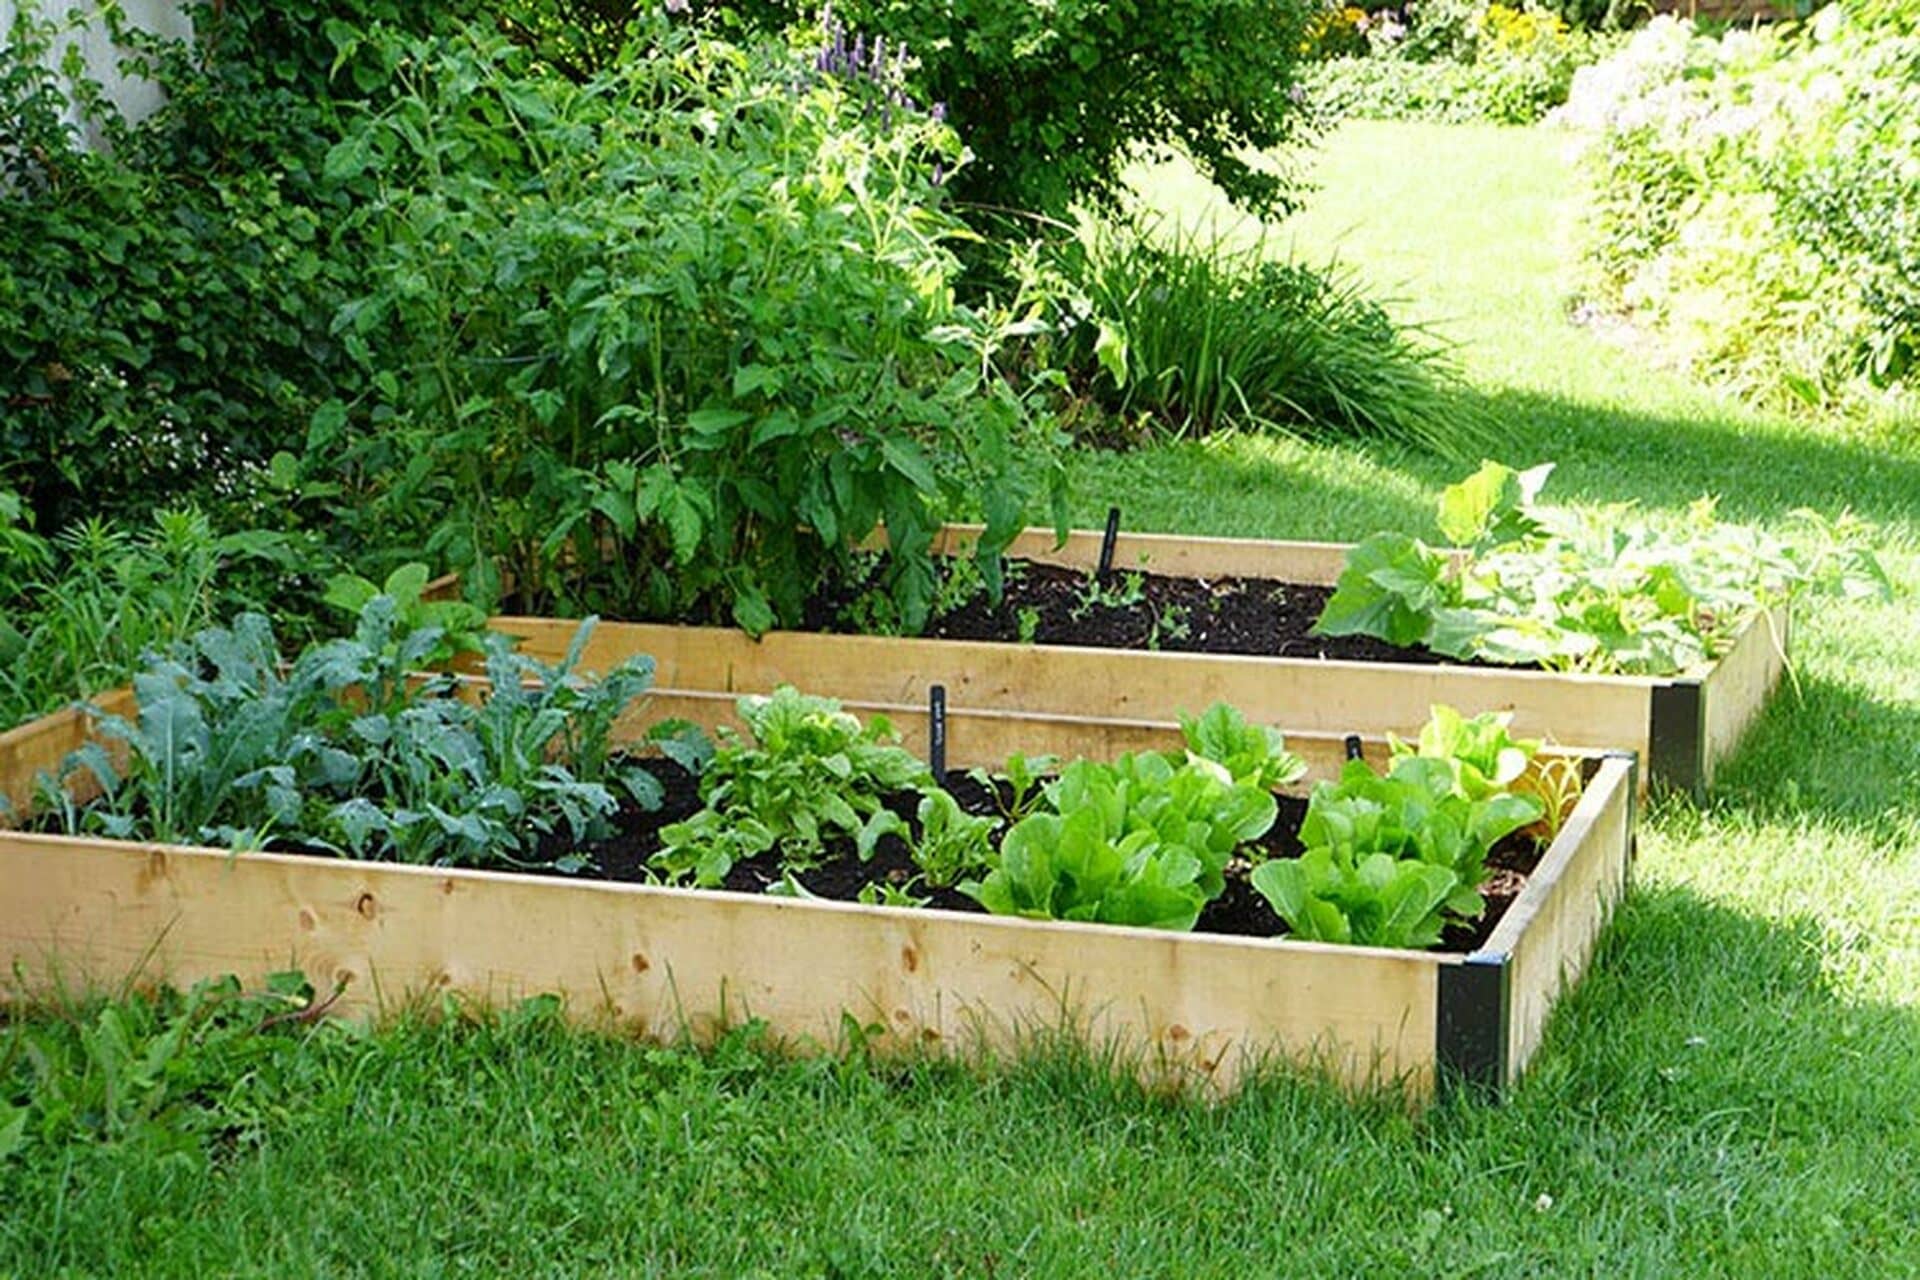 For plants that need supports, start the process early so that the support is already there when the plant needs it, otherwise you’ll spend too much time convincing the plant to cling to it. In these images you can hardly see the tomato trellis, an indicator that the plant is using the trellis well.
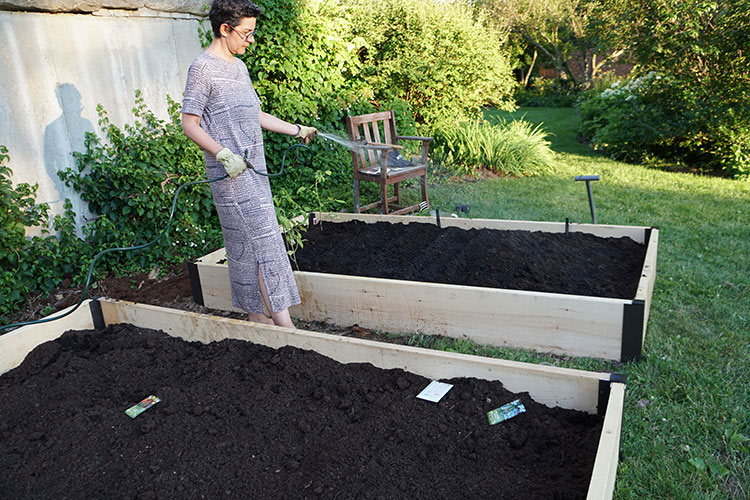
You can certainly set up an automatic sprinkler or irrigation system, but we think there’s something very satisfying about hand-watering plants–it allows us to monitor each plant and individualize our water amounts, and it’s a meditative time spent outdoors with your growing crop, and with your thoughts. (Note the thumb over the nozzle in this photo–that certainly can work, but we also offer a wide assortment of high quality and accurate irrigation tools.)
Wherever you decide to build your beds, we think that putting them somewhere you’ll see them regularly not only helps you track their progress and monitor their care but keeps them in your thoughts, both for the care of them and the eating of them. After all, what’s the point of all your hard work if you can’t taste the delicious results?
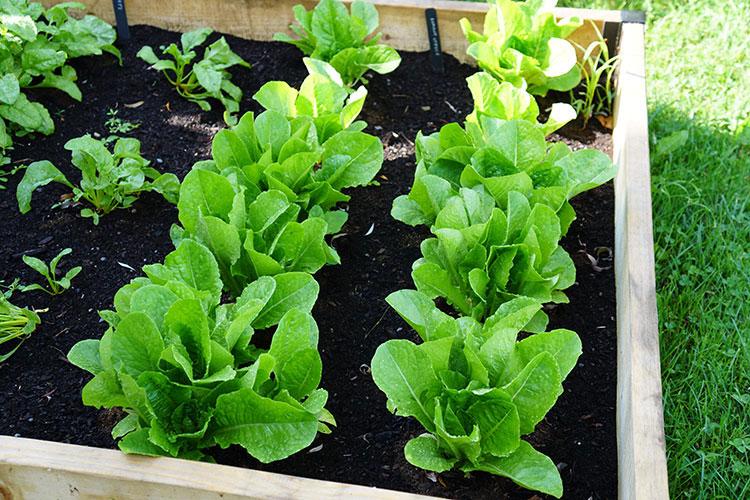
And our final result of raised bed gardening….
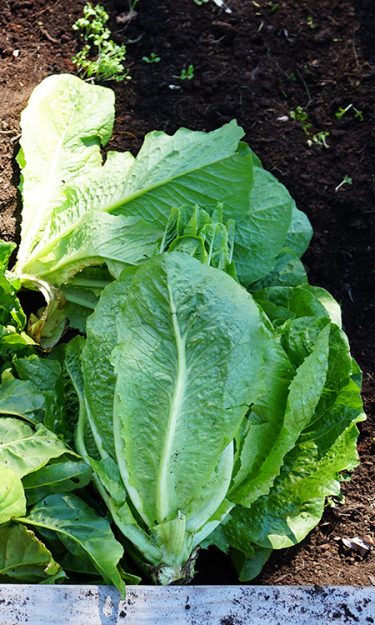
Raised Bed Final Harvest
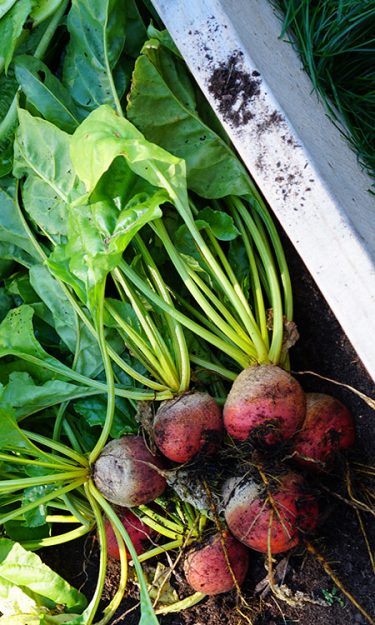
Radishes!