
Japanese Garden Tools Vs. American: What’s the Difference?
You may have seen Japanese gardening tools popping up more in stores and online. Sure, they&rs… Read More
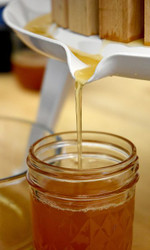
Autumn is apple harvesting season, and that means fresh squeezed apple cider. If you’ve been lucky enough to have some at an orchard or farmer’s market, you know it’s an unbeatable combination of fun process and delicious result. Recently, with the help of some young guests at our offices here in Dumbo, Brooklyn, we put our Fruit Crusher and Classic Fruit Press through their paces, and would like to pass on some tips to you.
Not every apple is created alike. Some are sweet, some are tart, some have a more complex flavor. We used Fujis, which are a delicious and sweet eating apple, but we found the resulting cider a little too sweet, so we opted to dilute the results with a bit of added water. Talk to your local grocer, farmer or farmer’s market for tips on optimal flavor balance. Tip: don’t use apples for cider that you wouldn’t eat. Especially in orchard, don’t use ground fruit, on account of risk of contamination.
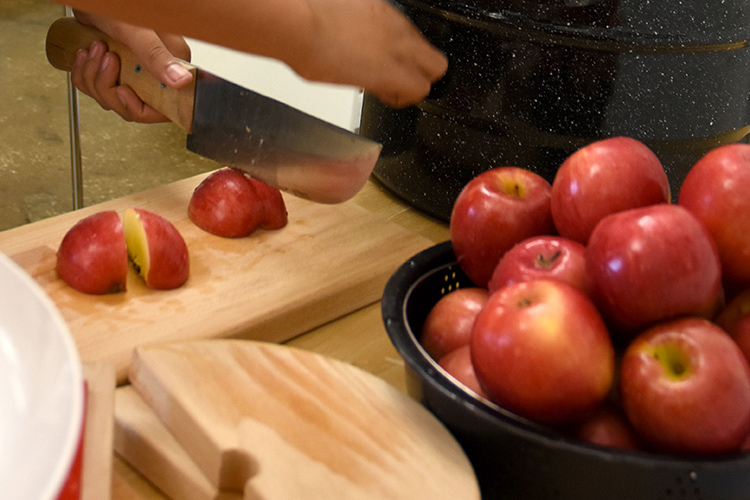
Cutting our Fuji Apples
Set your crusher up on top of a clean bucket. Gather your apples, cut off any bad parts, take out stems, and quarter them. No need to core (the elongated shape of the stems make them more prone to getting caught in the teeth than the seeds). Dump apples into the crusher’s hopper and turn the crank. We recommend using a low table–a regular dining table is a bit too high to give the proper leverage when turning the crank, especially for smaller folks.
Please note that the crusher’s teeth are not very sharp but that they are very powerful. Make sure young folks understand not to reach in. For adults, we recommend a long wooden spoon to clear material, not hands or fingers. Once your bucket is full, use a scoop (or even your hands) to transfer pulp into the fruit press, making sure that the cloth mesh is in place to catch detritus and pulp.
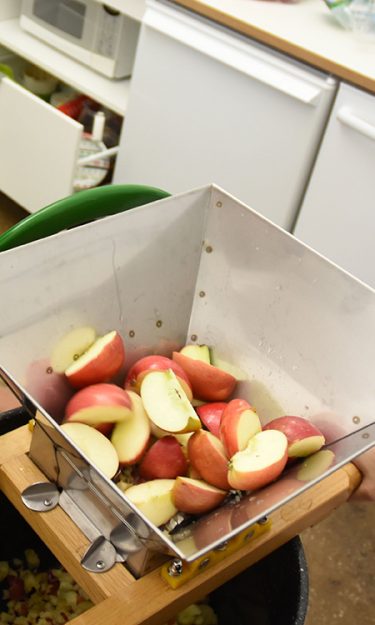
Loading up the fruit crusher
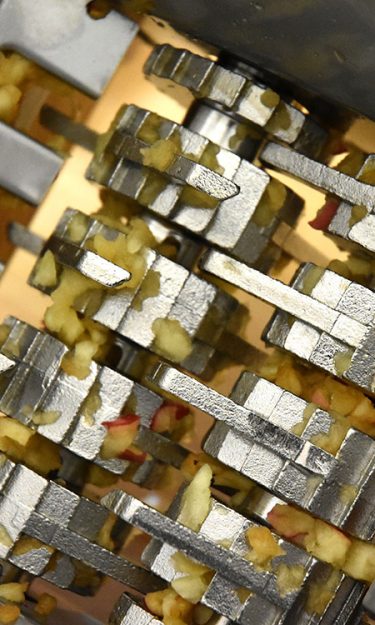
Teeth of the fruit crusher
Clean the Fruit Press before first use. Set it on a table or surface low enough to exert force on the turning arms. Often in orchards you’ll see them set at about waist height, which allows people of all sizes to join in the work. Take your bucket full of crushed pulp and fill the press right to the very top–the material will compact. Tip: Make sure to have a receptacle in place before you pour in the pulp, because the weight of the material will actually begin to extrude the juice before you begin turning the crank.
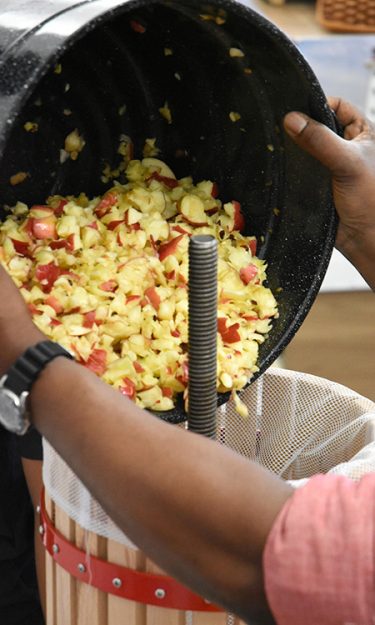
Pouring crushed apple pulp into the fruit press
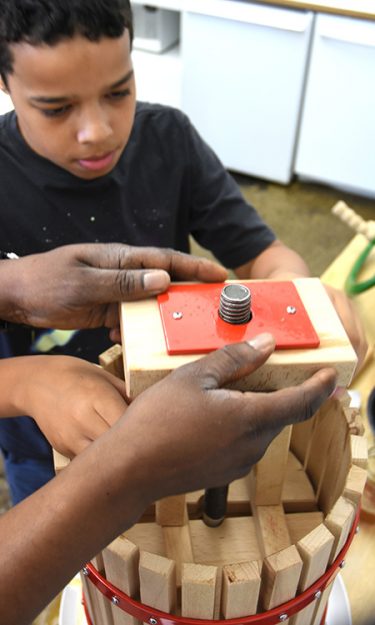
Placing the upper plate
Follow instructions for placing upper plate and turn threaded hub. Everyone can get in on the action here, both in the cranking and the insertion of the blocks that extend the reach of the crank as as the pulp compacts and the level of the lid descends. It’s a bit of a thrill to see the first trickle of cider emerge and increase to a steady flow.
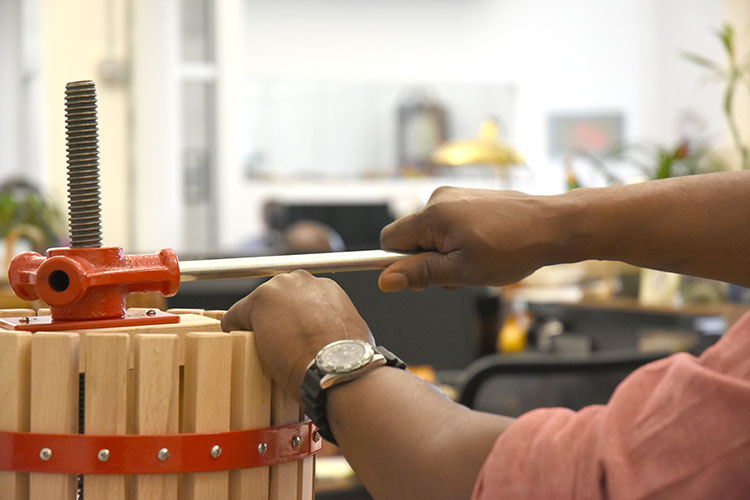
Cranking the fruit press
When you can no longer turn the cranks, allow the drip of fluid to come to a complete halt, as it will continue to slowly flow for some time at the end of the process. Enjoy it straight from the jar, put it in the fridge, boil it down for syrup, or, if you’re so inclined, you can even try setting it up to ferment into hard cider. (Check back with us in a few weeks as we try this process ourselves here at Garrett Wade!)
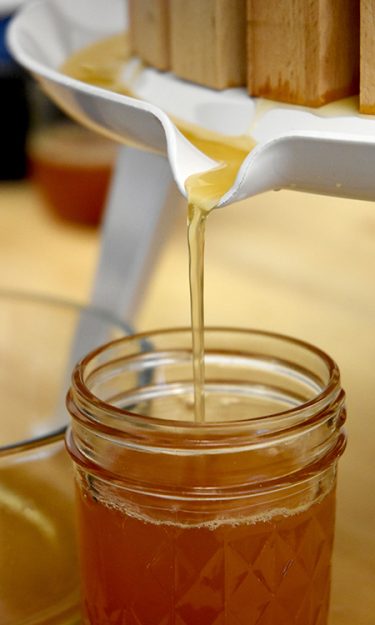
Apple Cider
<

Enjoying the fruits of our labor